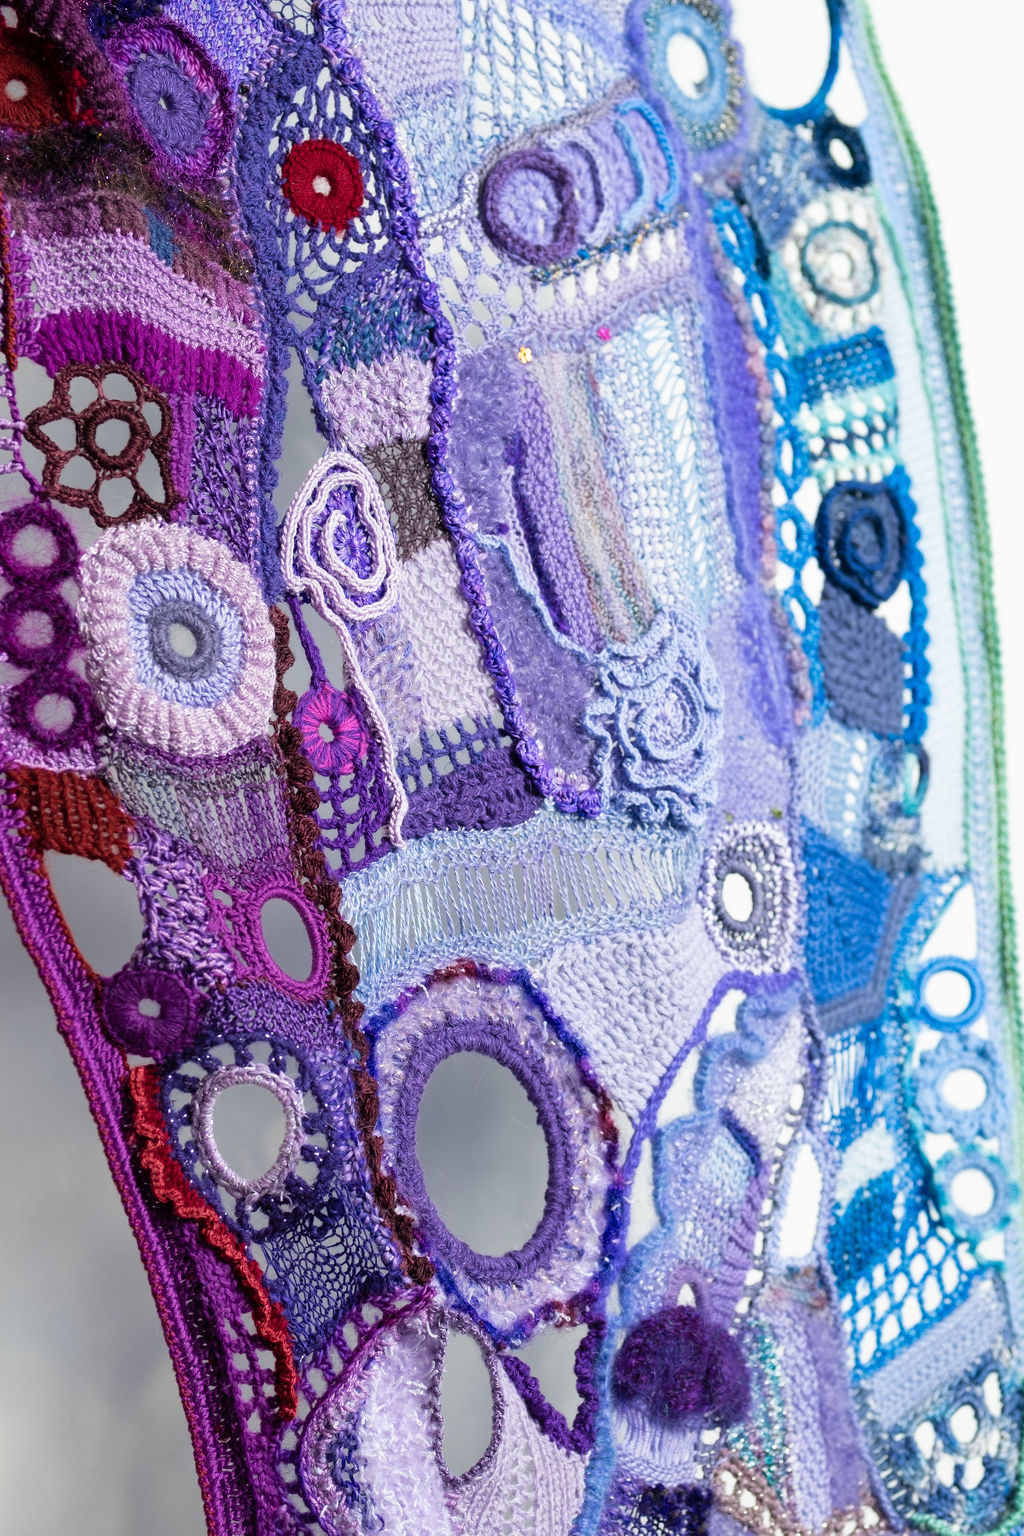
Hooray!! A piece of my work will be in the landmark juried exhibition celebrating the 25th anniversary of the Western Australian Fibre and Textile Association Inc. (WAFTA). The exhibition will run from 22 October to 12 November 2022 in the Holmes à Court Gallery @no. 10 in the historic Pickle District of West Perth.
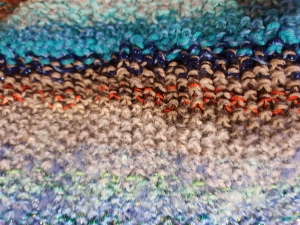
I can only show a sneak peek here:

This happy event has reminded me that I didn’t get around to recording the piece I had in WAFTA’s members’ exhibition in 2020. Called Hanging By A Thread, that exhibition was also hung at the Holmes à Court Gallery. Members were encouraged to submit work that was contemporary in nature.
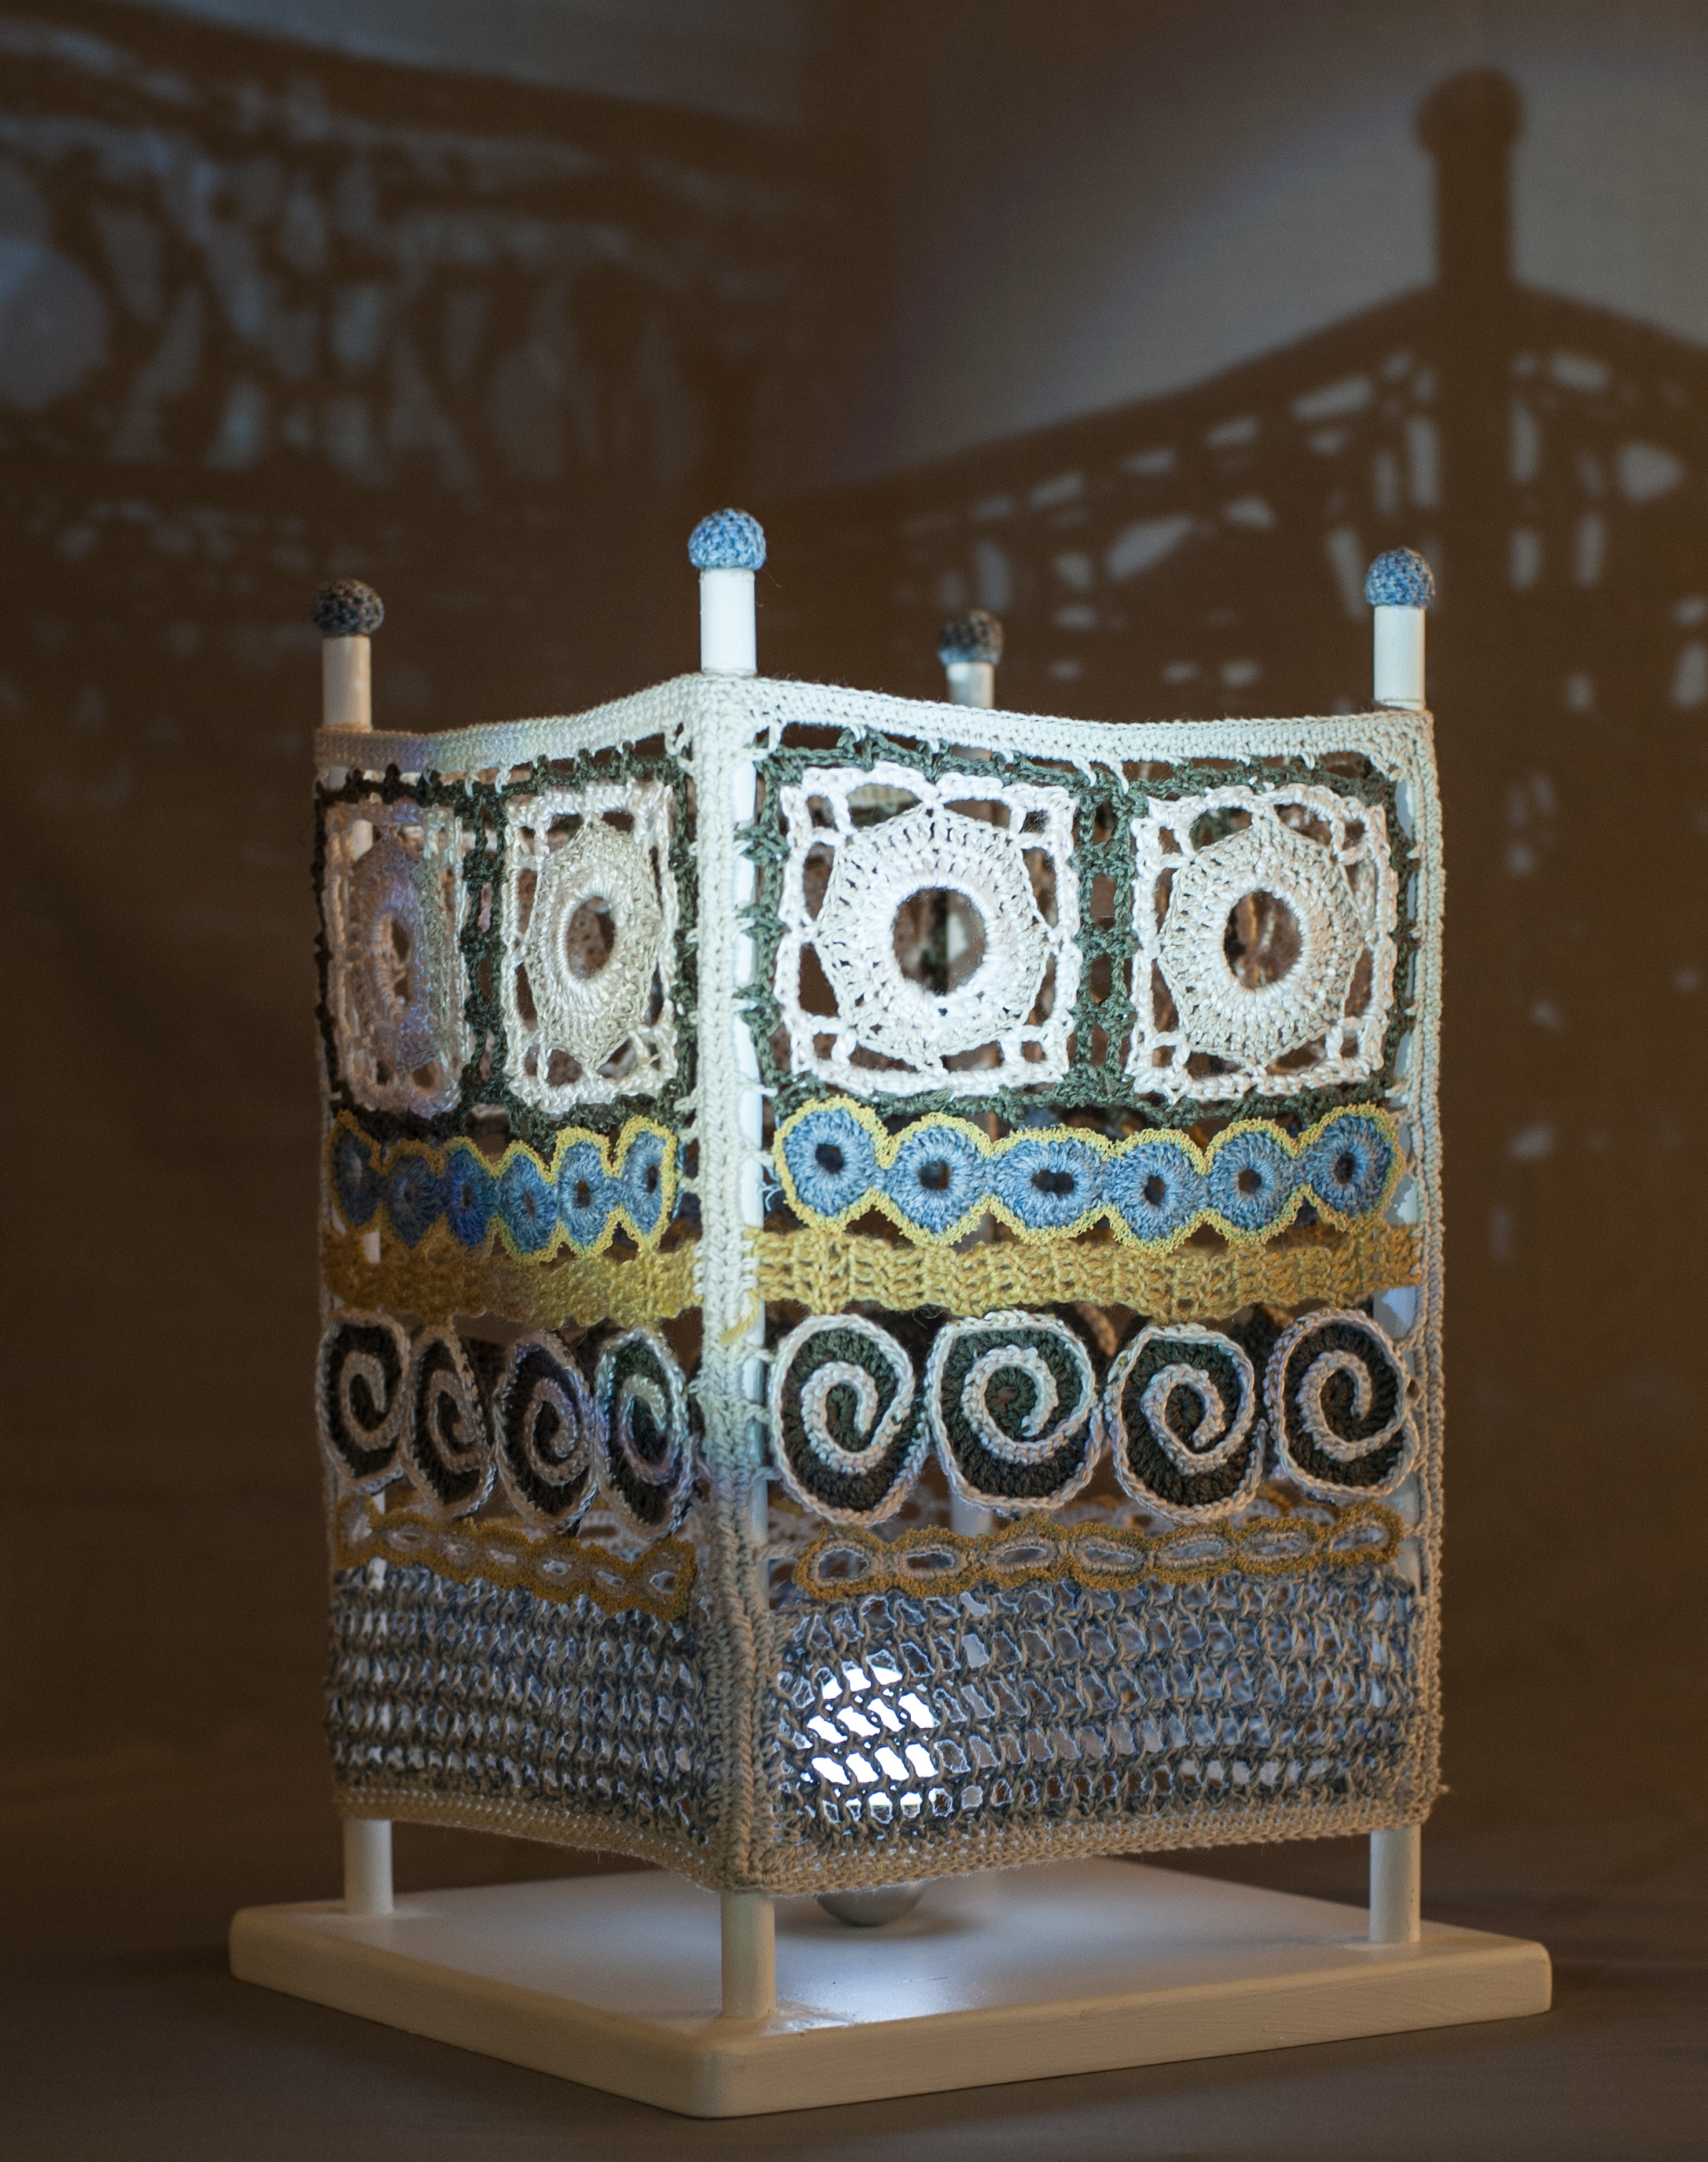
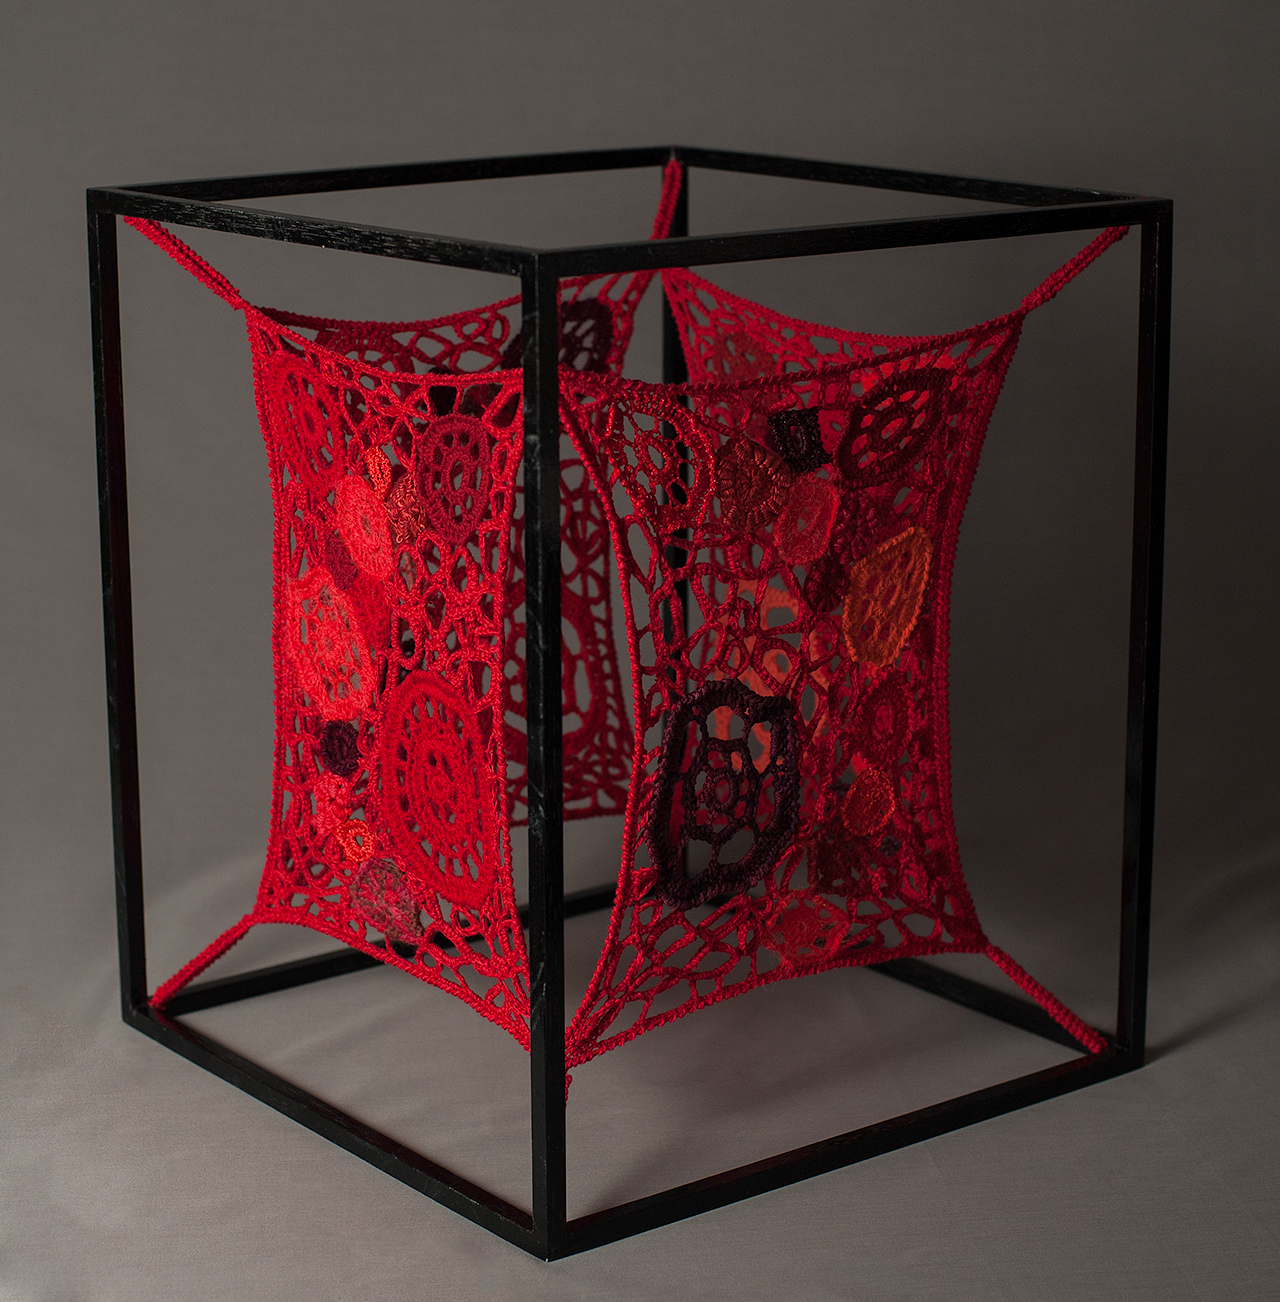
I had previously made crocheted and knitted 3D work on a small scale.
For example, in 2014, I exhibited Bathing Pavilion and Public Persona.
For the WAFTA national juried exhibition twentyone+ (a celebration of the 21st anniversary of WAFTA in 2016) I made Family Tree:
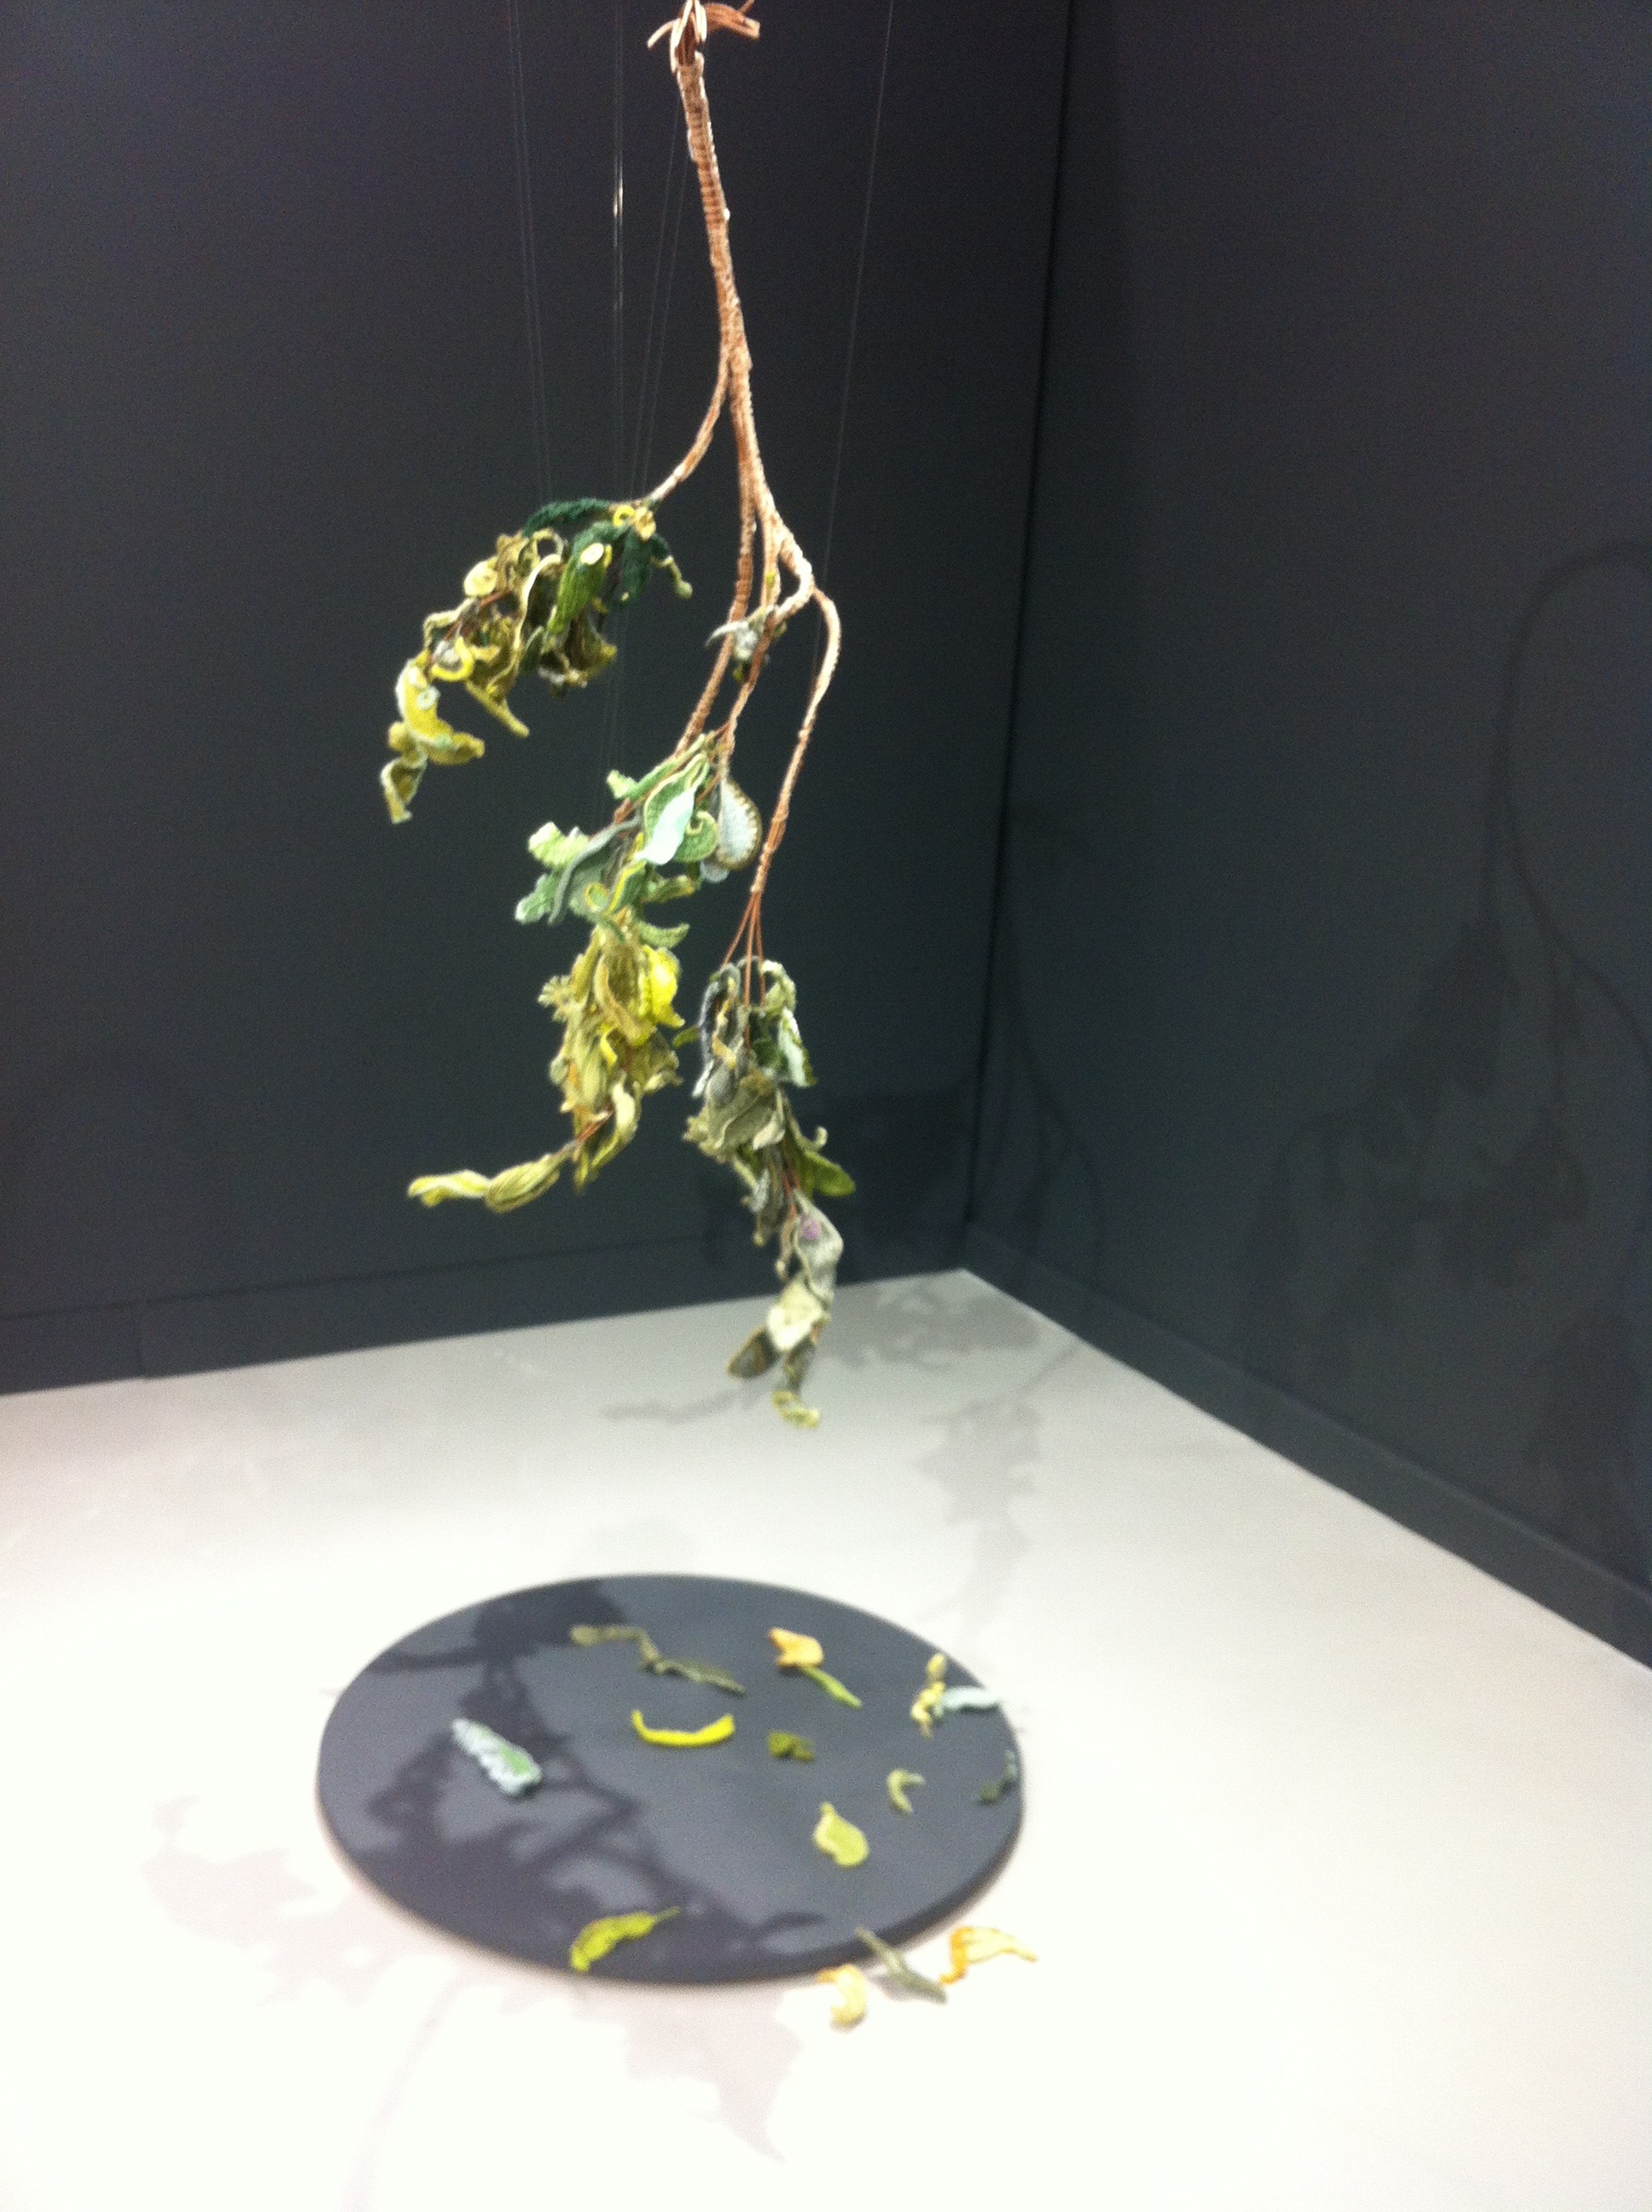
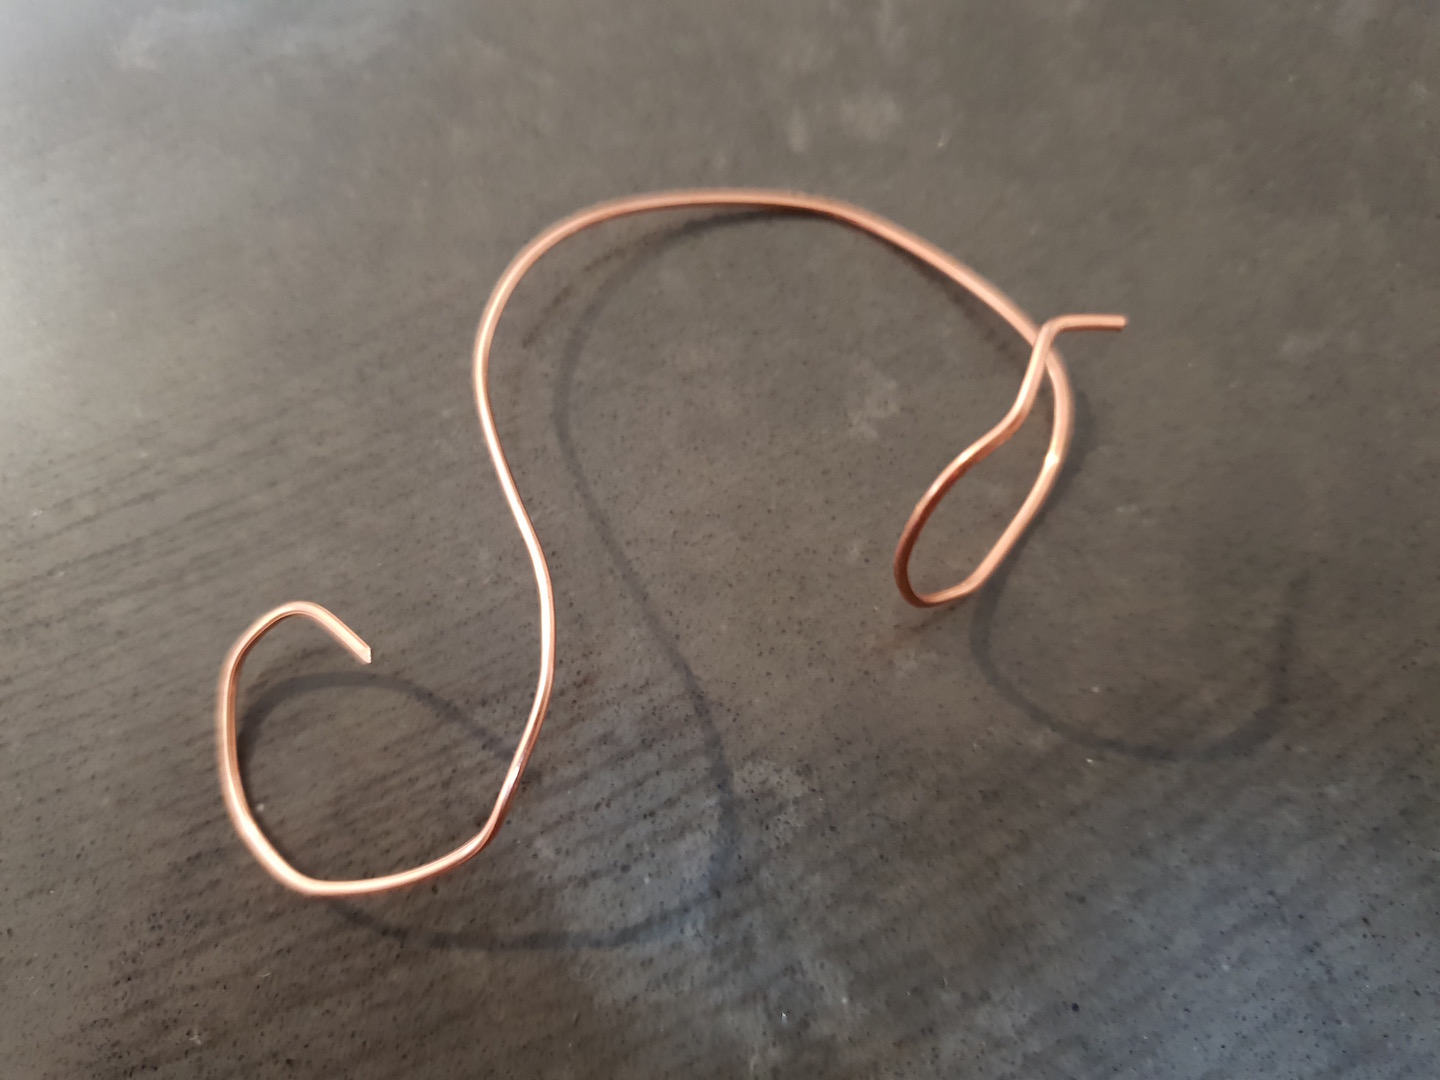
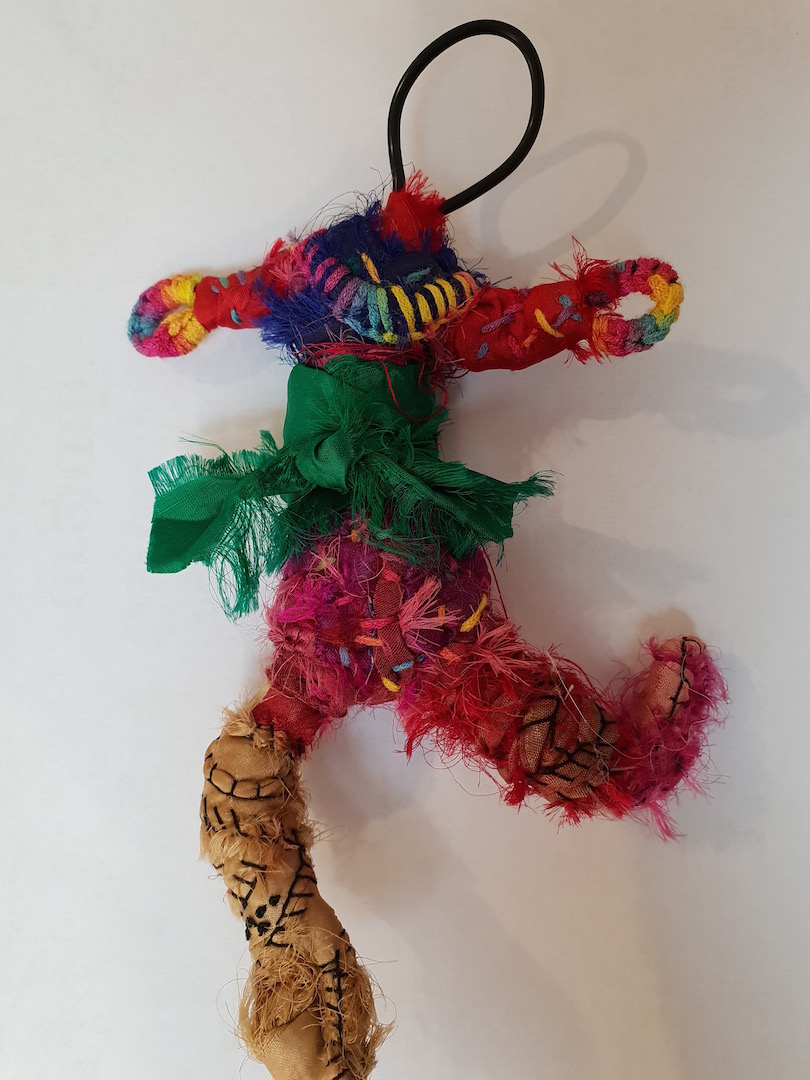
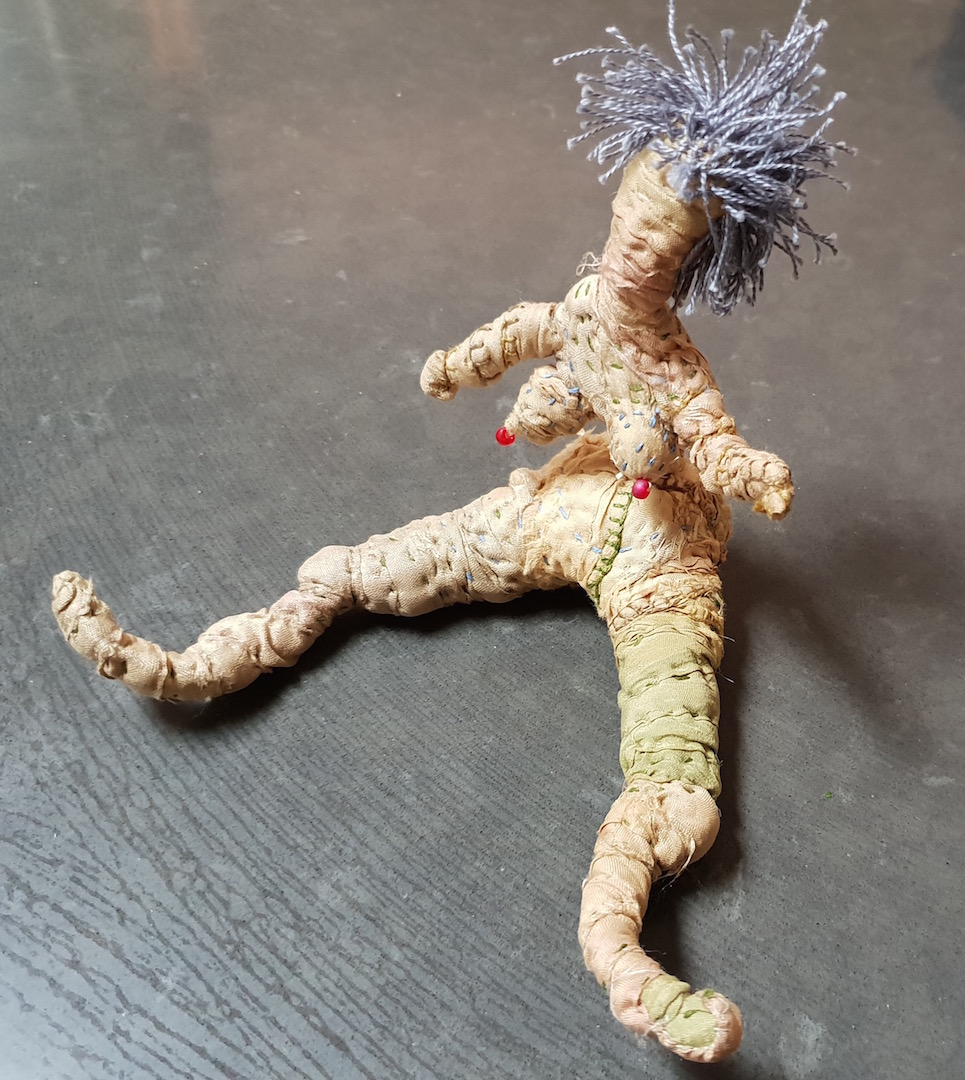
For Hanging By A Thread I made a triptych called There are so many colours in the rainbow …and I see every one. I decided to go bigger than previous works; to continue to exploit the potential for shadows; and to use wire rather than wooden frames. This work is now in a private collection
For the catalogue I wrote: I like to see leaves and trees as visual metaphors for individuals and social groups. Plants are endlessly variable, productive and complex. As are people. I began this work by asking, “how should all this individual and group difference come together?” In recent years, in Australia and elsewhere, political tensions have increased and economies and futures have been damaged by political opportunism, natural disasters and global disease. We seem lately to focus more on what divides us than on what we have in common. The future of humanity and the planet depend on our seeing differences as a strength of global society rather than as a problem. A line from one of my favourite folk singer/ songwriters, Harry Chapin (1942-1981), gave me the title. Wouldn’t it be great if we could see all the characteristics and quirks of individuals and nations as part of a rich, coherent world ”forest”?

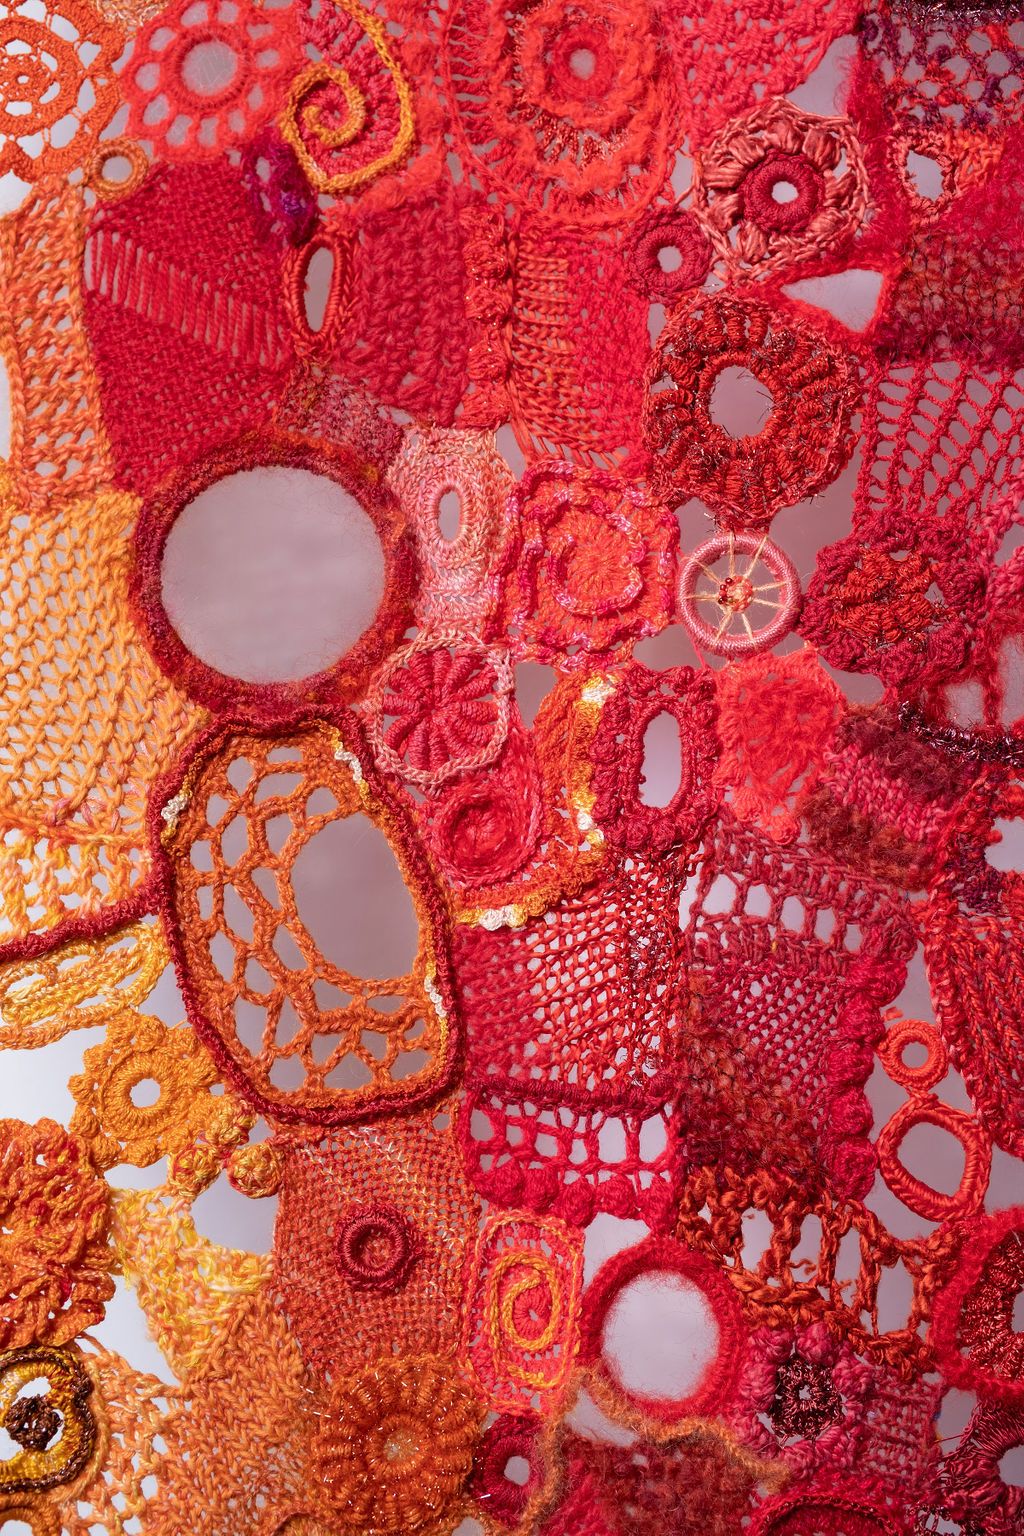
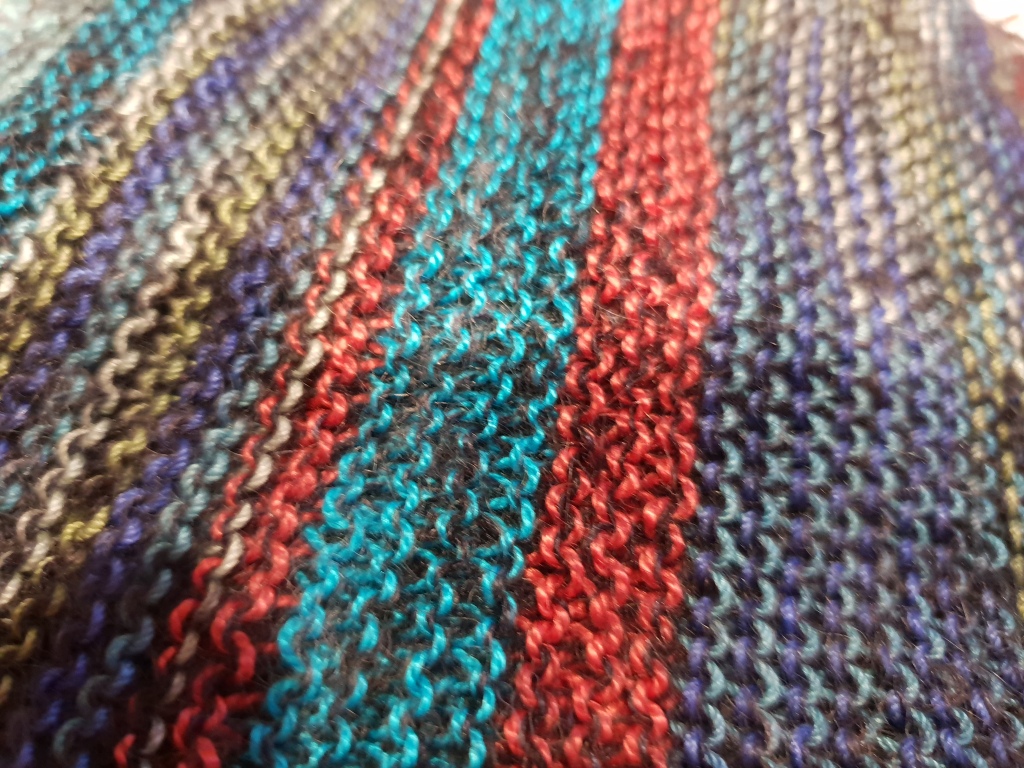
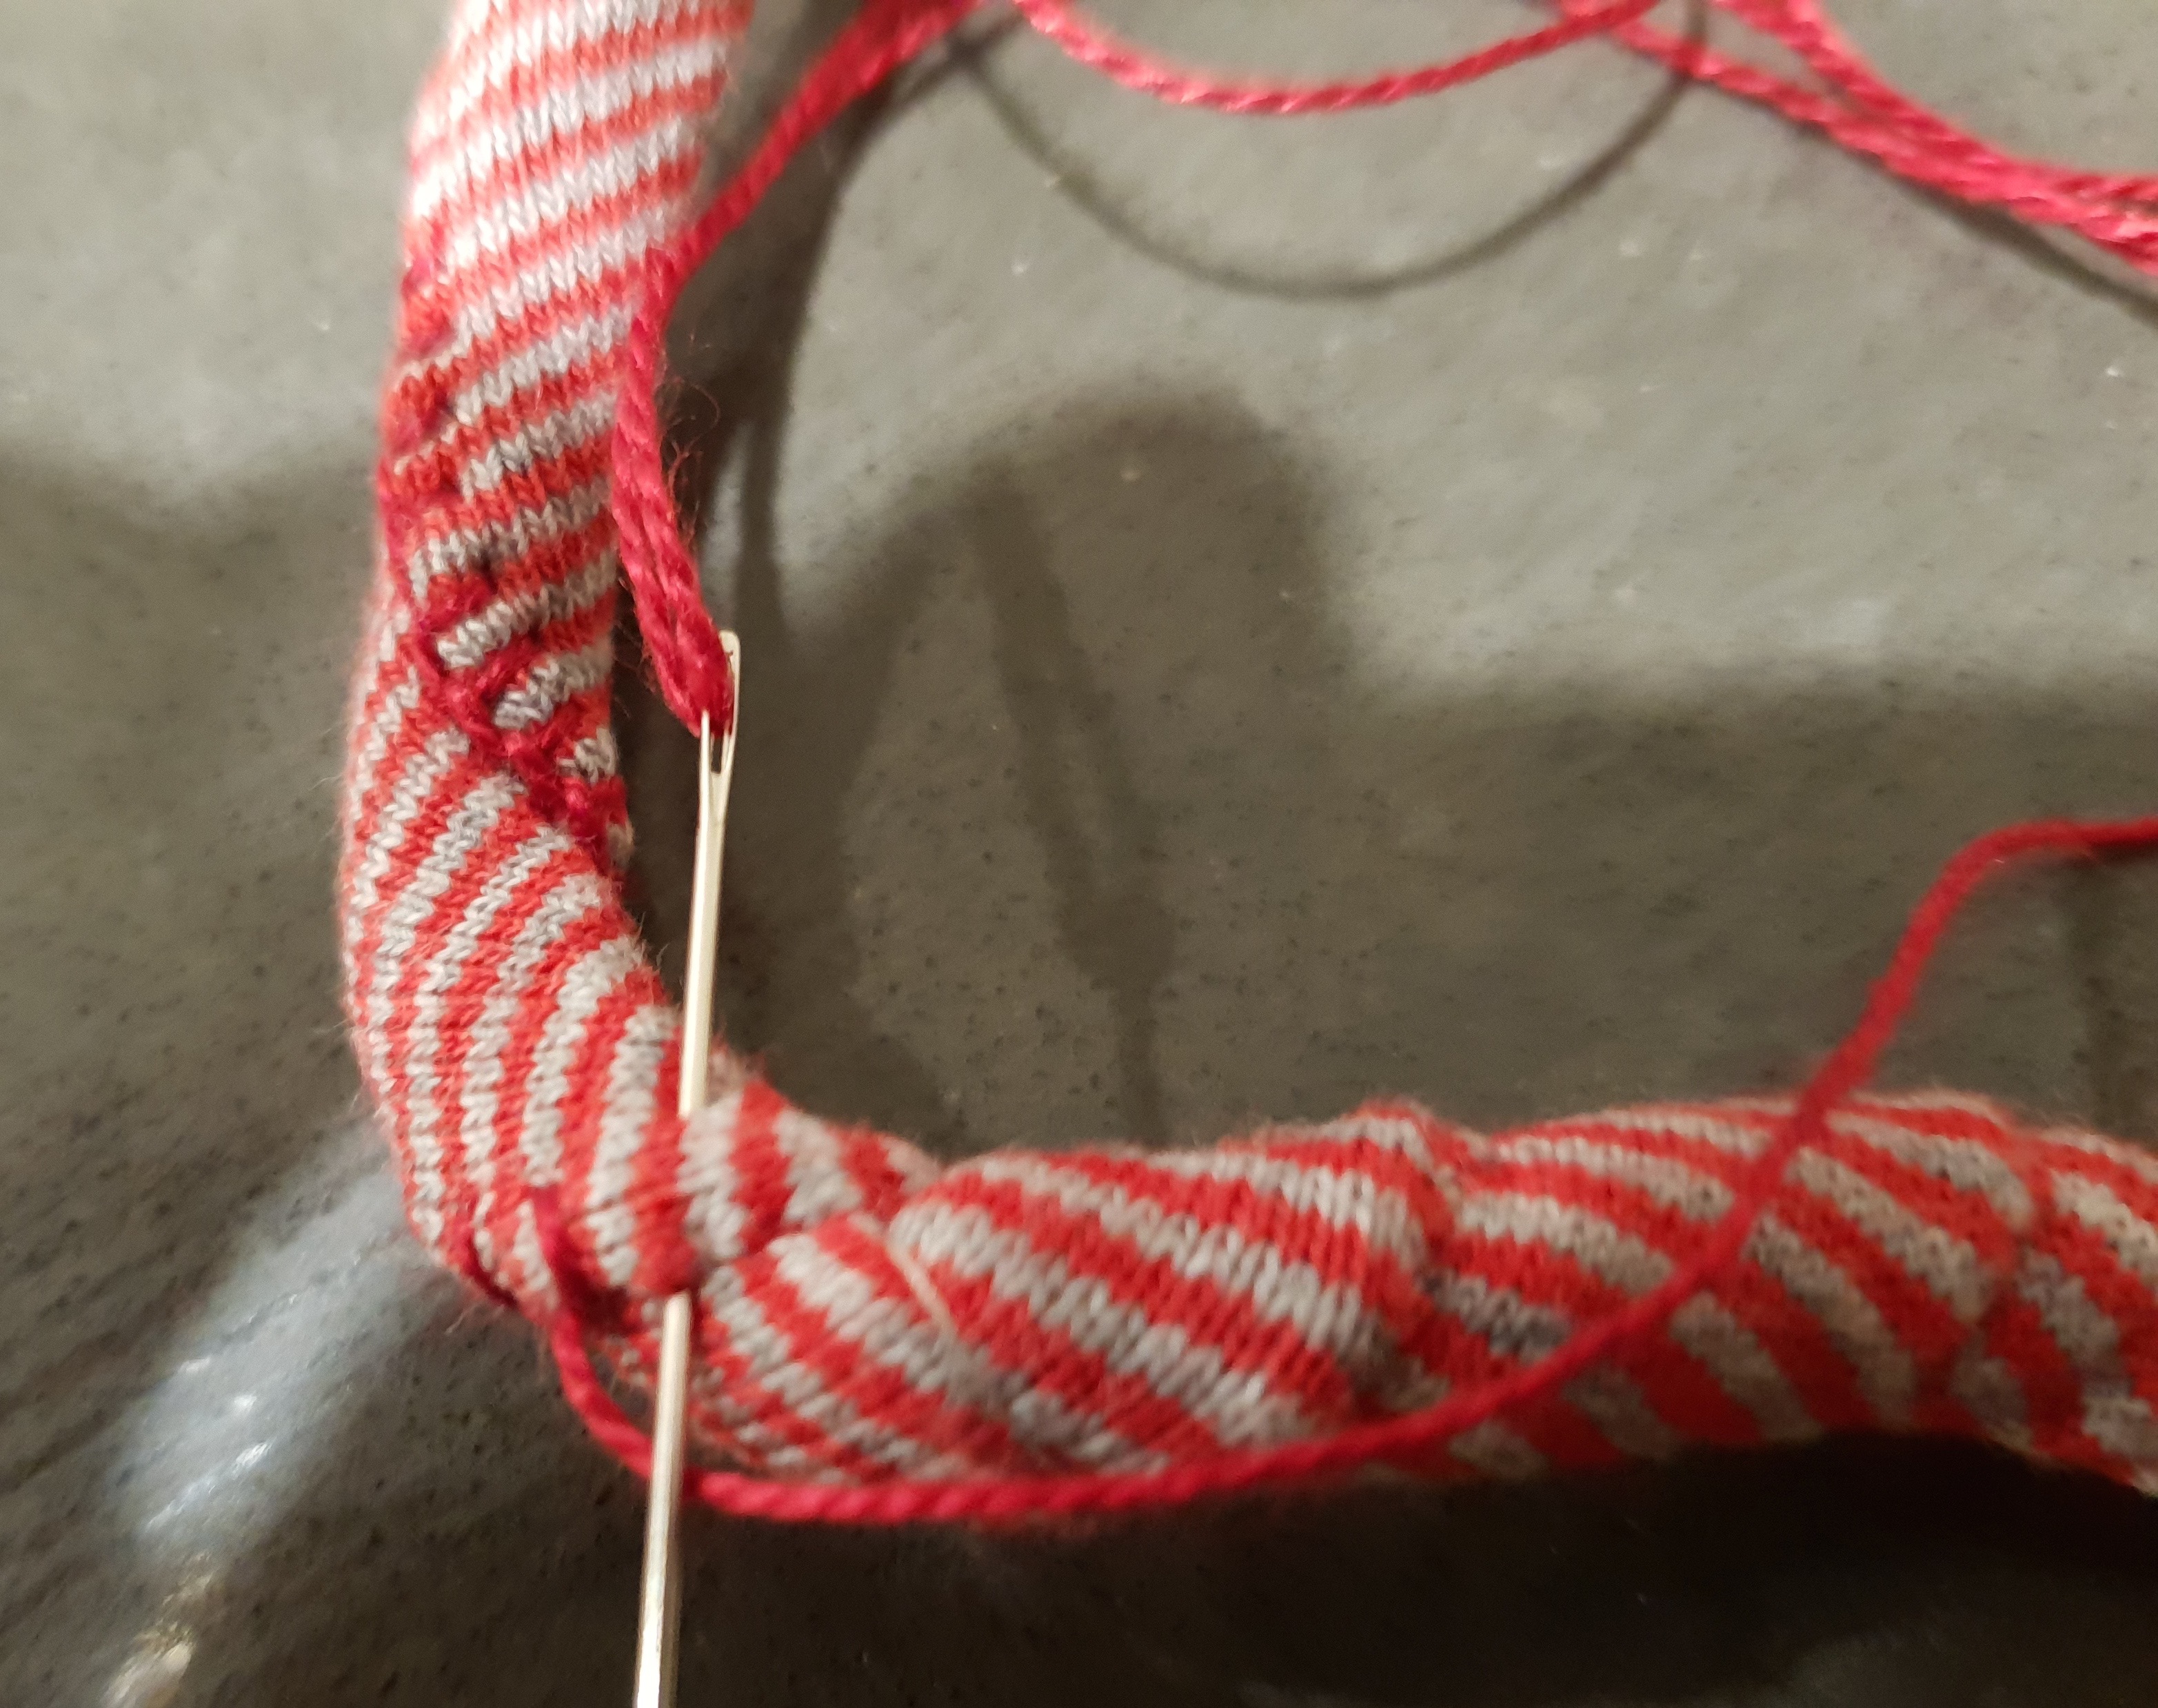
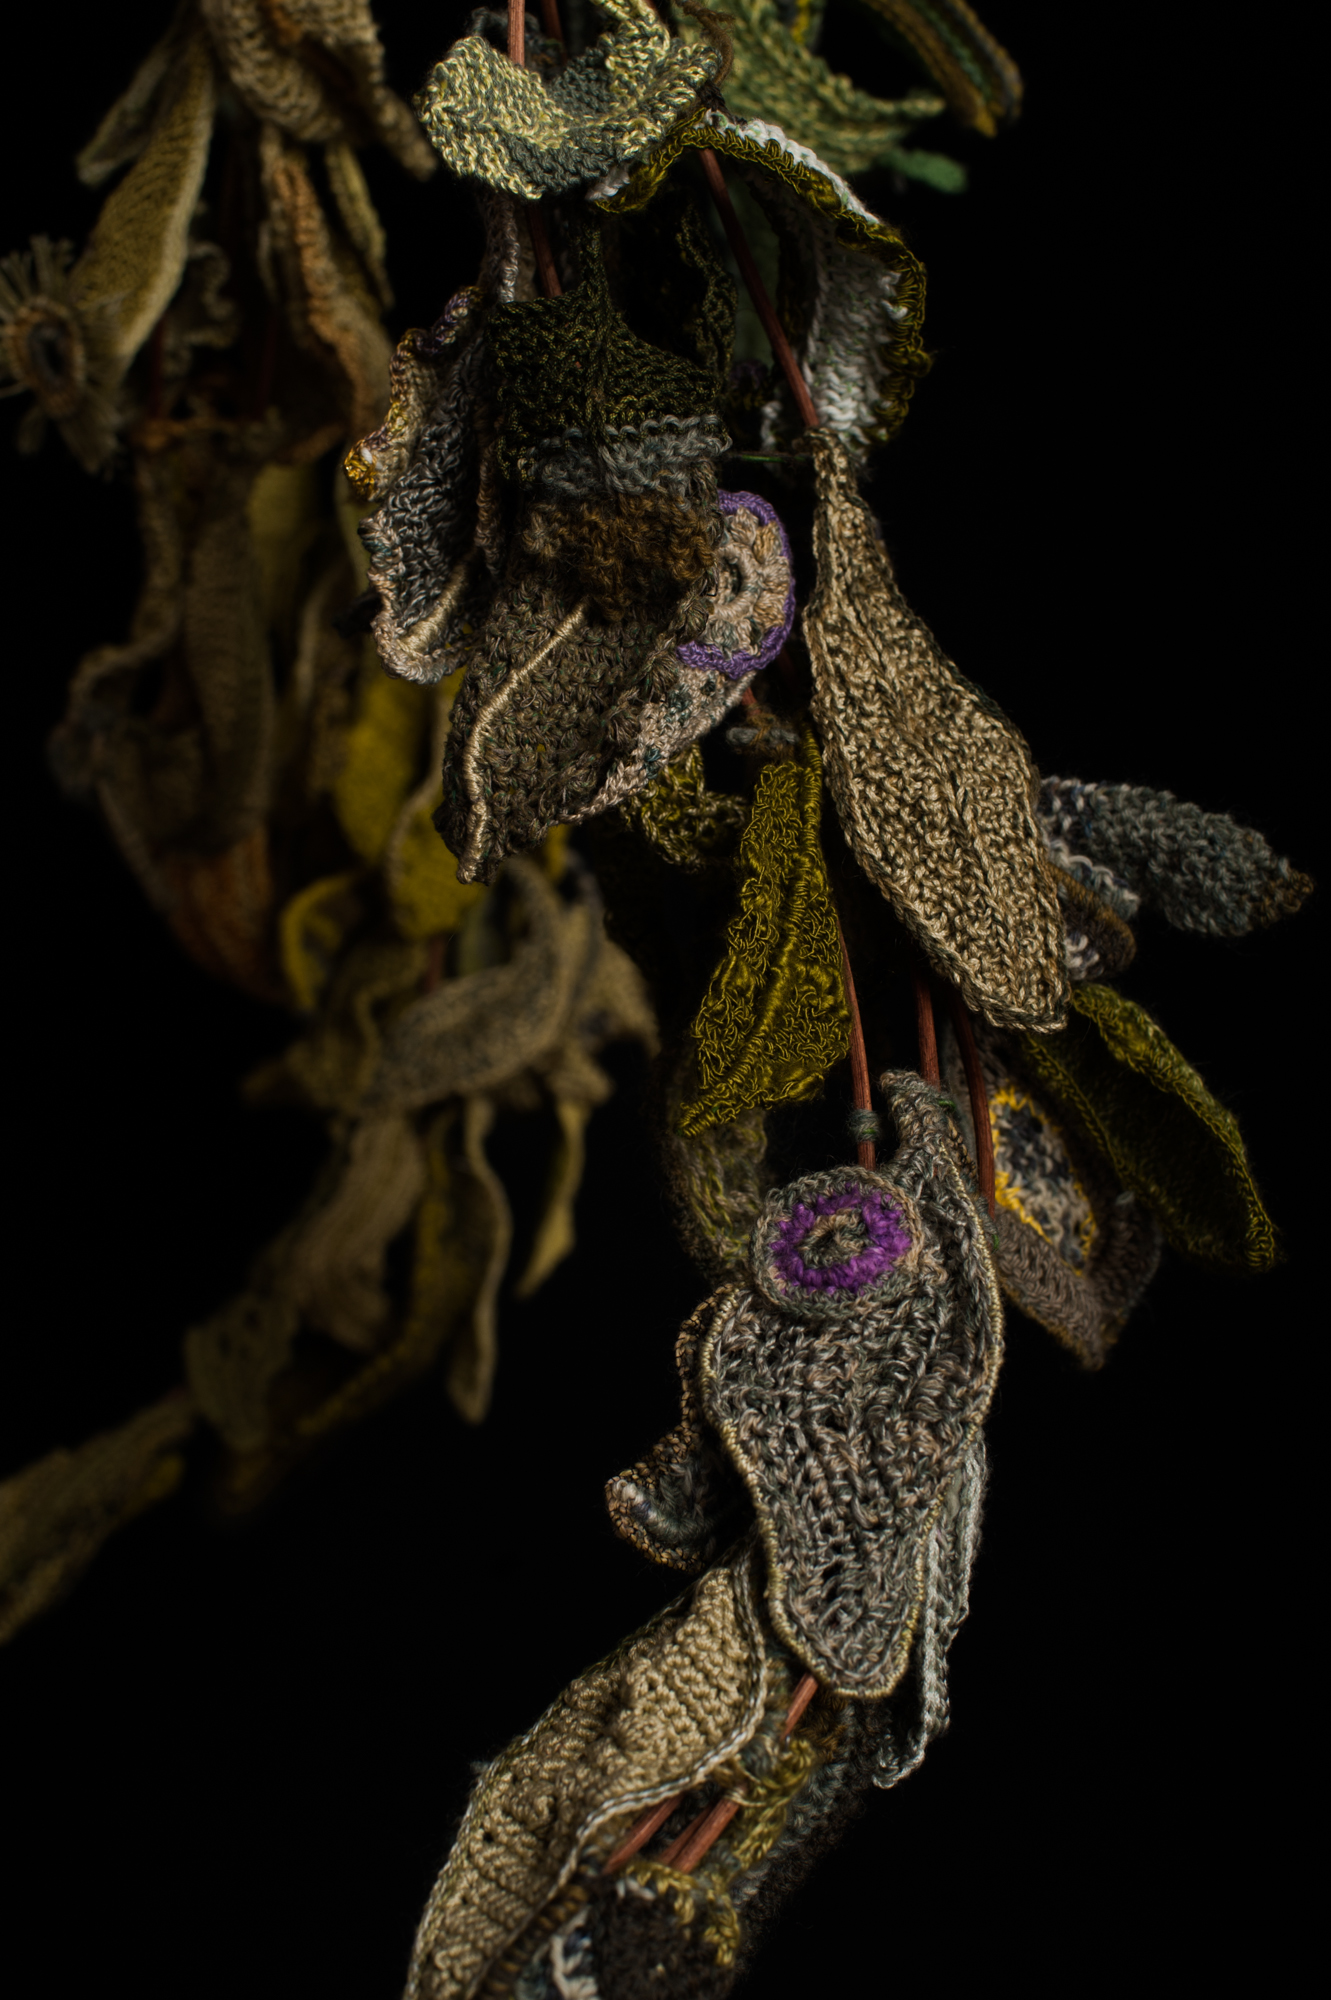
And I see every one, Triptych 120cm x 156cm, natural and synthetic yarns and wire, knitting and crochet, red leaf detail, image by Josh Wells Photography, 2020
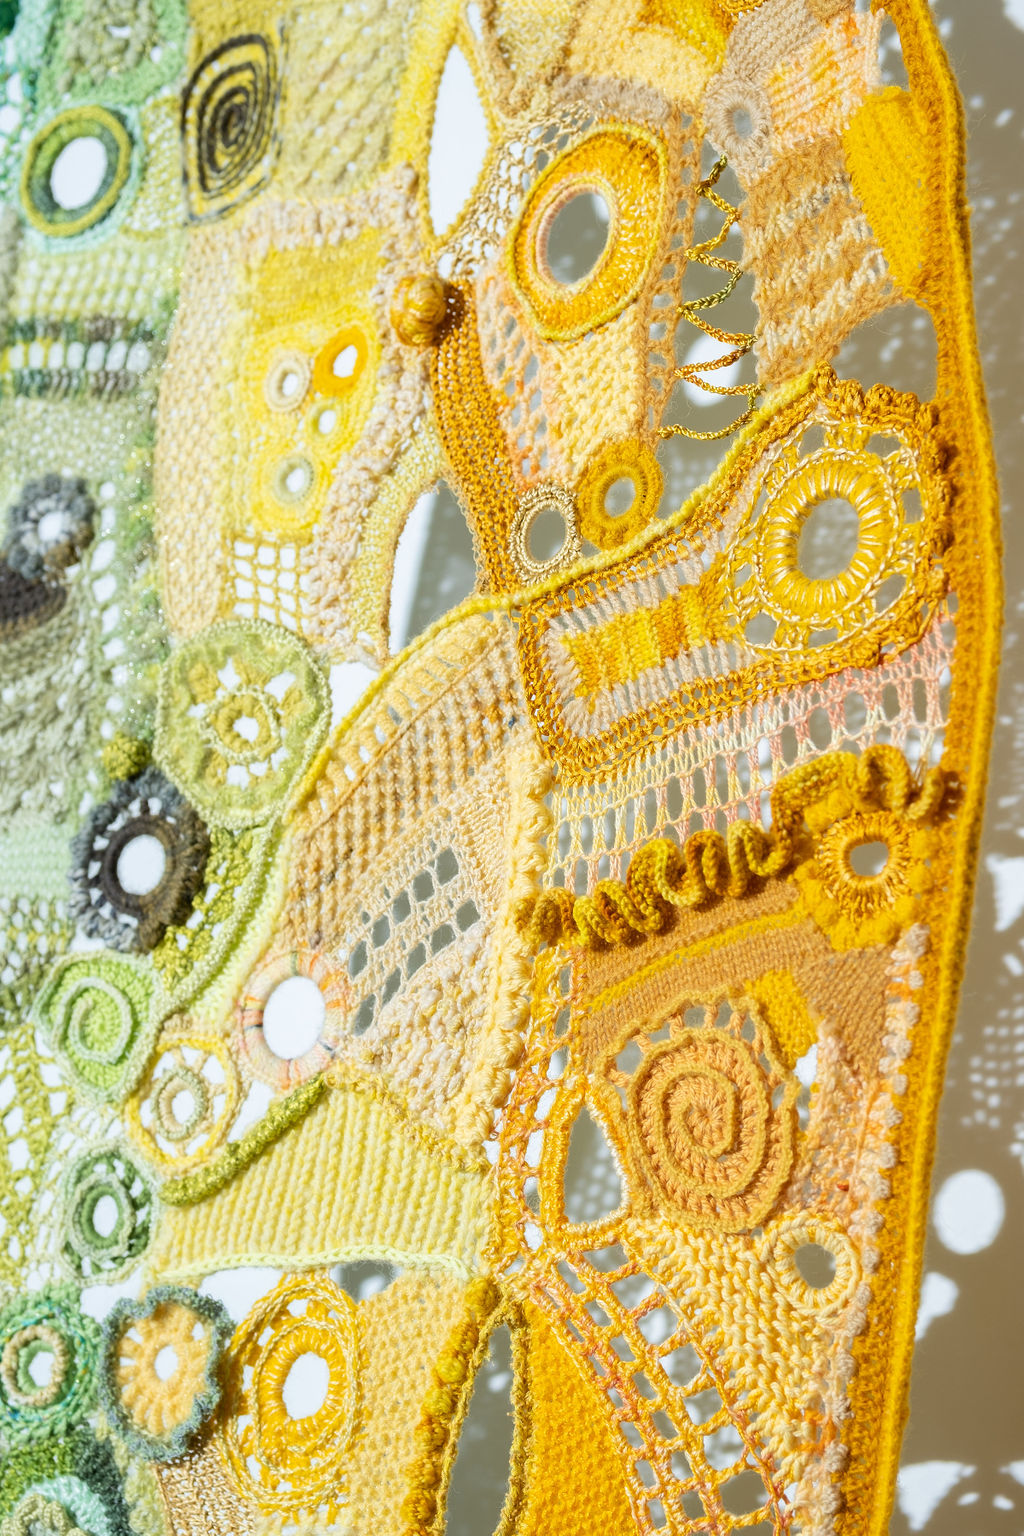
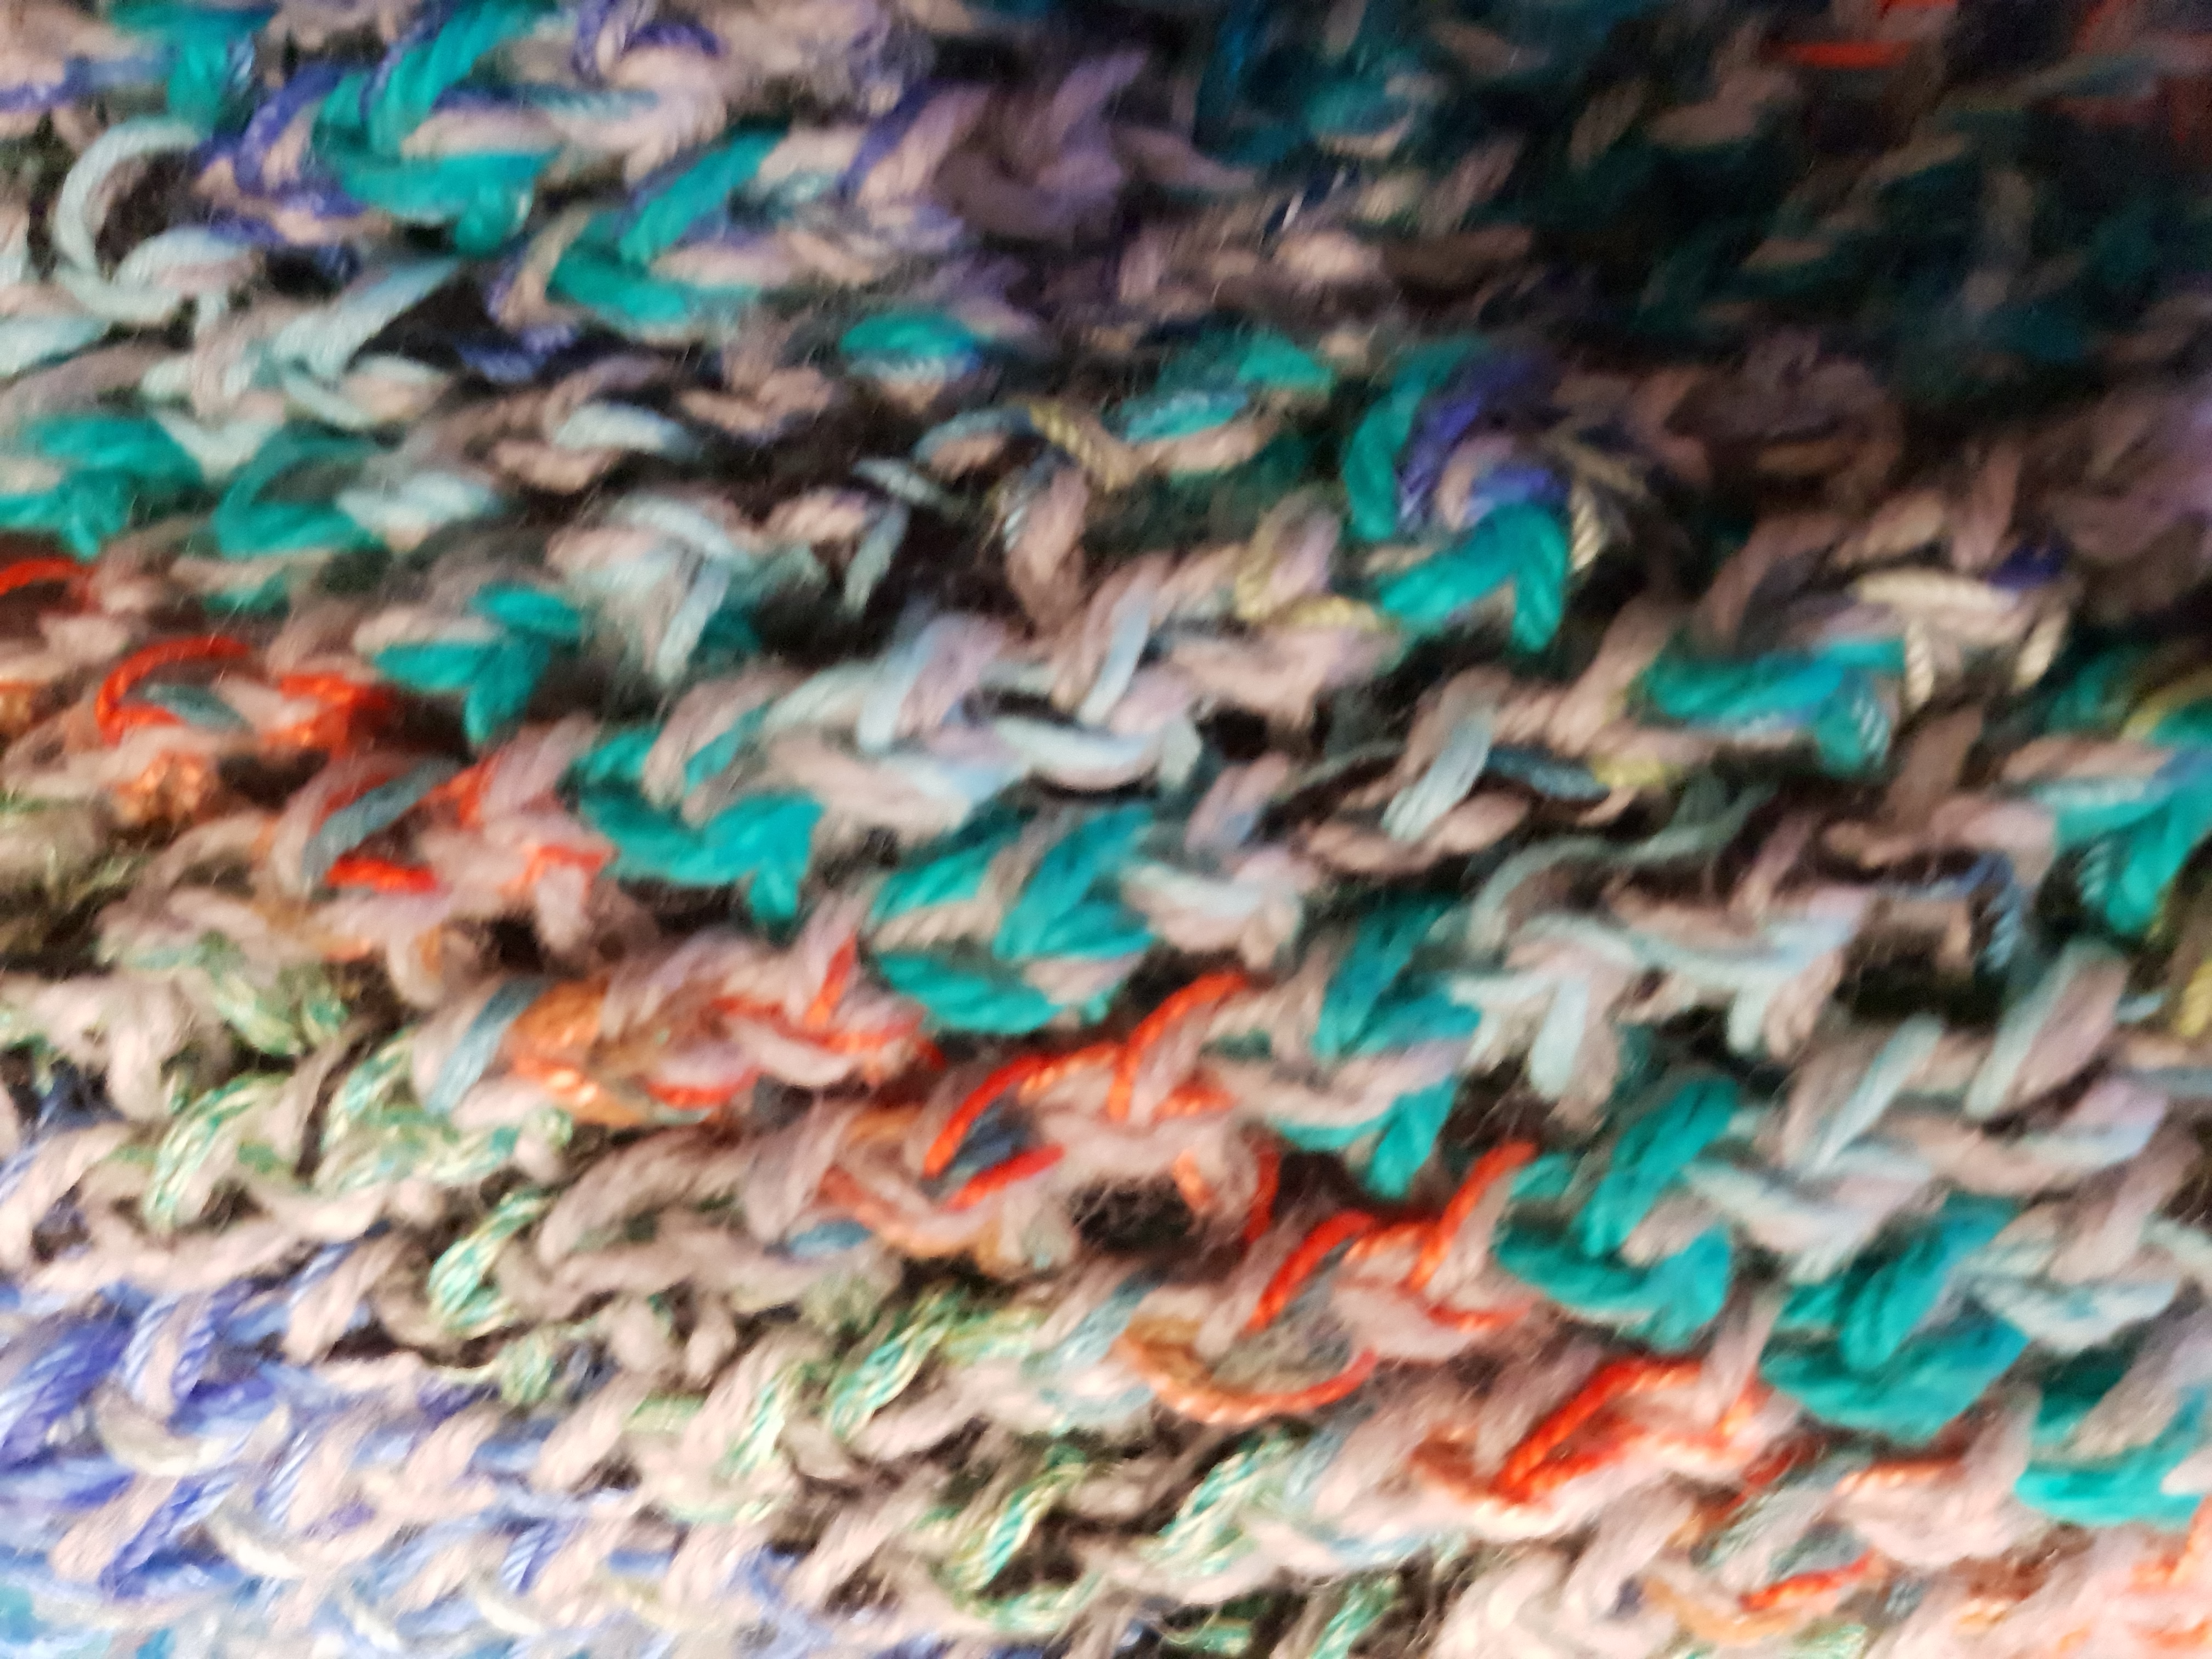
And I see every one, Triptych 120cm x 156cm, natural and synthetic yarns and wire, knitting and crochet, yellow leaf detail, image by Josh Wells Photography, 2020
I look forward to blogging the opening of the twentyFIVE+Crossover exhibition when it opens!


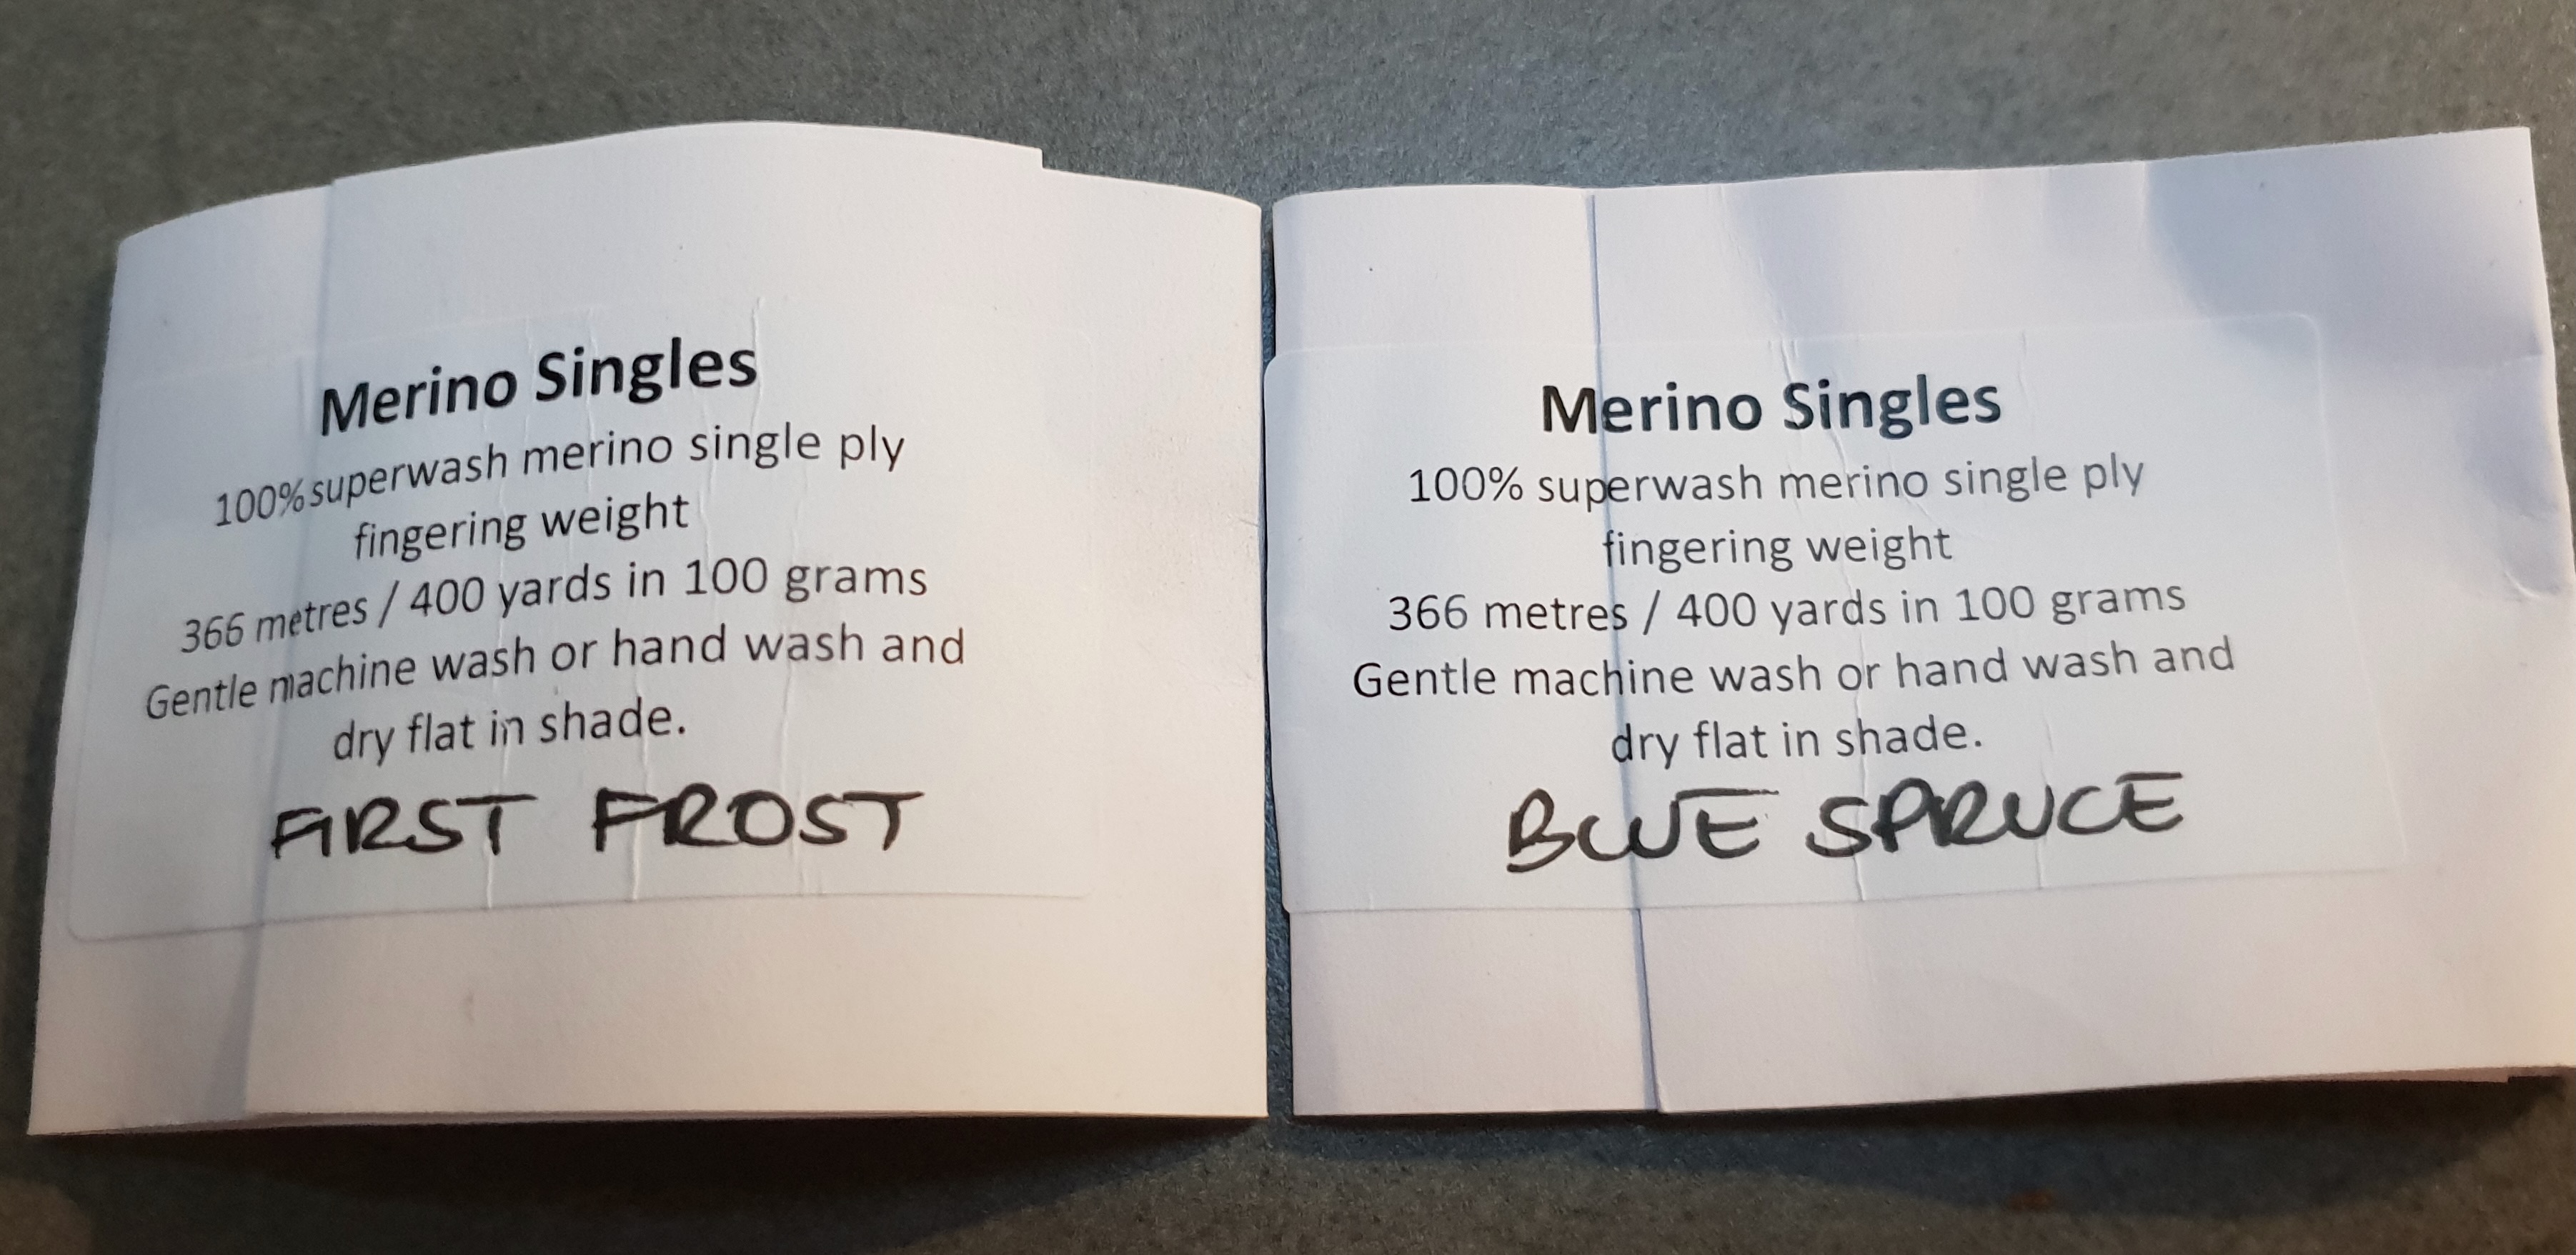
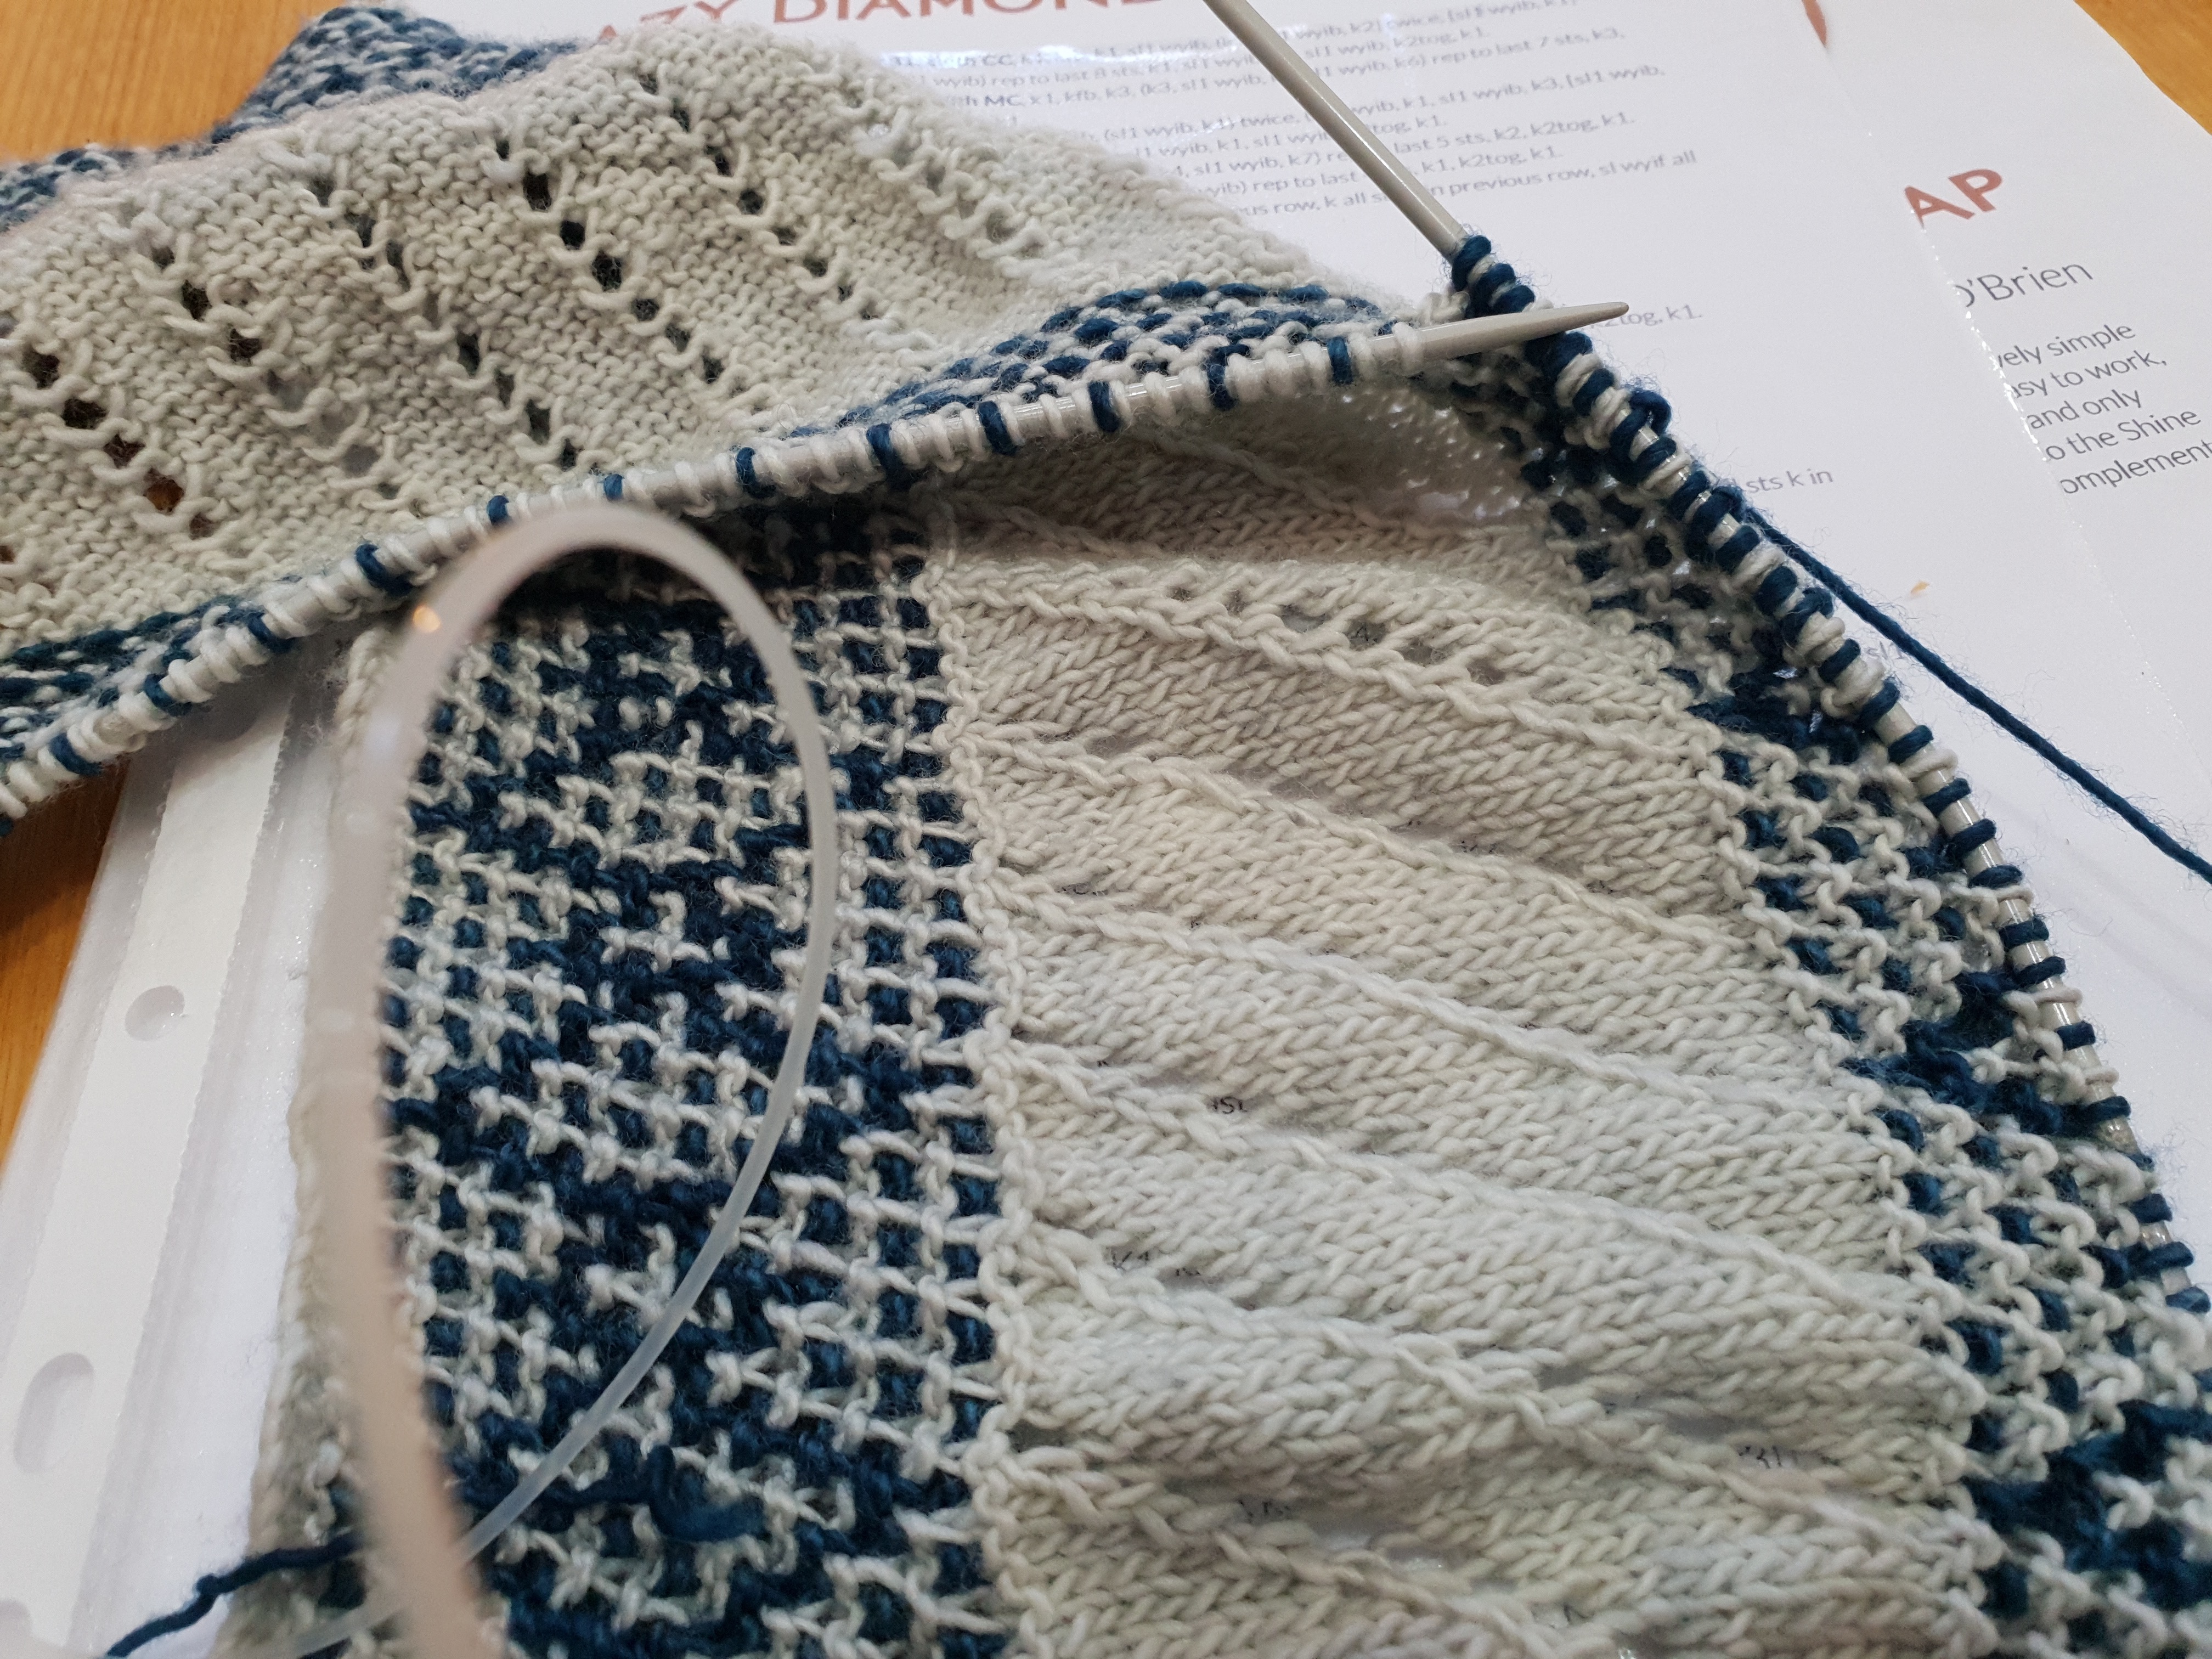
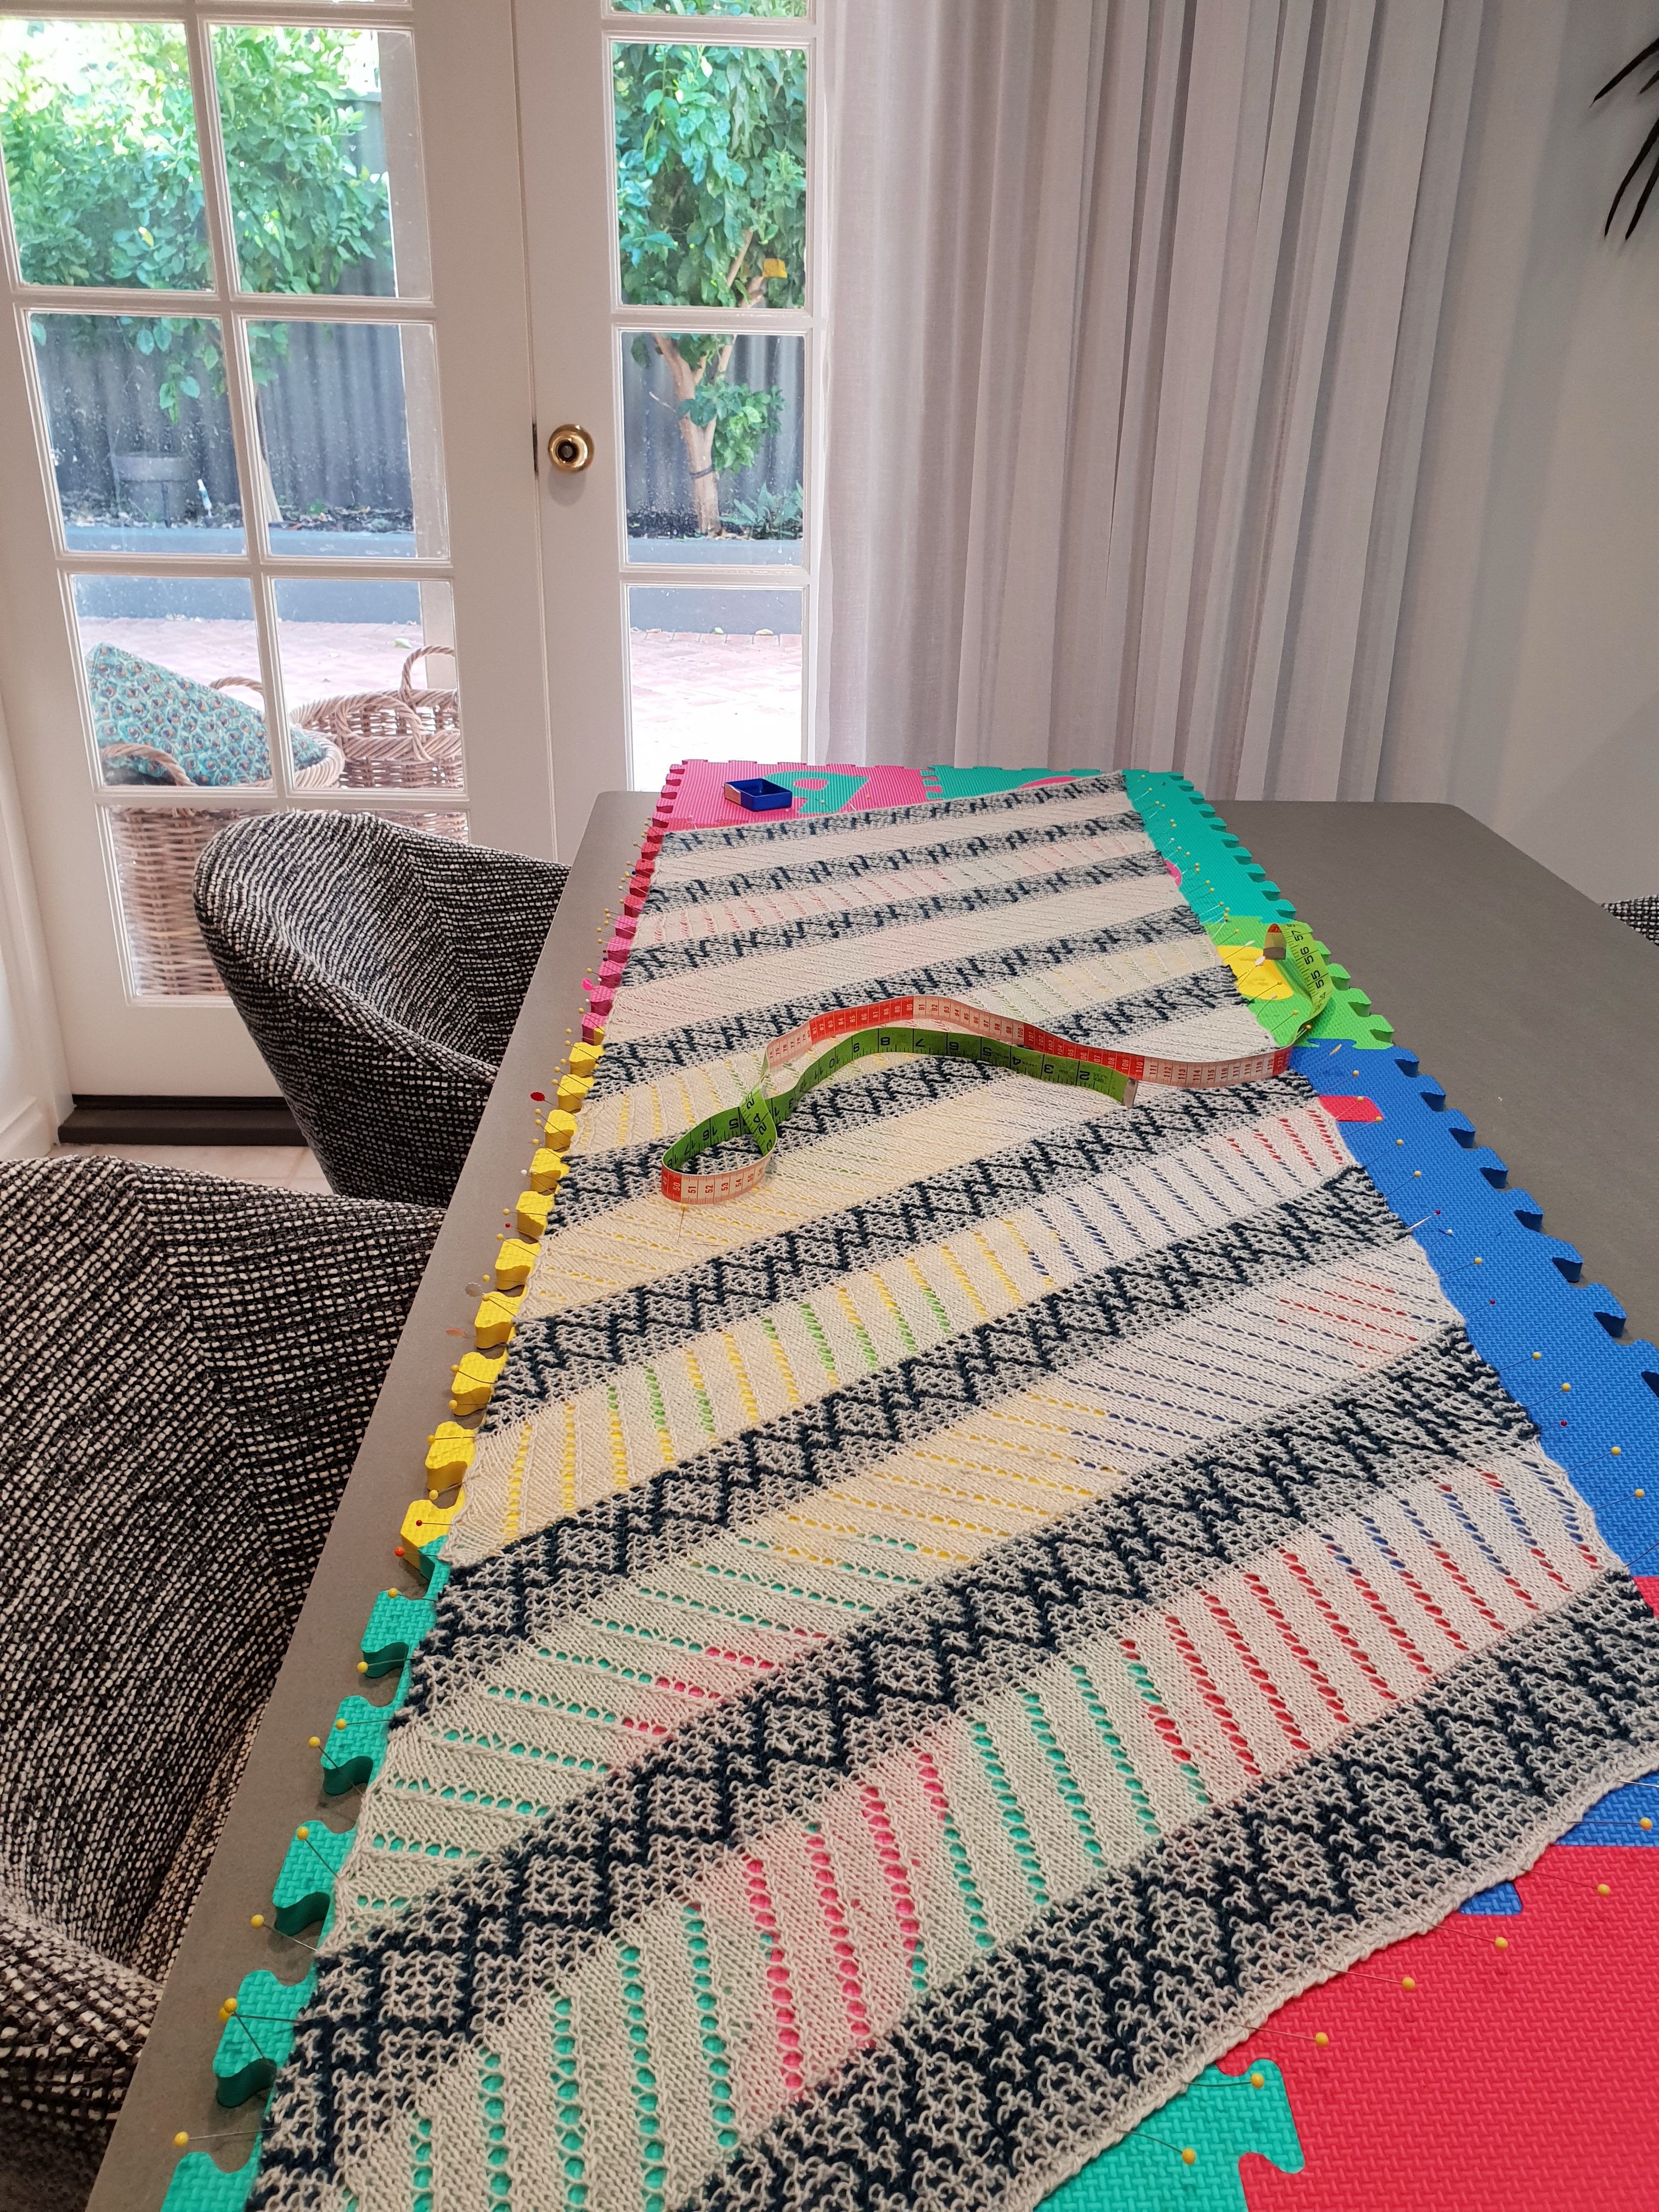


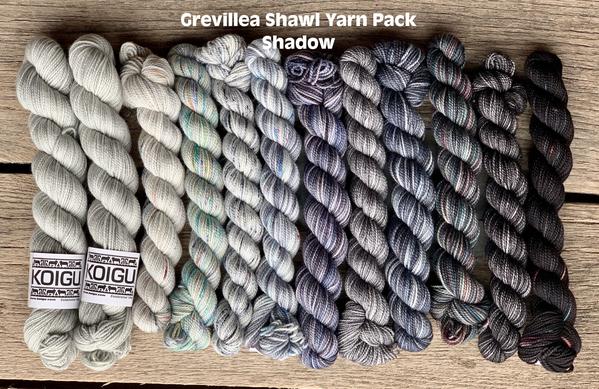


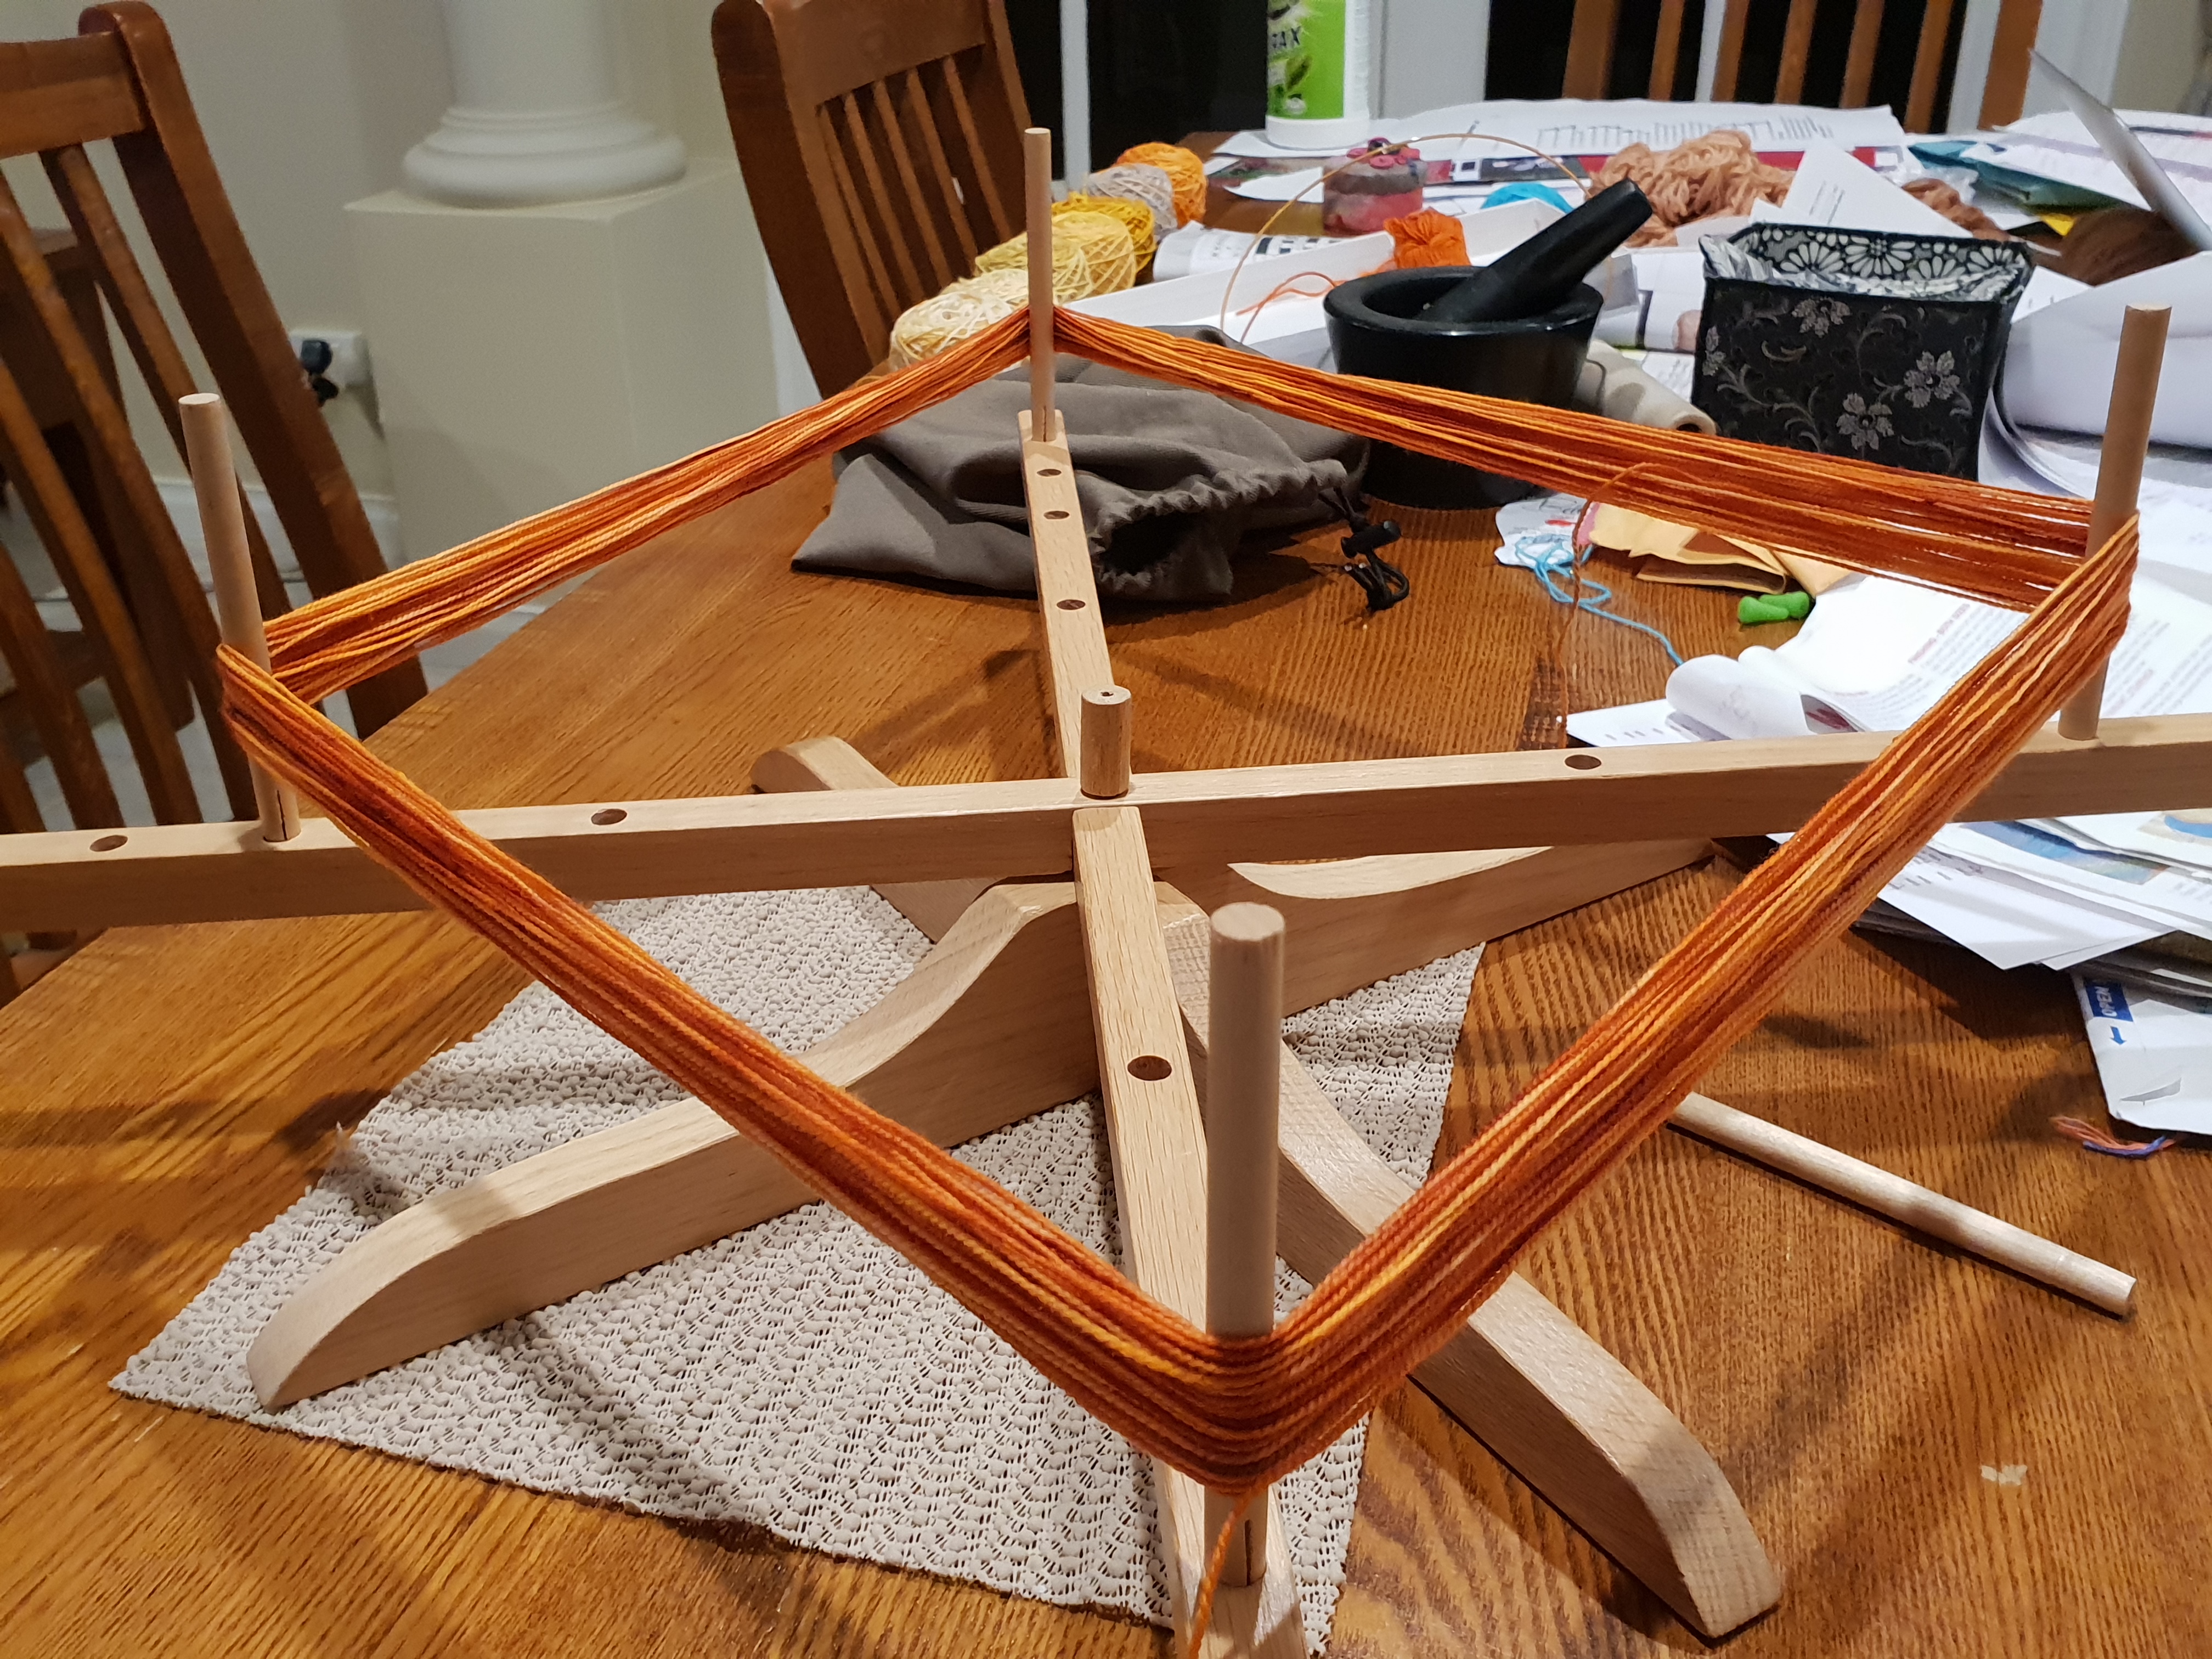
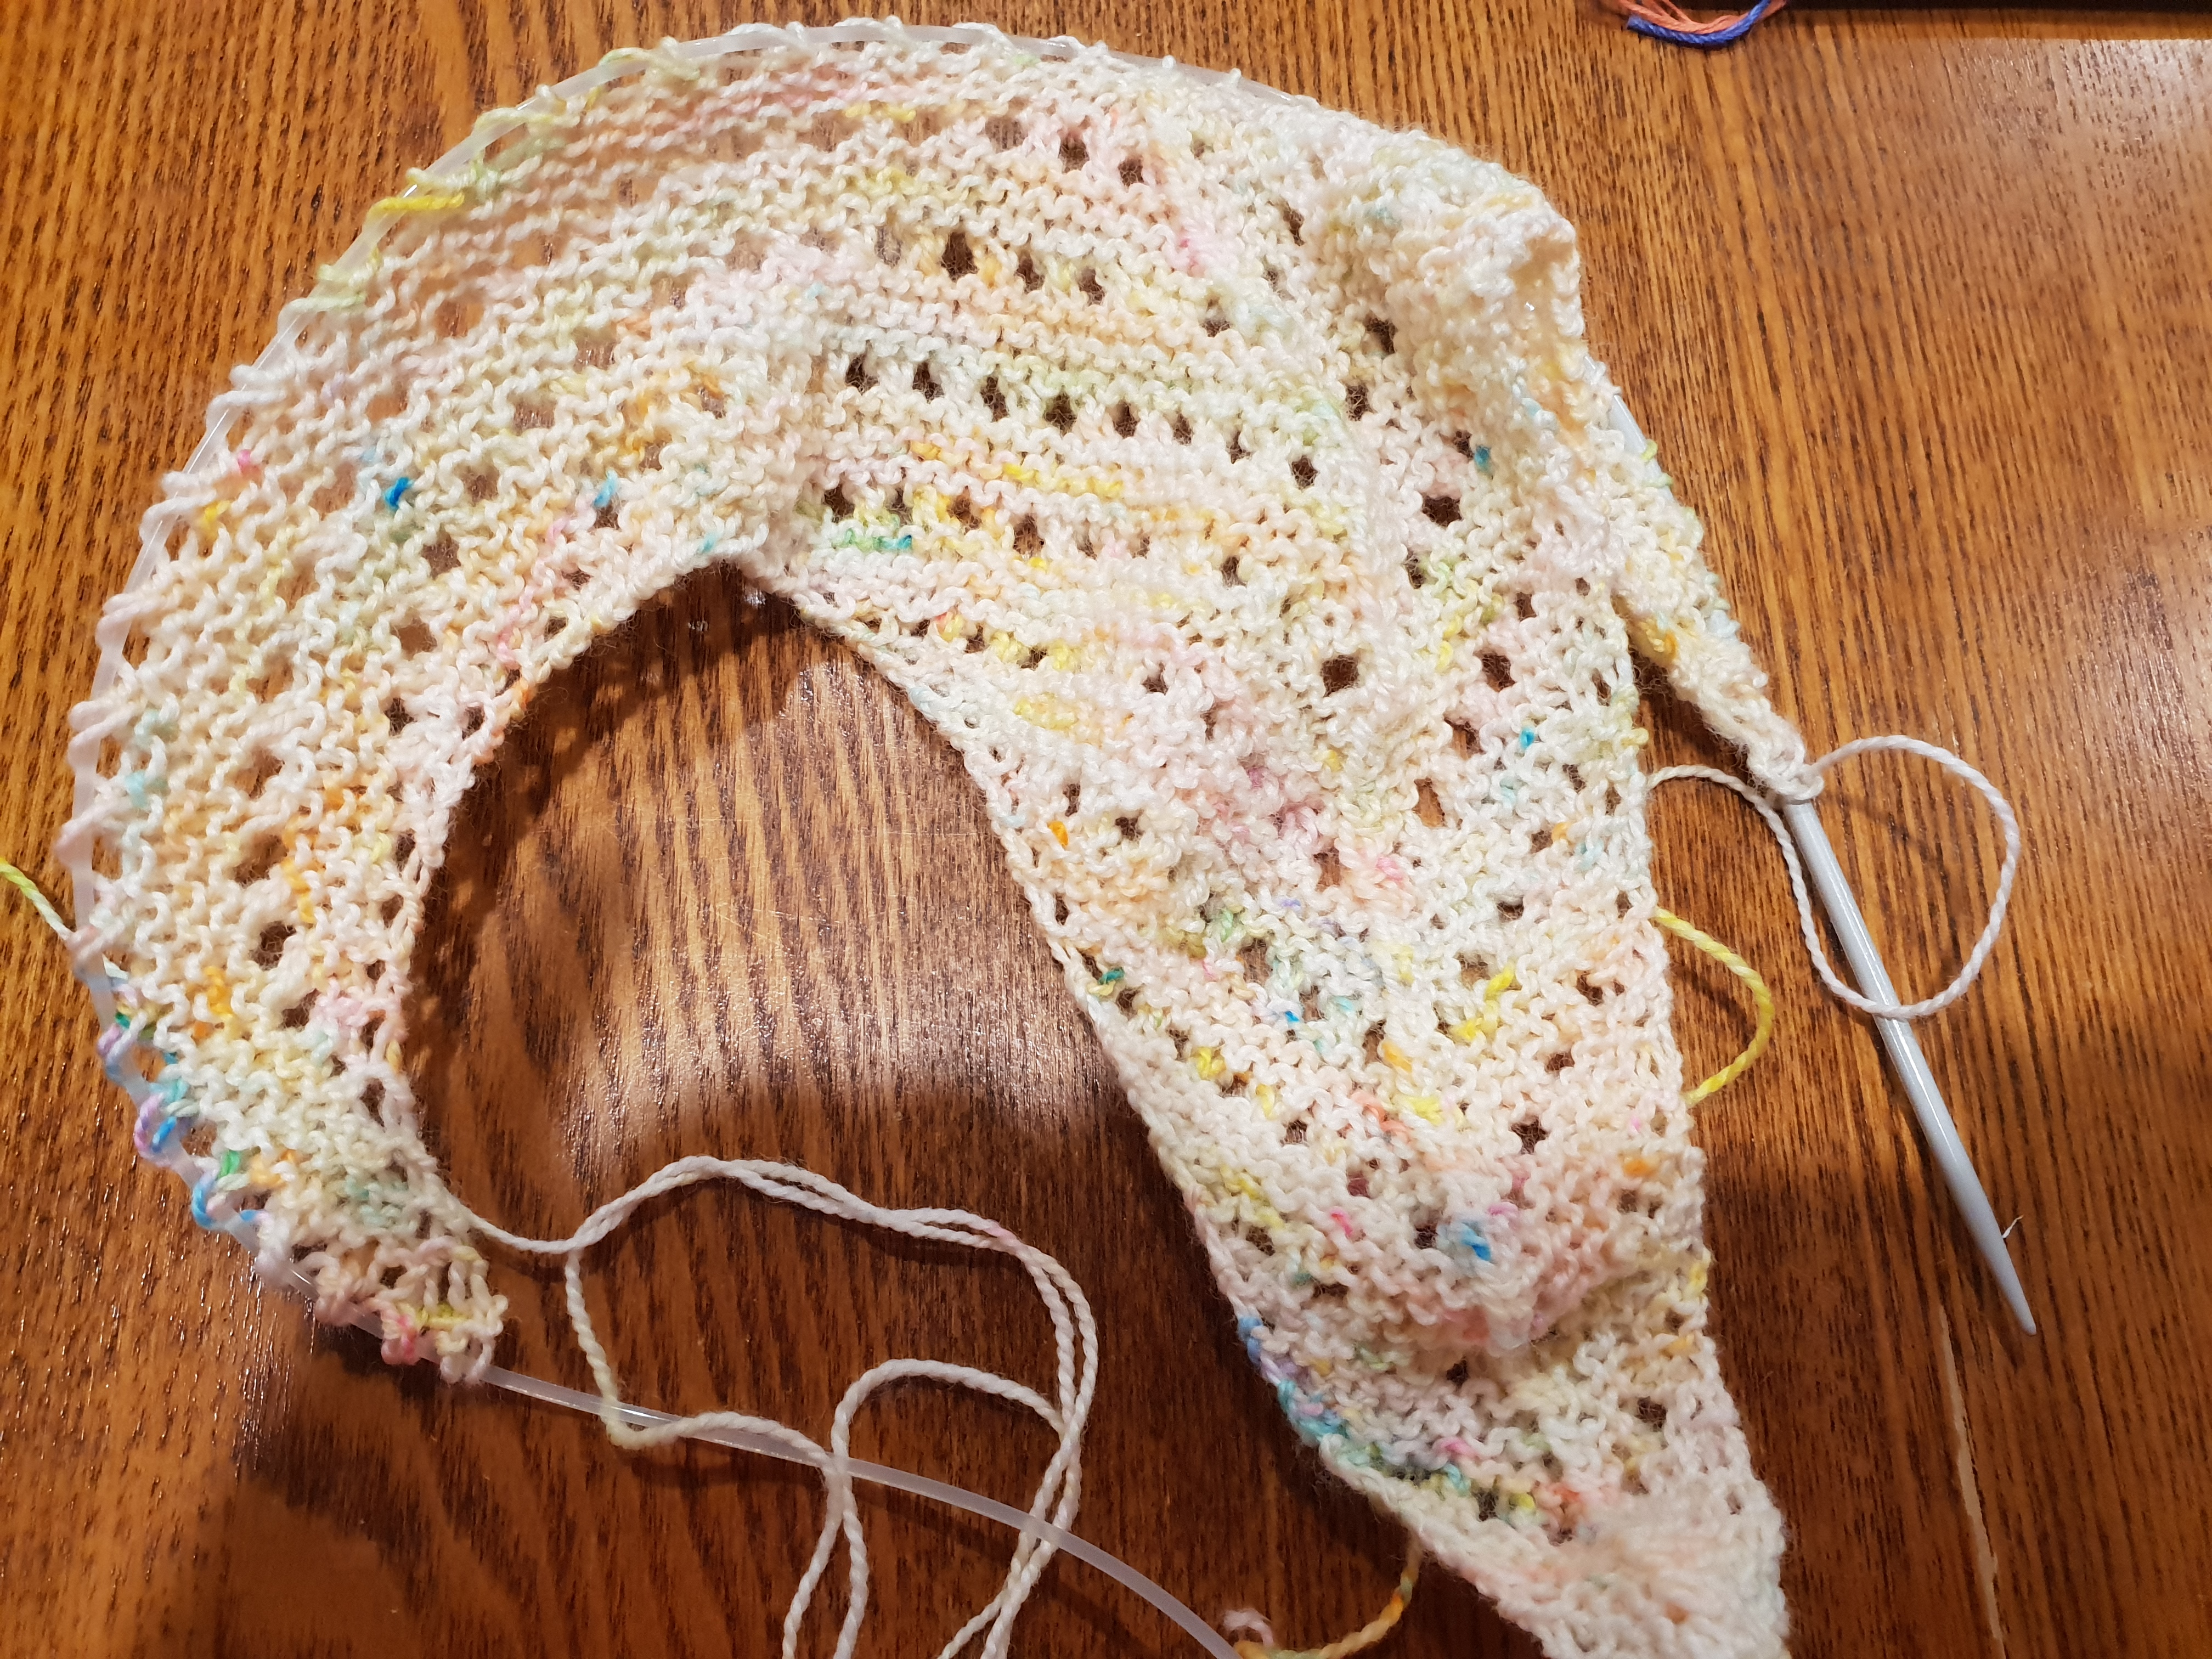
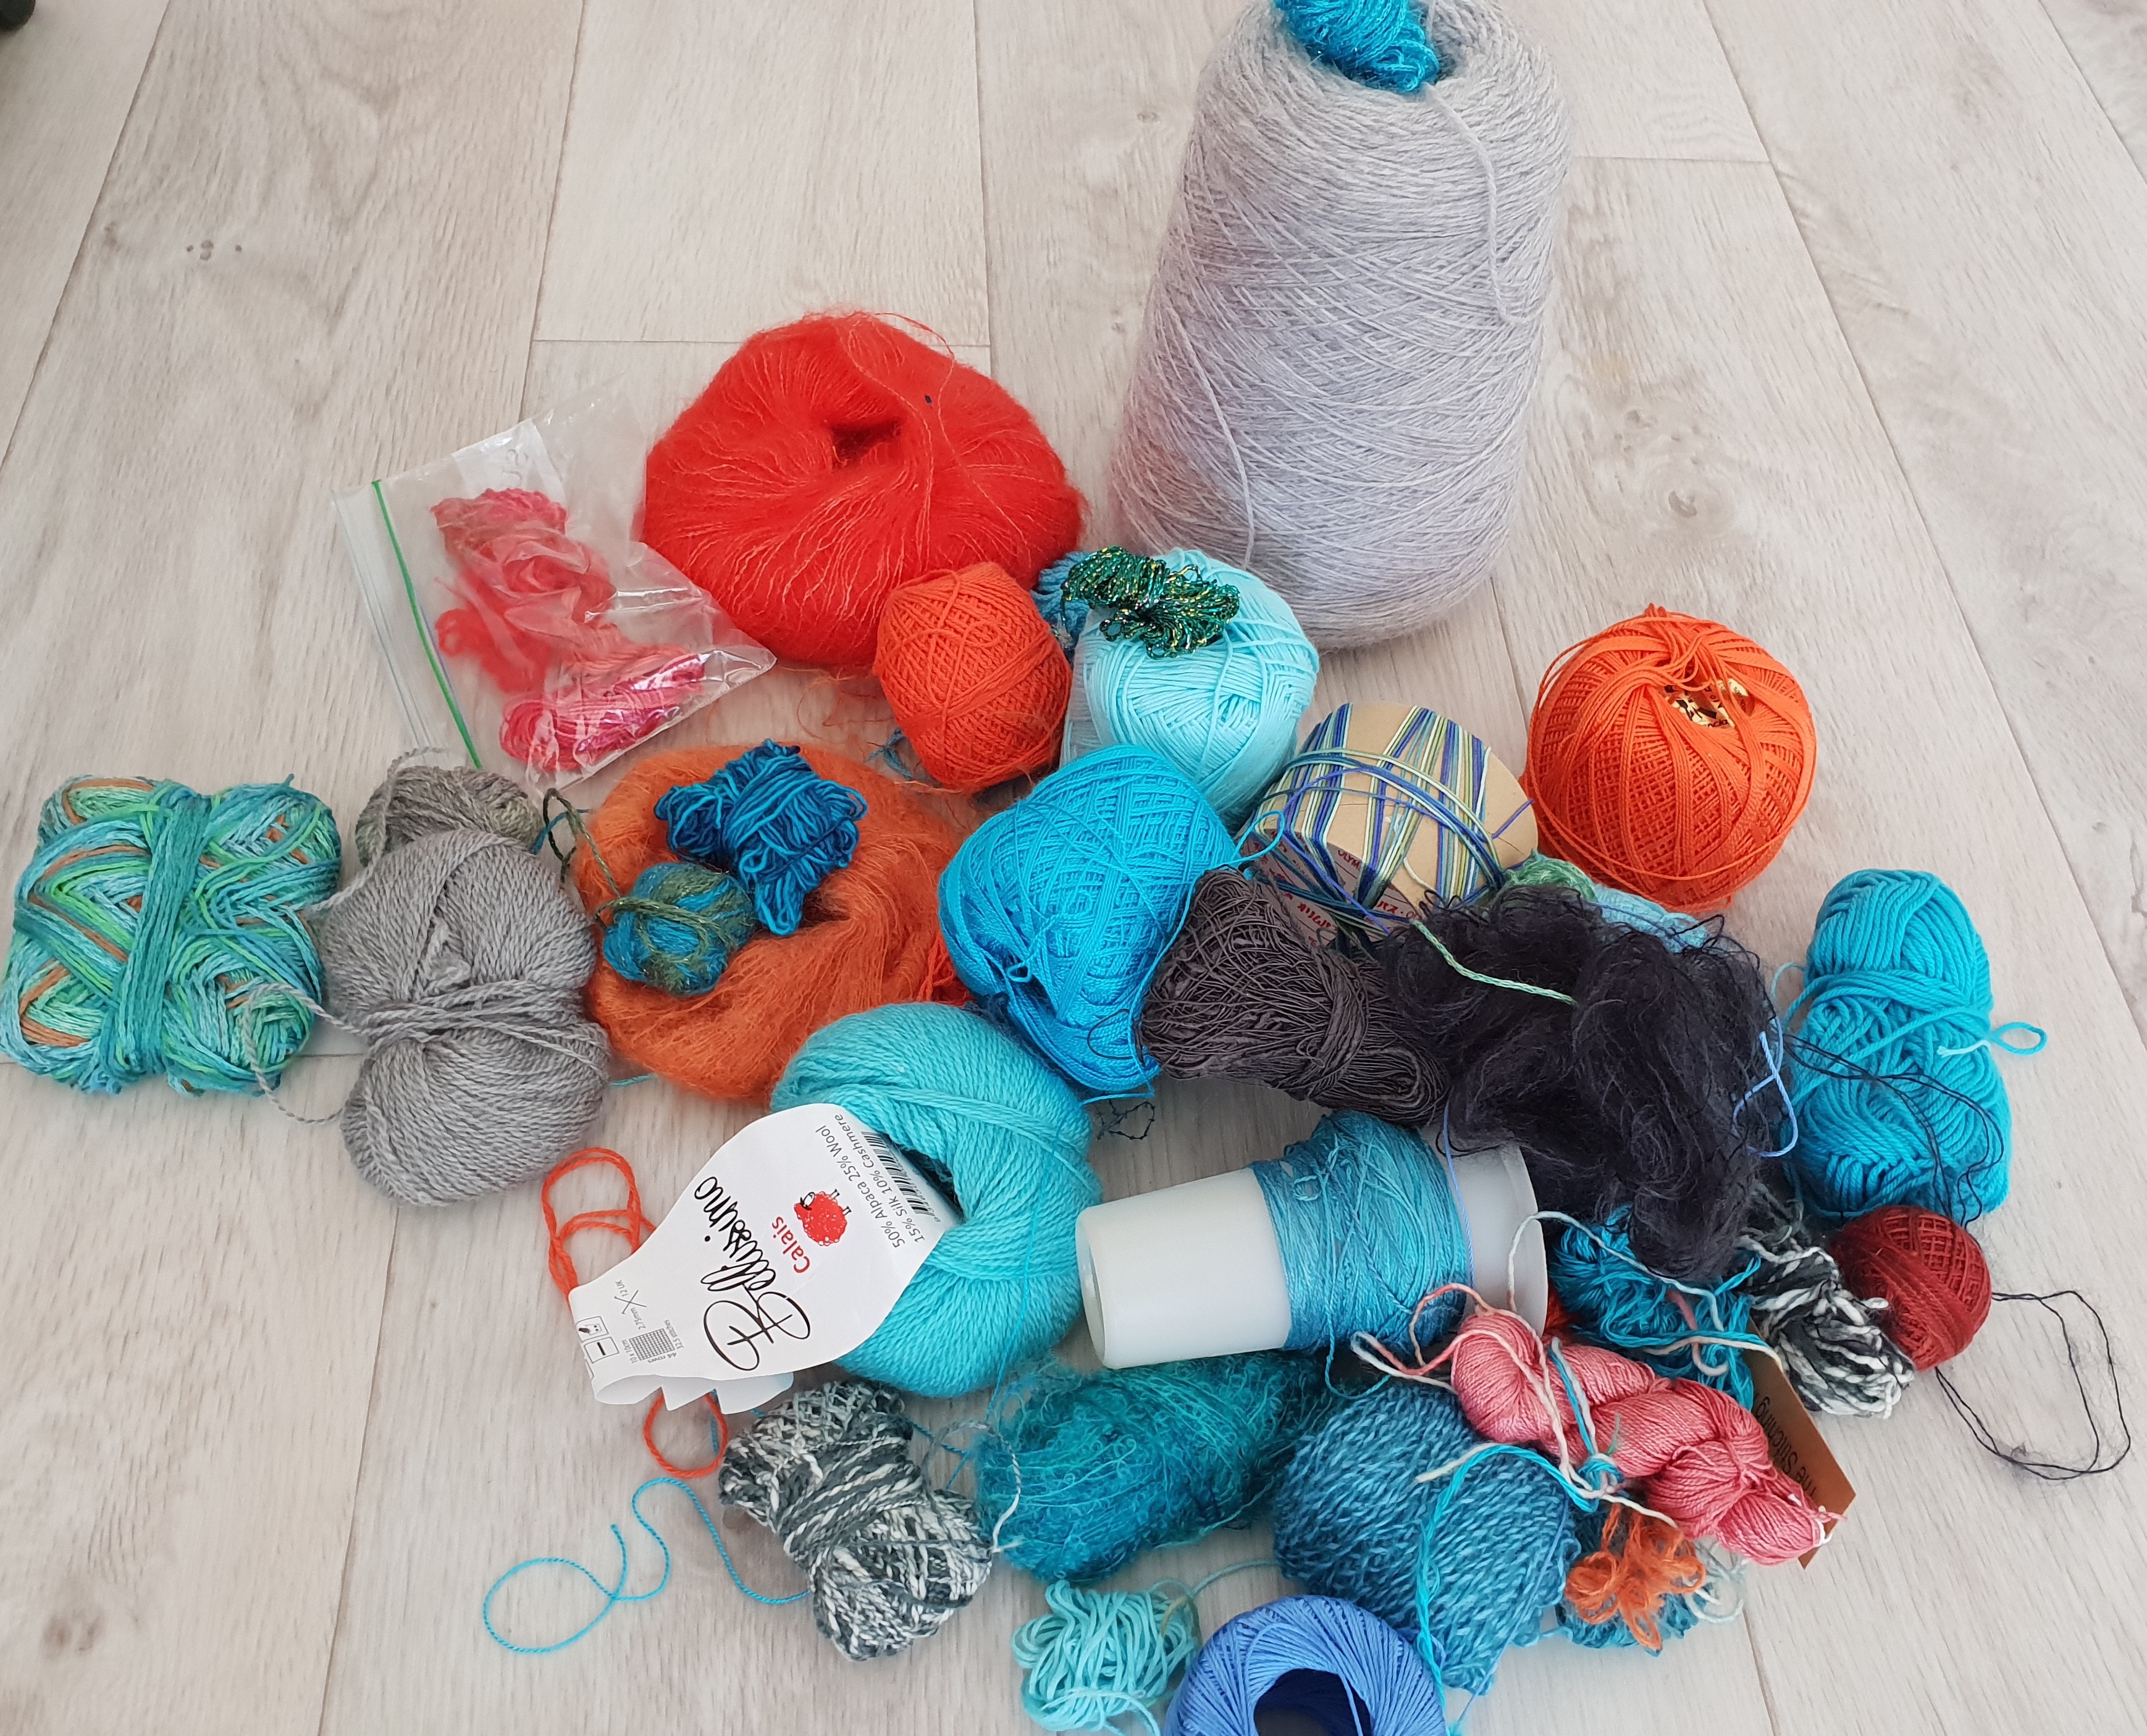
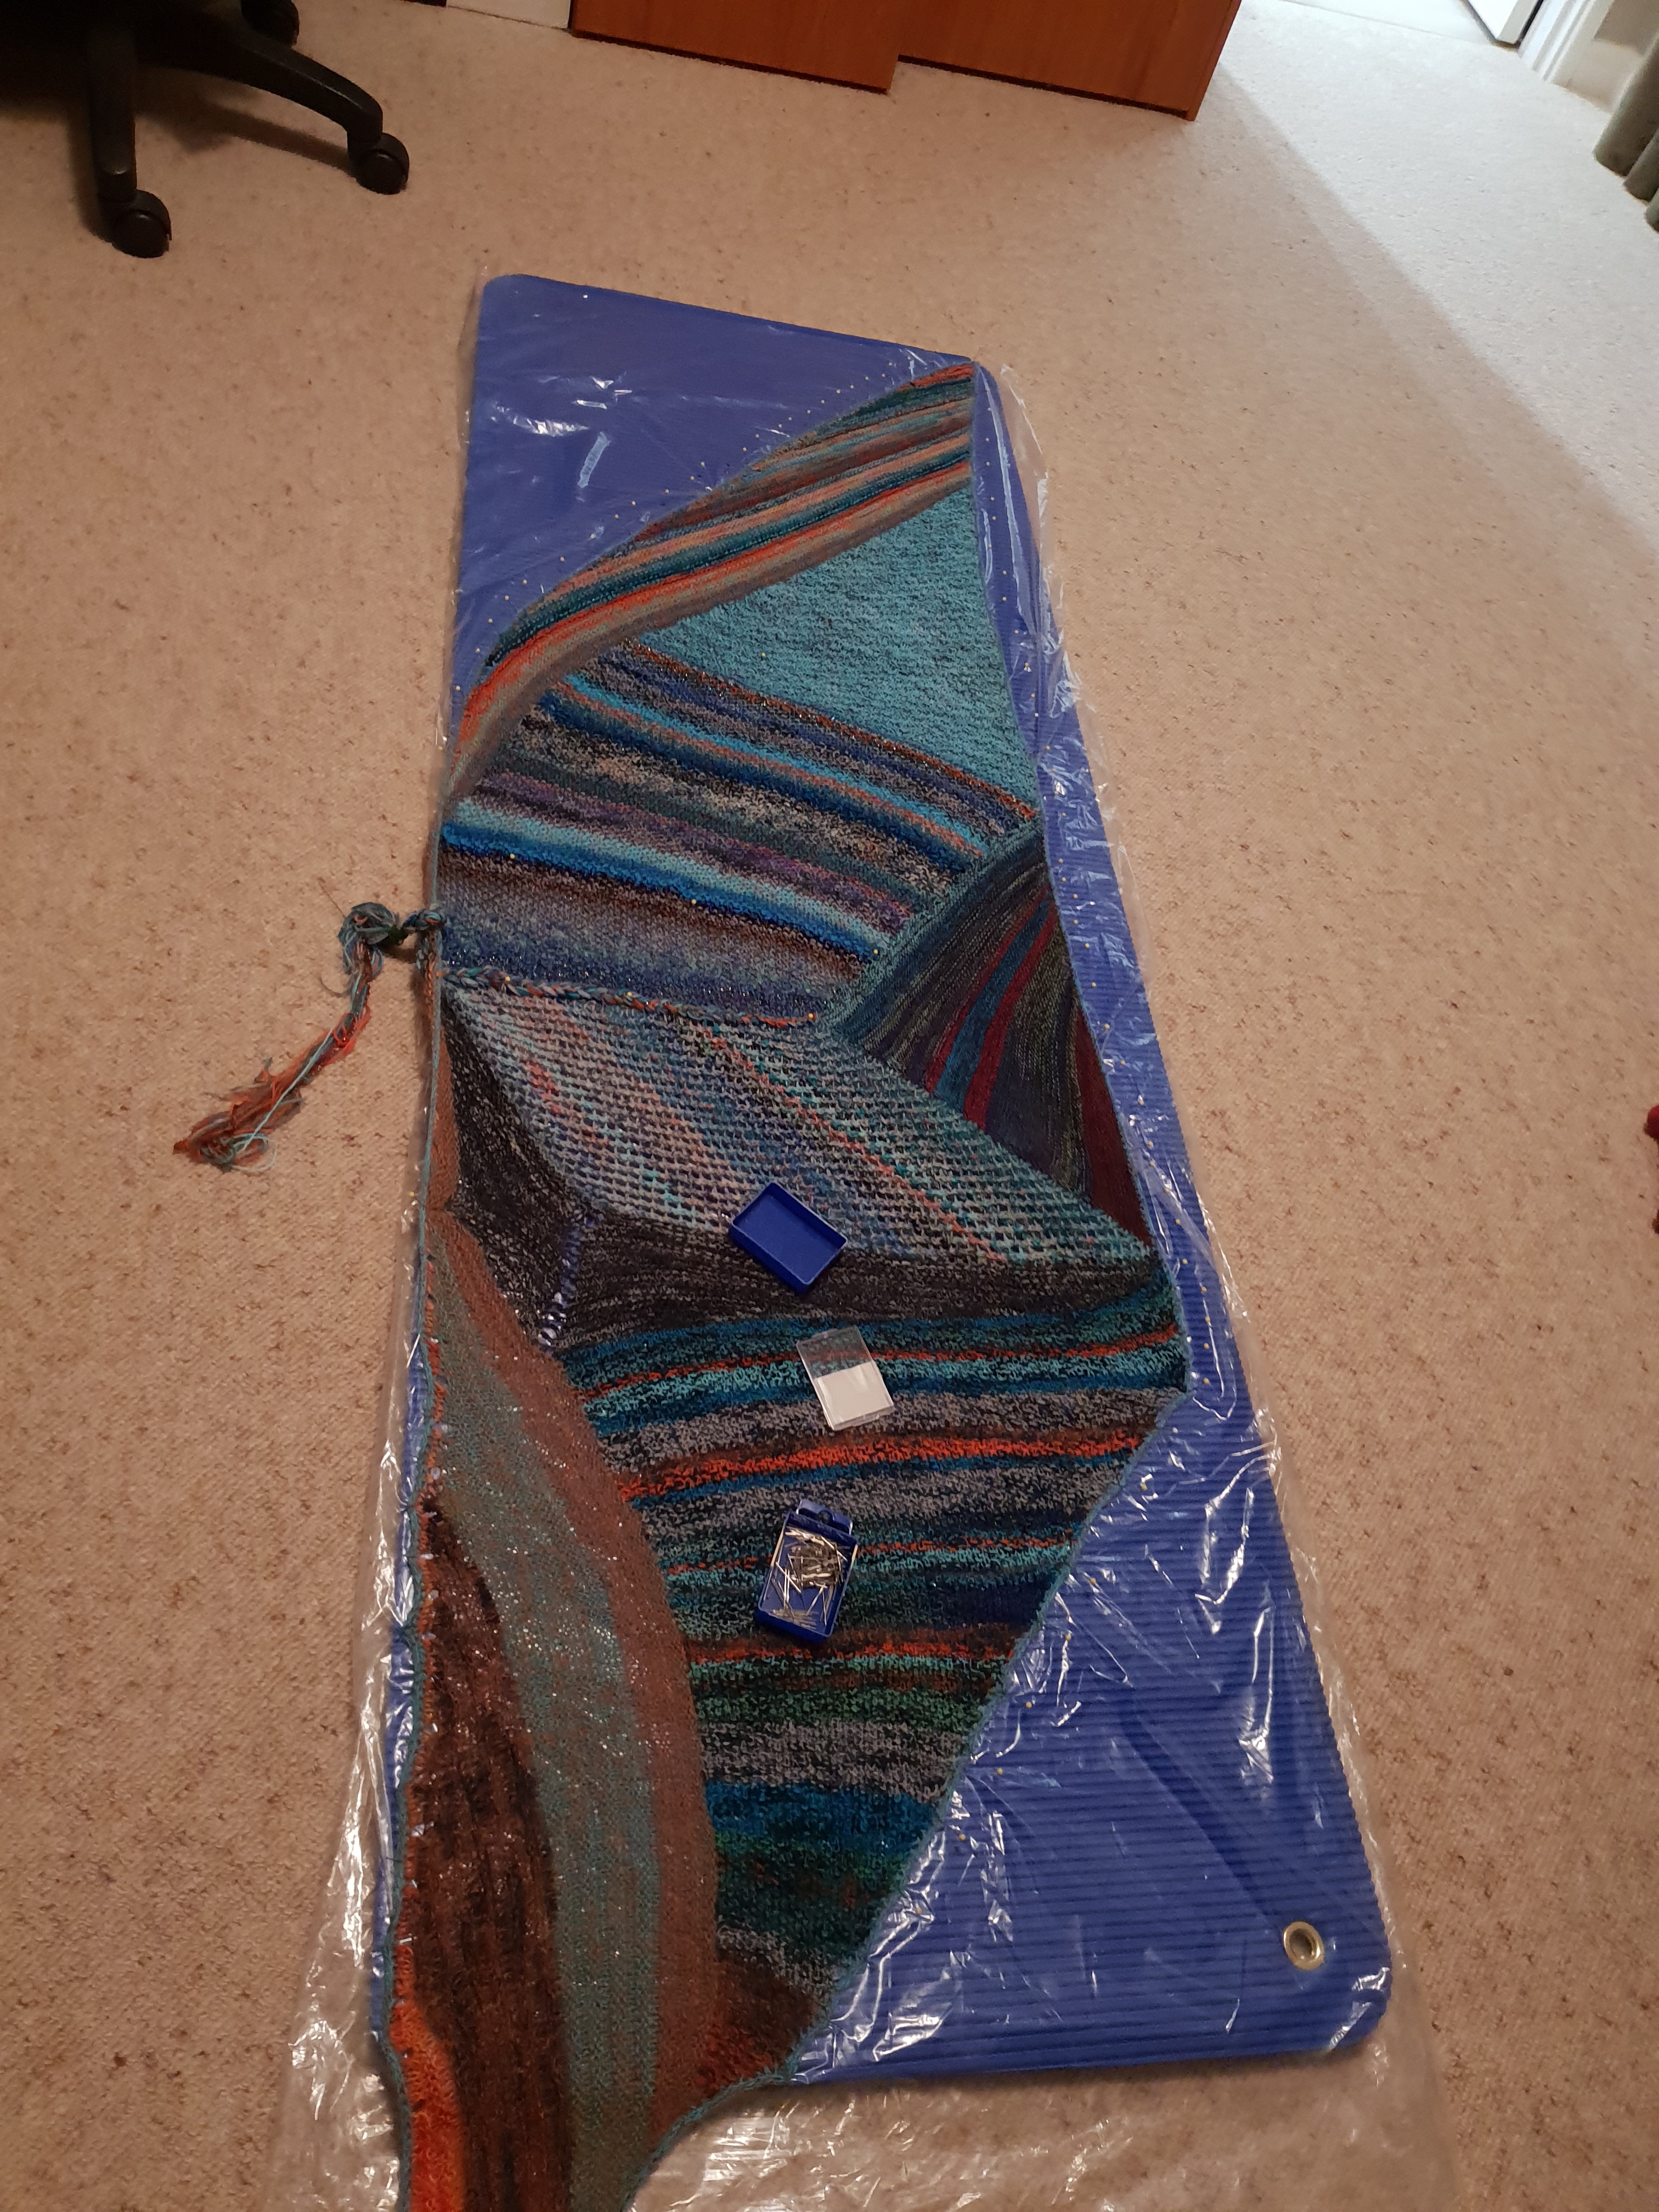
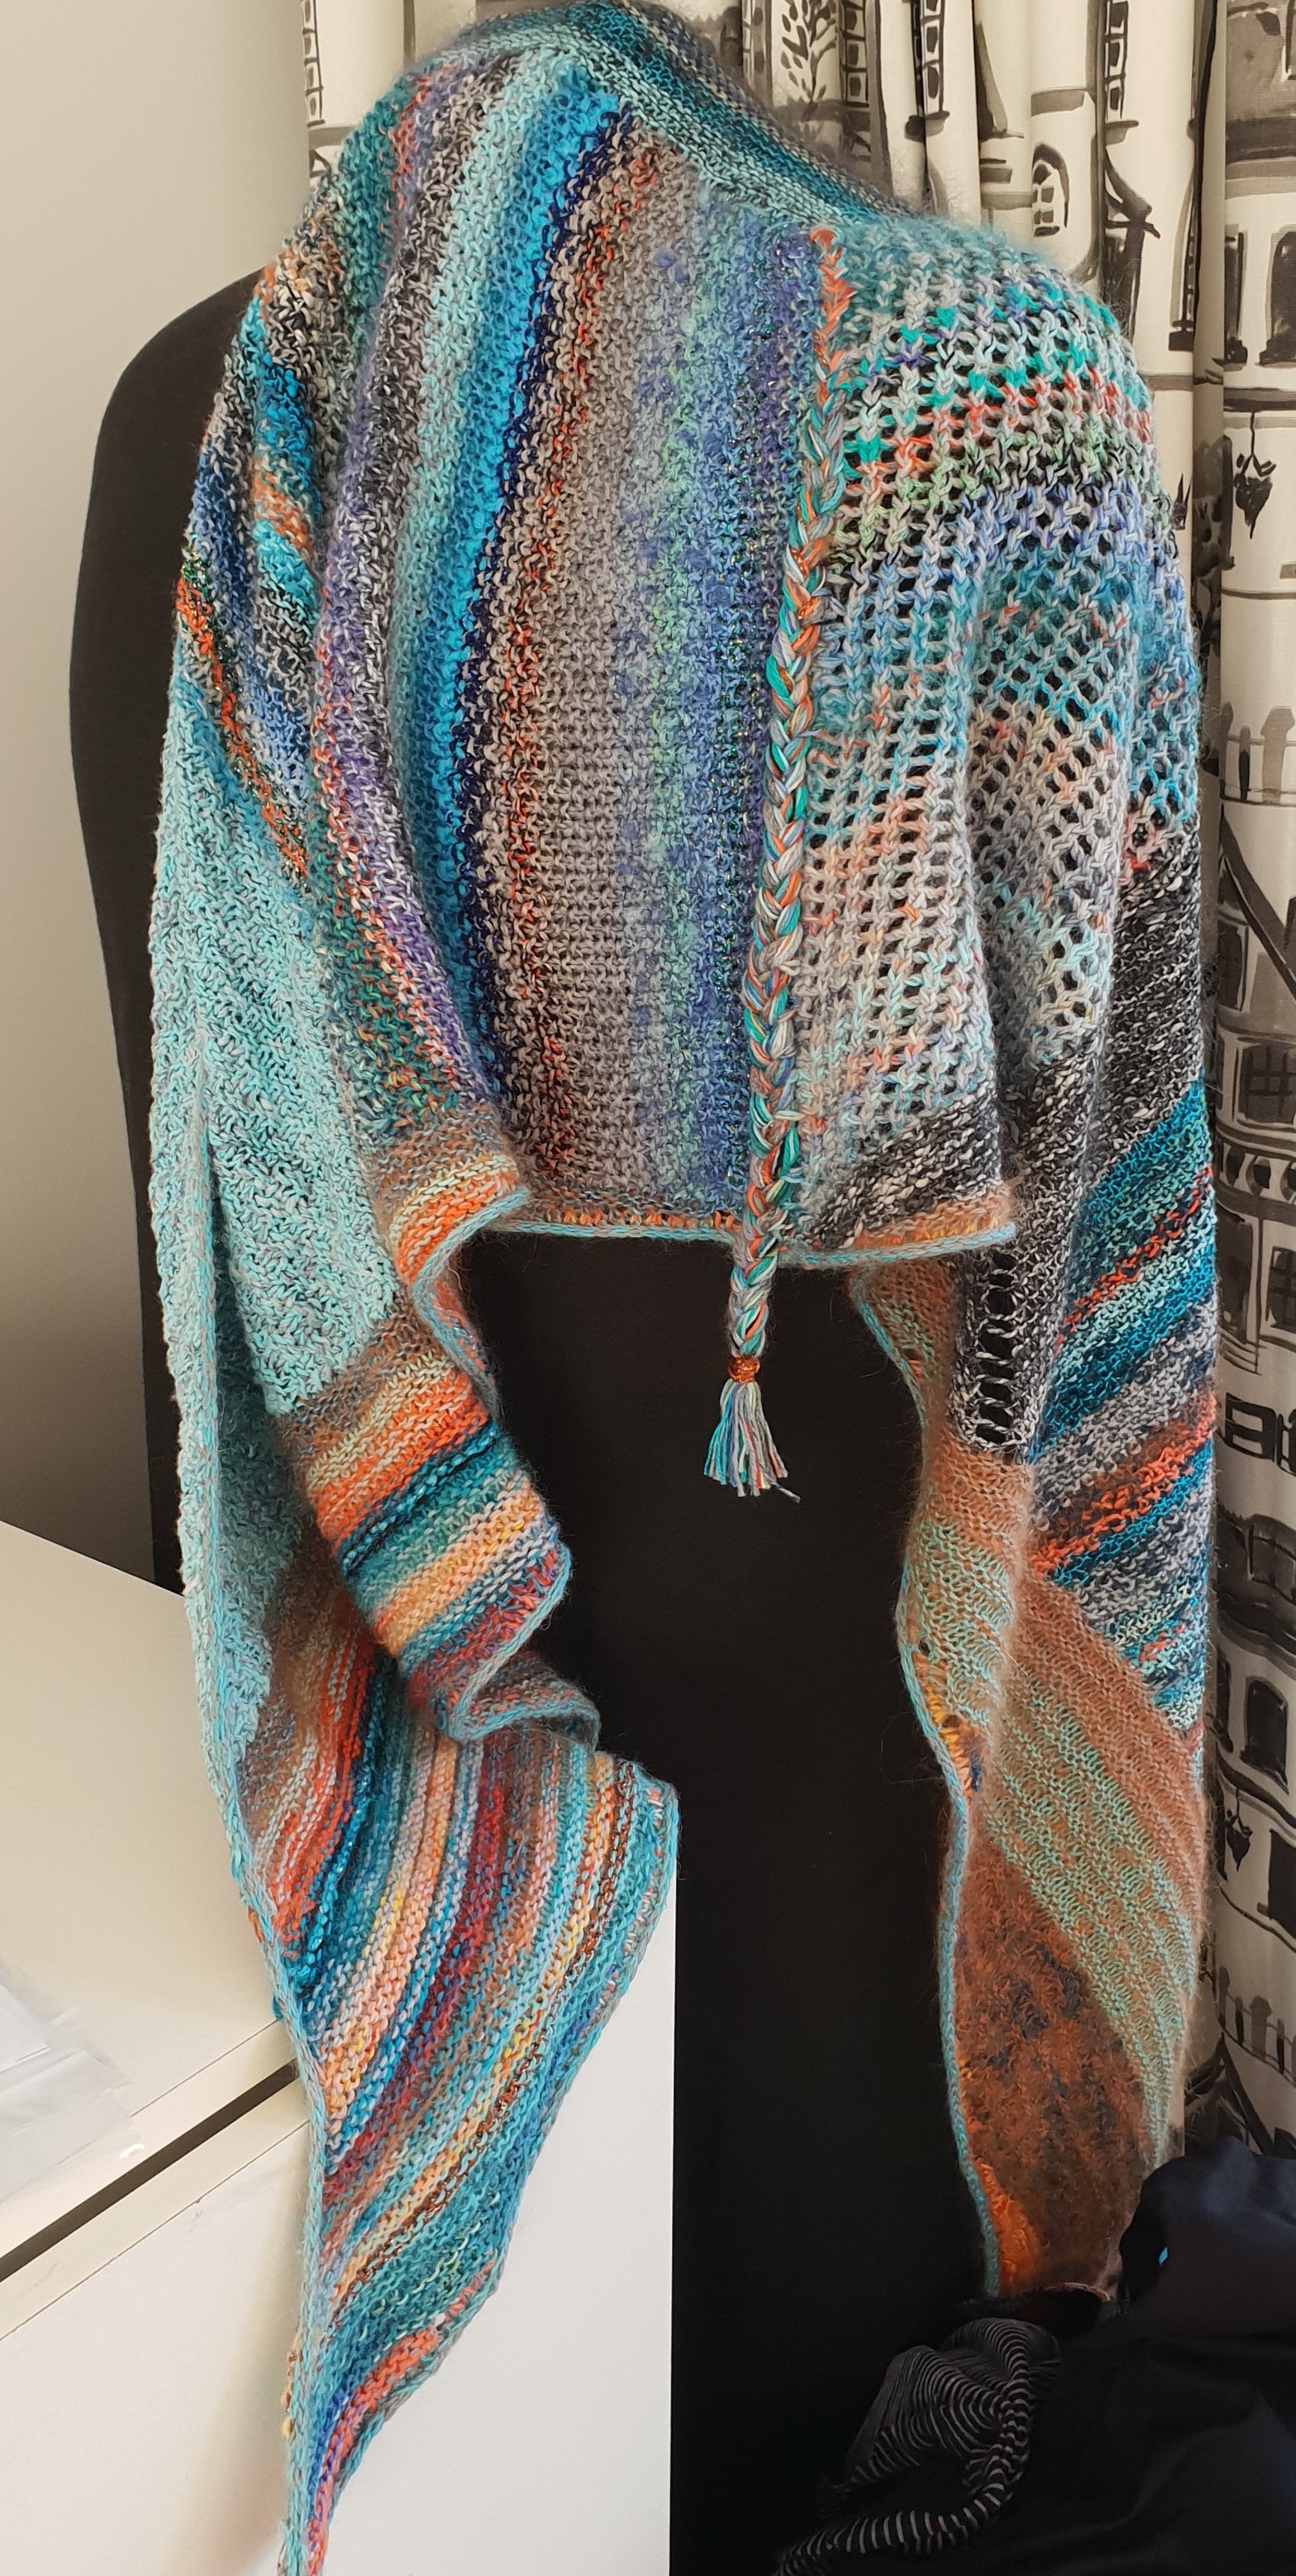
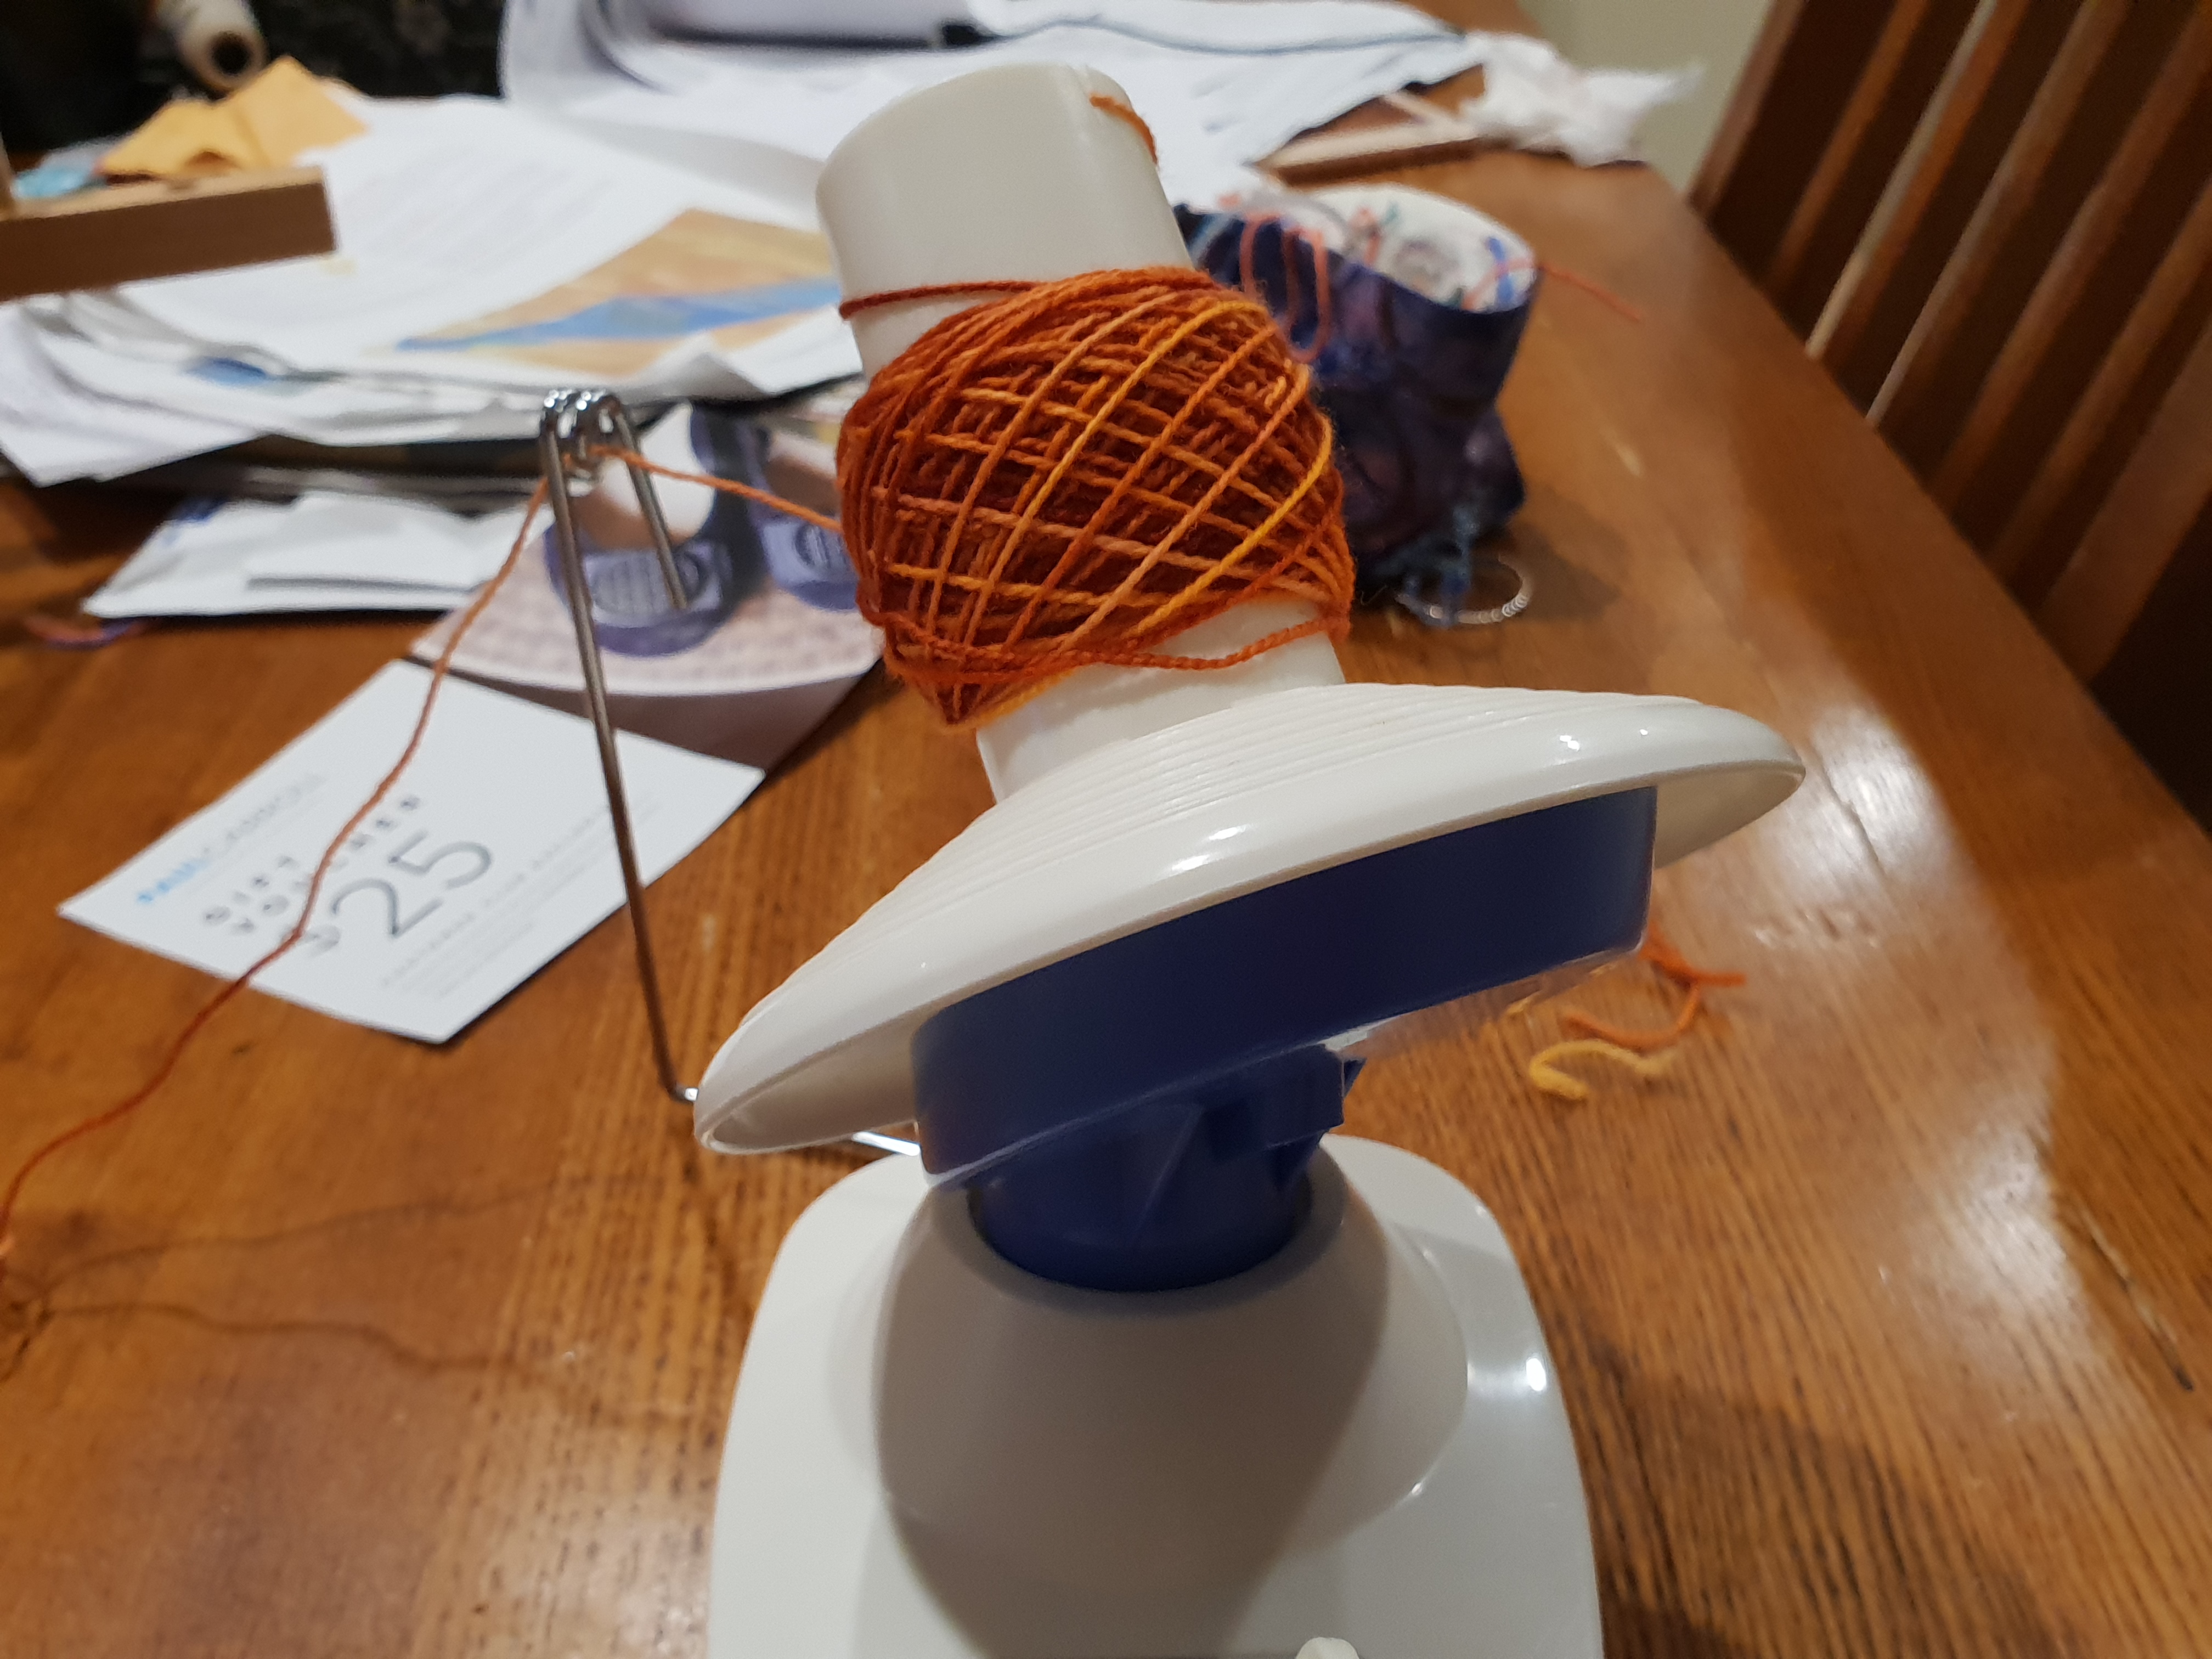 Then I rearranged the balls into my desired shading order:
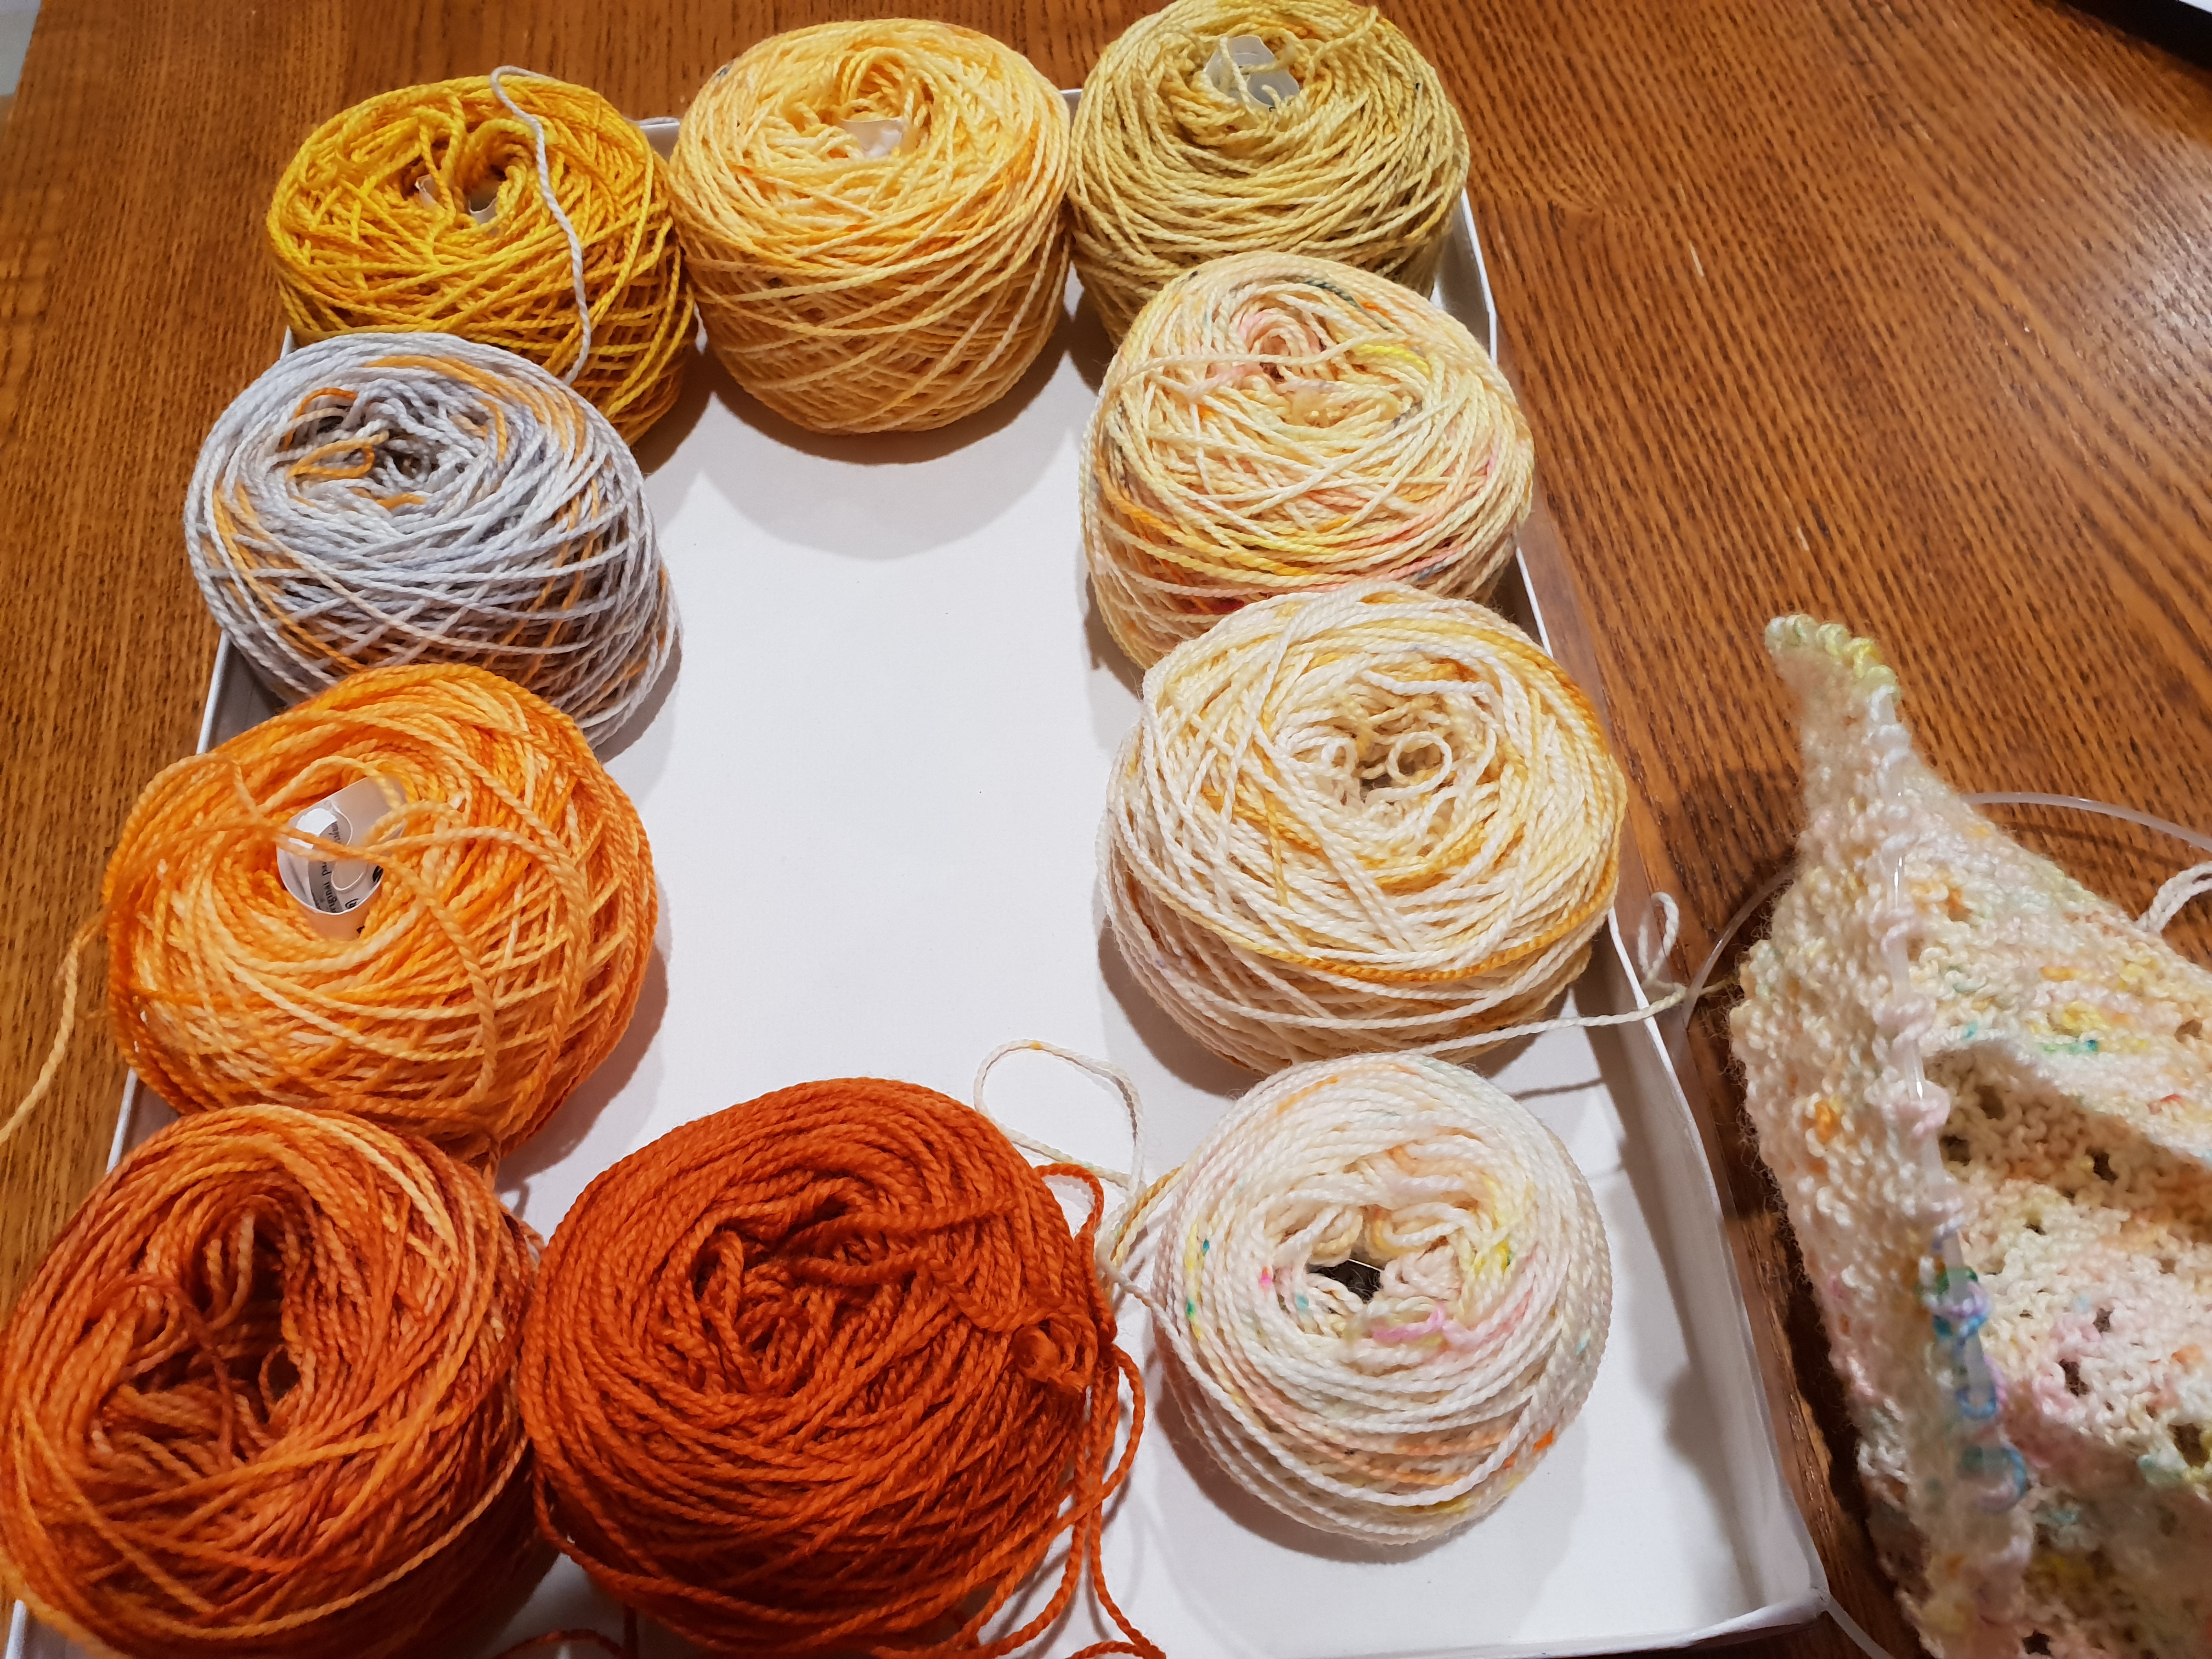 I am a relatively loose knitter so I decided to use a circular 3.5mm needle rather than the recommended 3.75mm needle. I did not do a tension test as I rely on my own judgement and, besides, a wrap’s dimensions are not as critical as those of a worn garment.