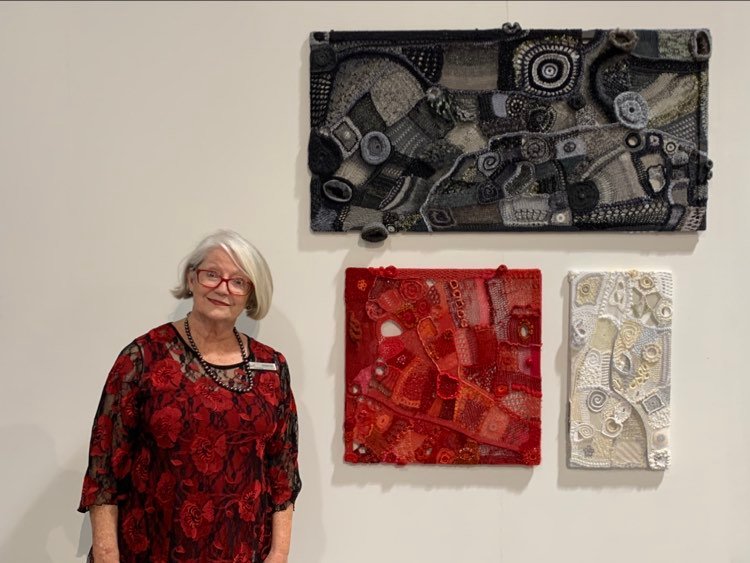
In my last post of 26 October 2022 called 25+crossover: a juried exhibition I admitted that my original ambitions for the selected piece were stymied by my lack of the requisite skills of armature building. I had designed a work in 3D that viewers could walk around. Moreover, it would have enabled shadows to be driven by the light through the work. In the end I had to default to a 2D presentation. Perhaps because of the limitations of the gallery’s lighting and mounting systems, the work was presented flush with the wall and without lighting.
As a result, my piece, although selected for the exhibition, was not as personally satisfying as it could have been.
Sooo, what next? I want to be able to make 3D pieces of freeform crochet, knit, knotting, fringing etc that float freely but robustly.
I am a member of WAFTA (Western Australian Fibre and Textile Association Inc.) so I saw a post about a woman who is dedicated to providing women like me with the skills to use power tools and construction techniques that we normally did not acquire in the 60s, 70s , 80s or 90s.
She is Janet Carter, owner of the business Women On The Tools (WOTT), [https://womenonthetools.com.au/].
Janet is passionate about helping people who have never had the chance to use power tools, or tinker in a shed, to acquire the skills needed to do the work they want to do. It could be home maintenance jobs; art pieces; or furniture.
I enrolled in a two day welding course with JC, as she calls herself. I didn’t have to provide anything. I did have to wear enclosed shoes, long pants and long sleeves. All equipment and materials and catering provided!
Originally the class project was to have been to make a kind of “bin” in sheet metal with welded seams. When she heard of my interest in textiles and making large scale armatures, JC redesigned the project to maximise the number of individual skills I could learn that might be useful in designing an art project.
To cut a long, revealing, story short, in two days I learned a great deal.
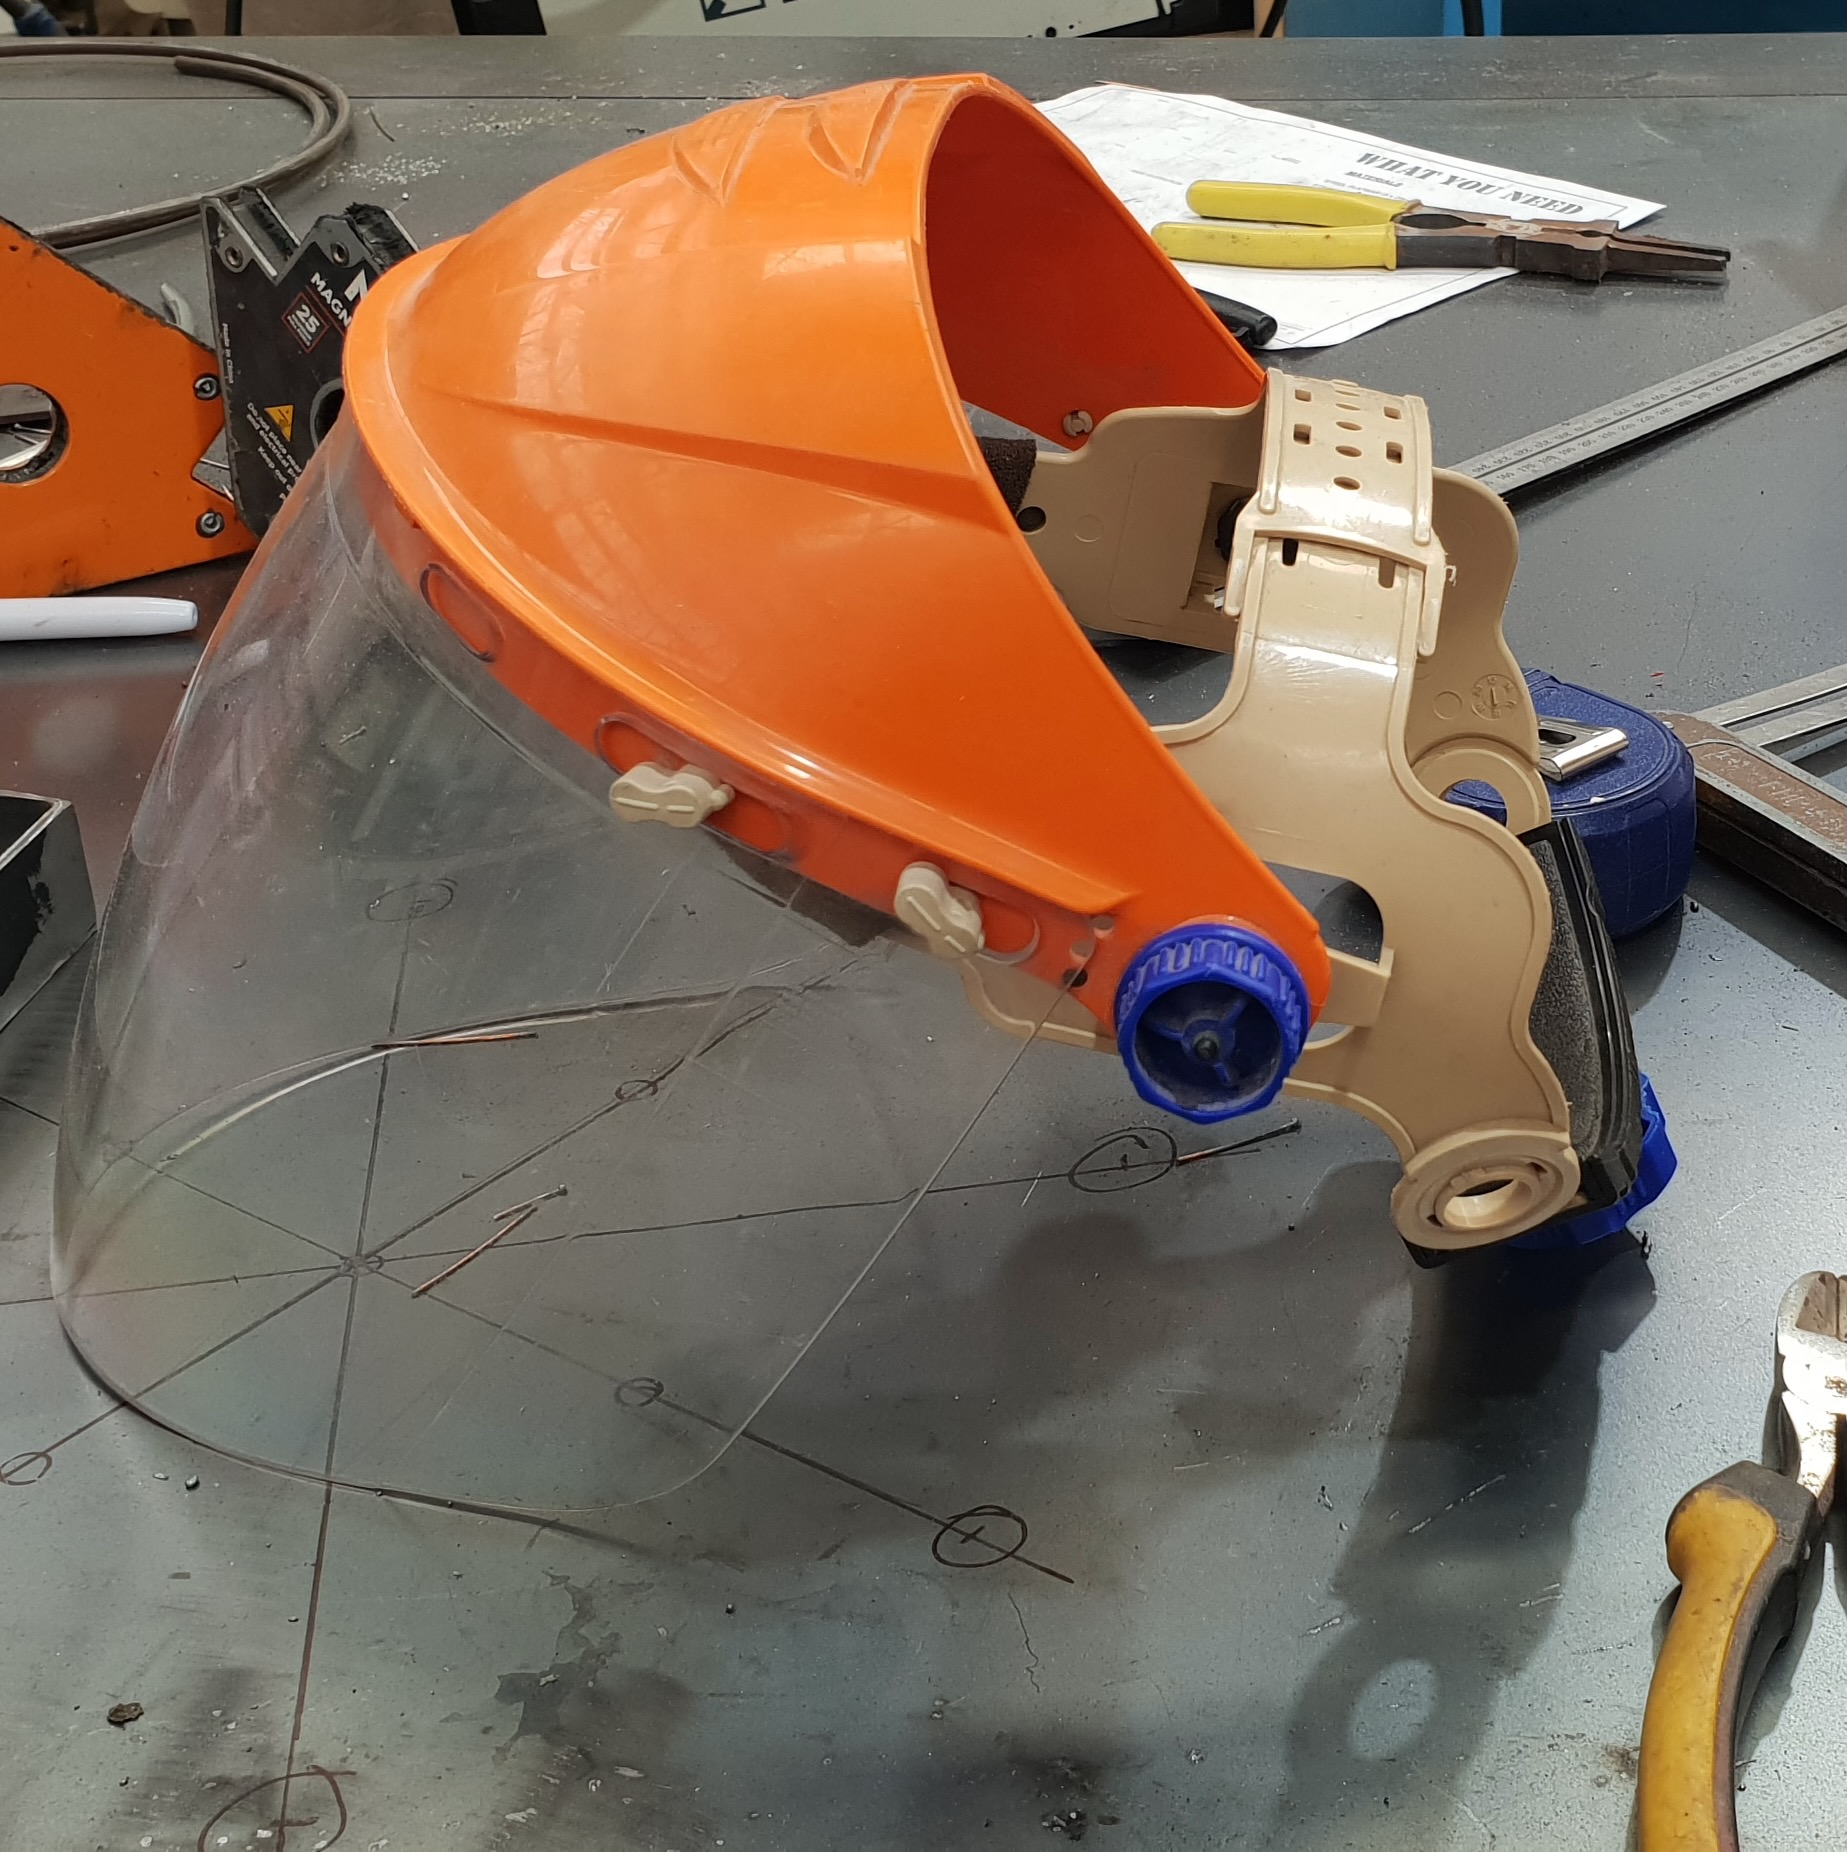
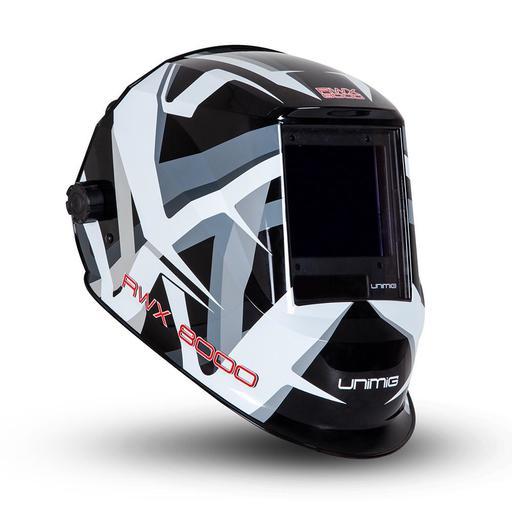
First I was fitted with safety gear. The helmet above is for protection when cutting metal or grinding. It’s paired with earplugs. There was also a much heavier piece of headgear for use when welding.
The gloves were also pretty impressive.

My first job was to prepare a cutting list for the components of the design, taking them from the technical drawing JC had. After that, it was learning how to use the red laser line on the cutting machine to ensure that all the metal pieces were cut precisely.

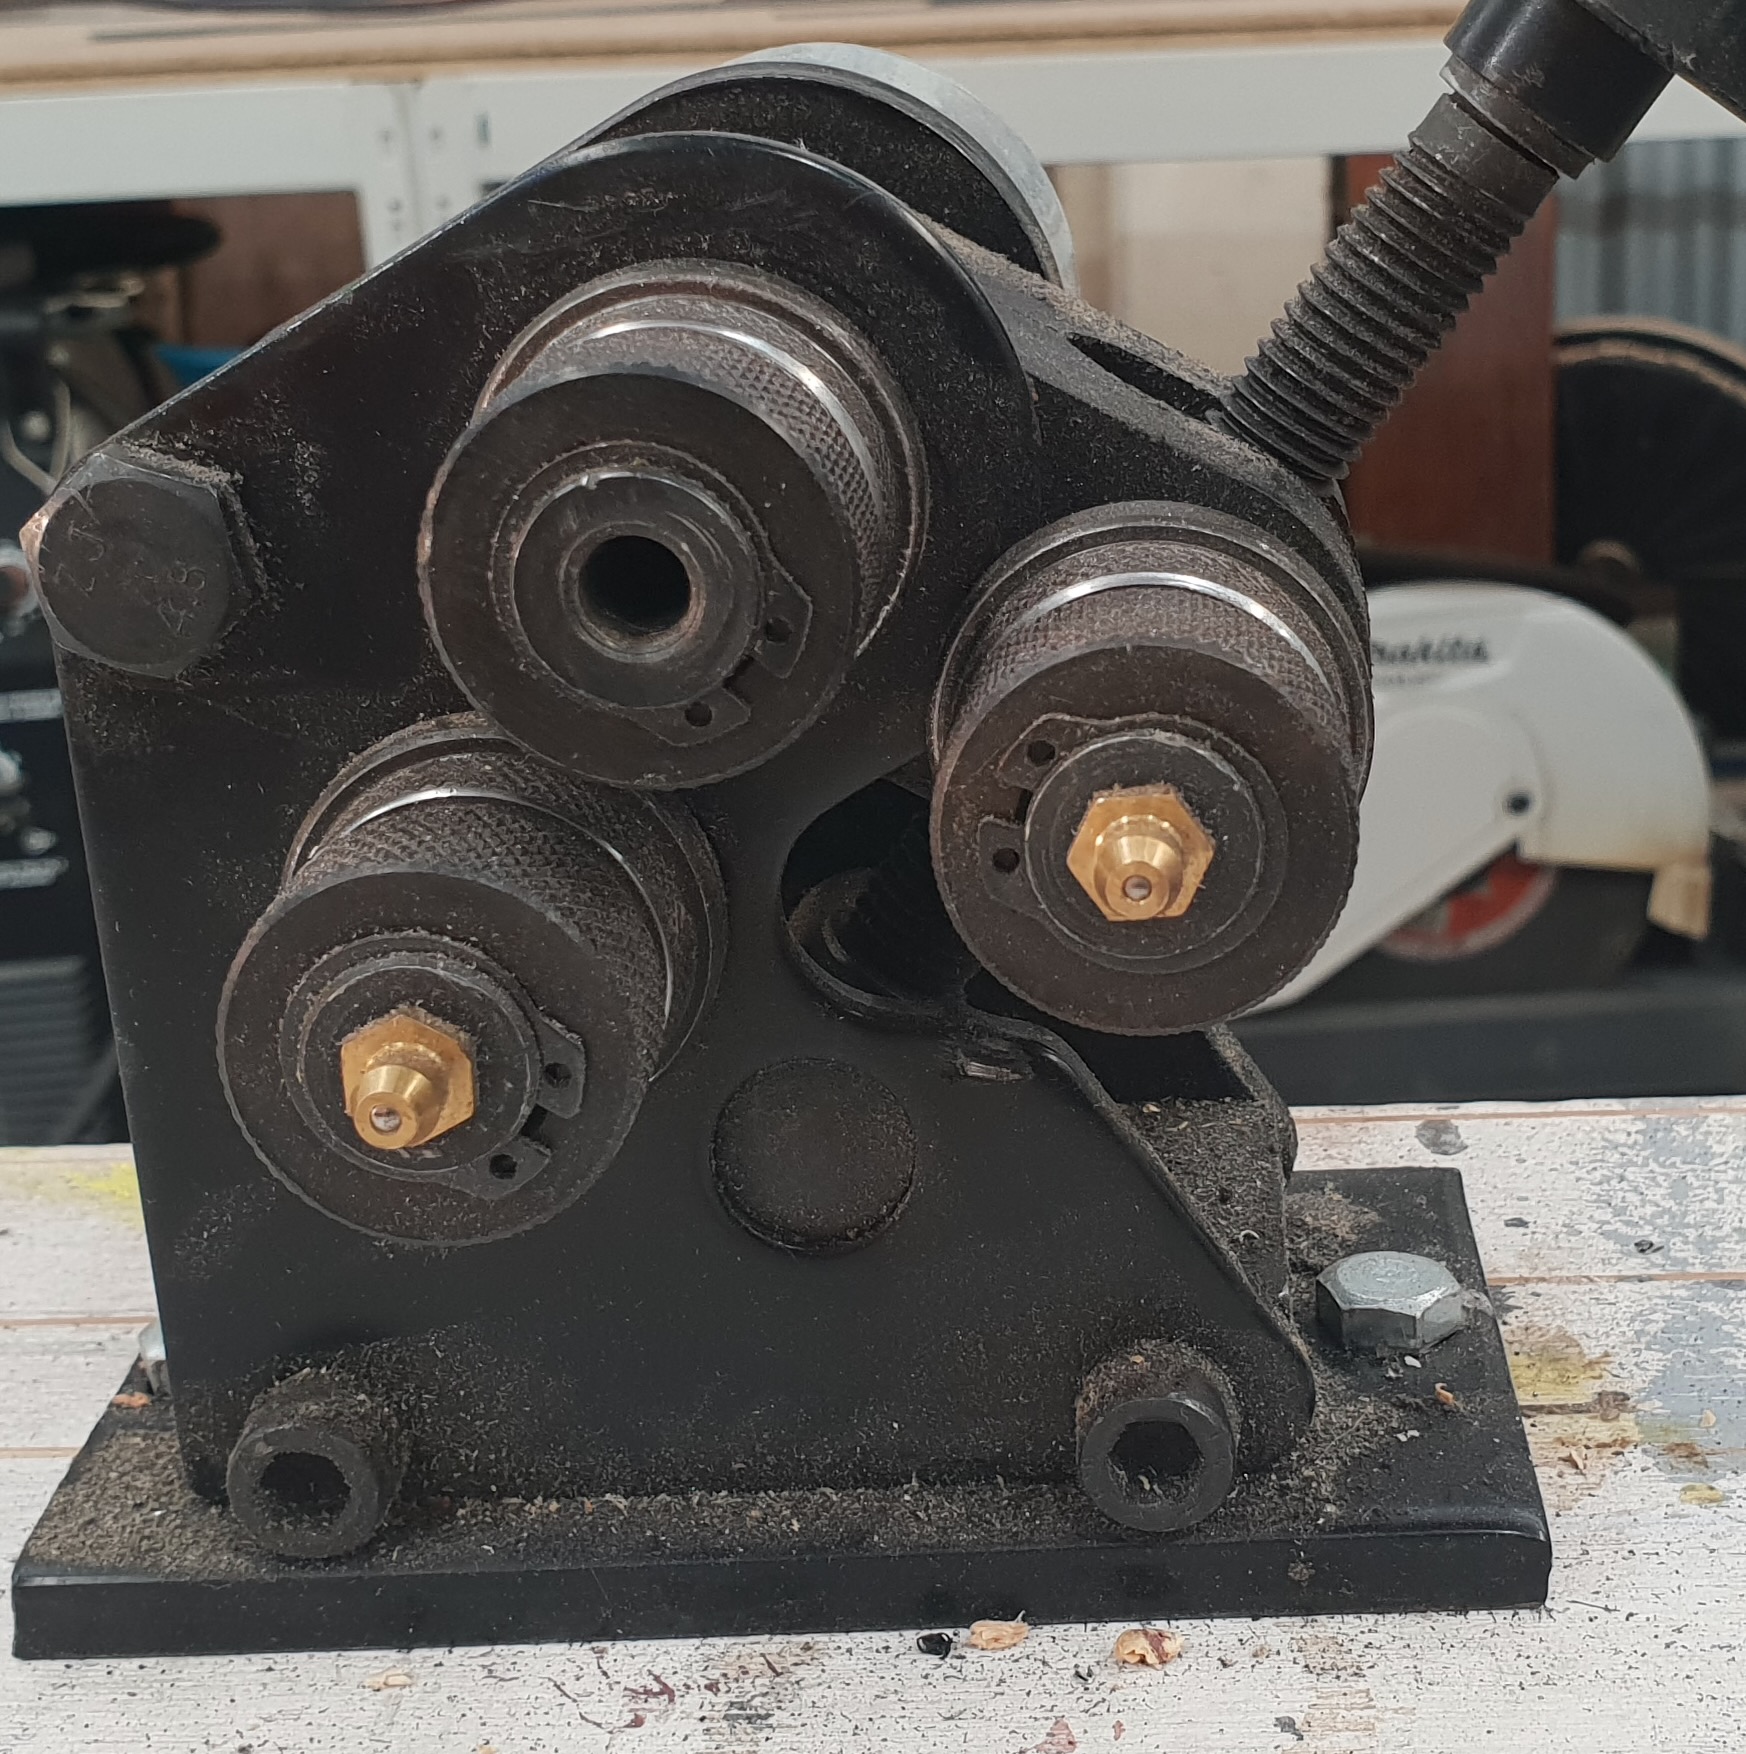
Then it was time to shape the pieces that would not be straight. We used a roller to bend both flat steel and rounded steel into circles. It’s a slow process requiring many passes through the roller, being careful not to twist it and to roll it through evenly.
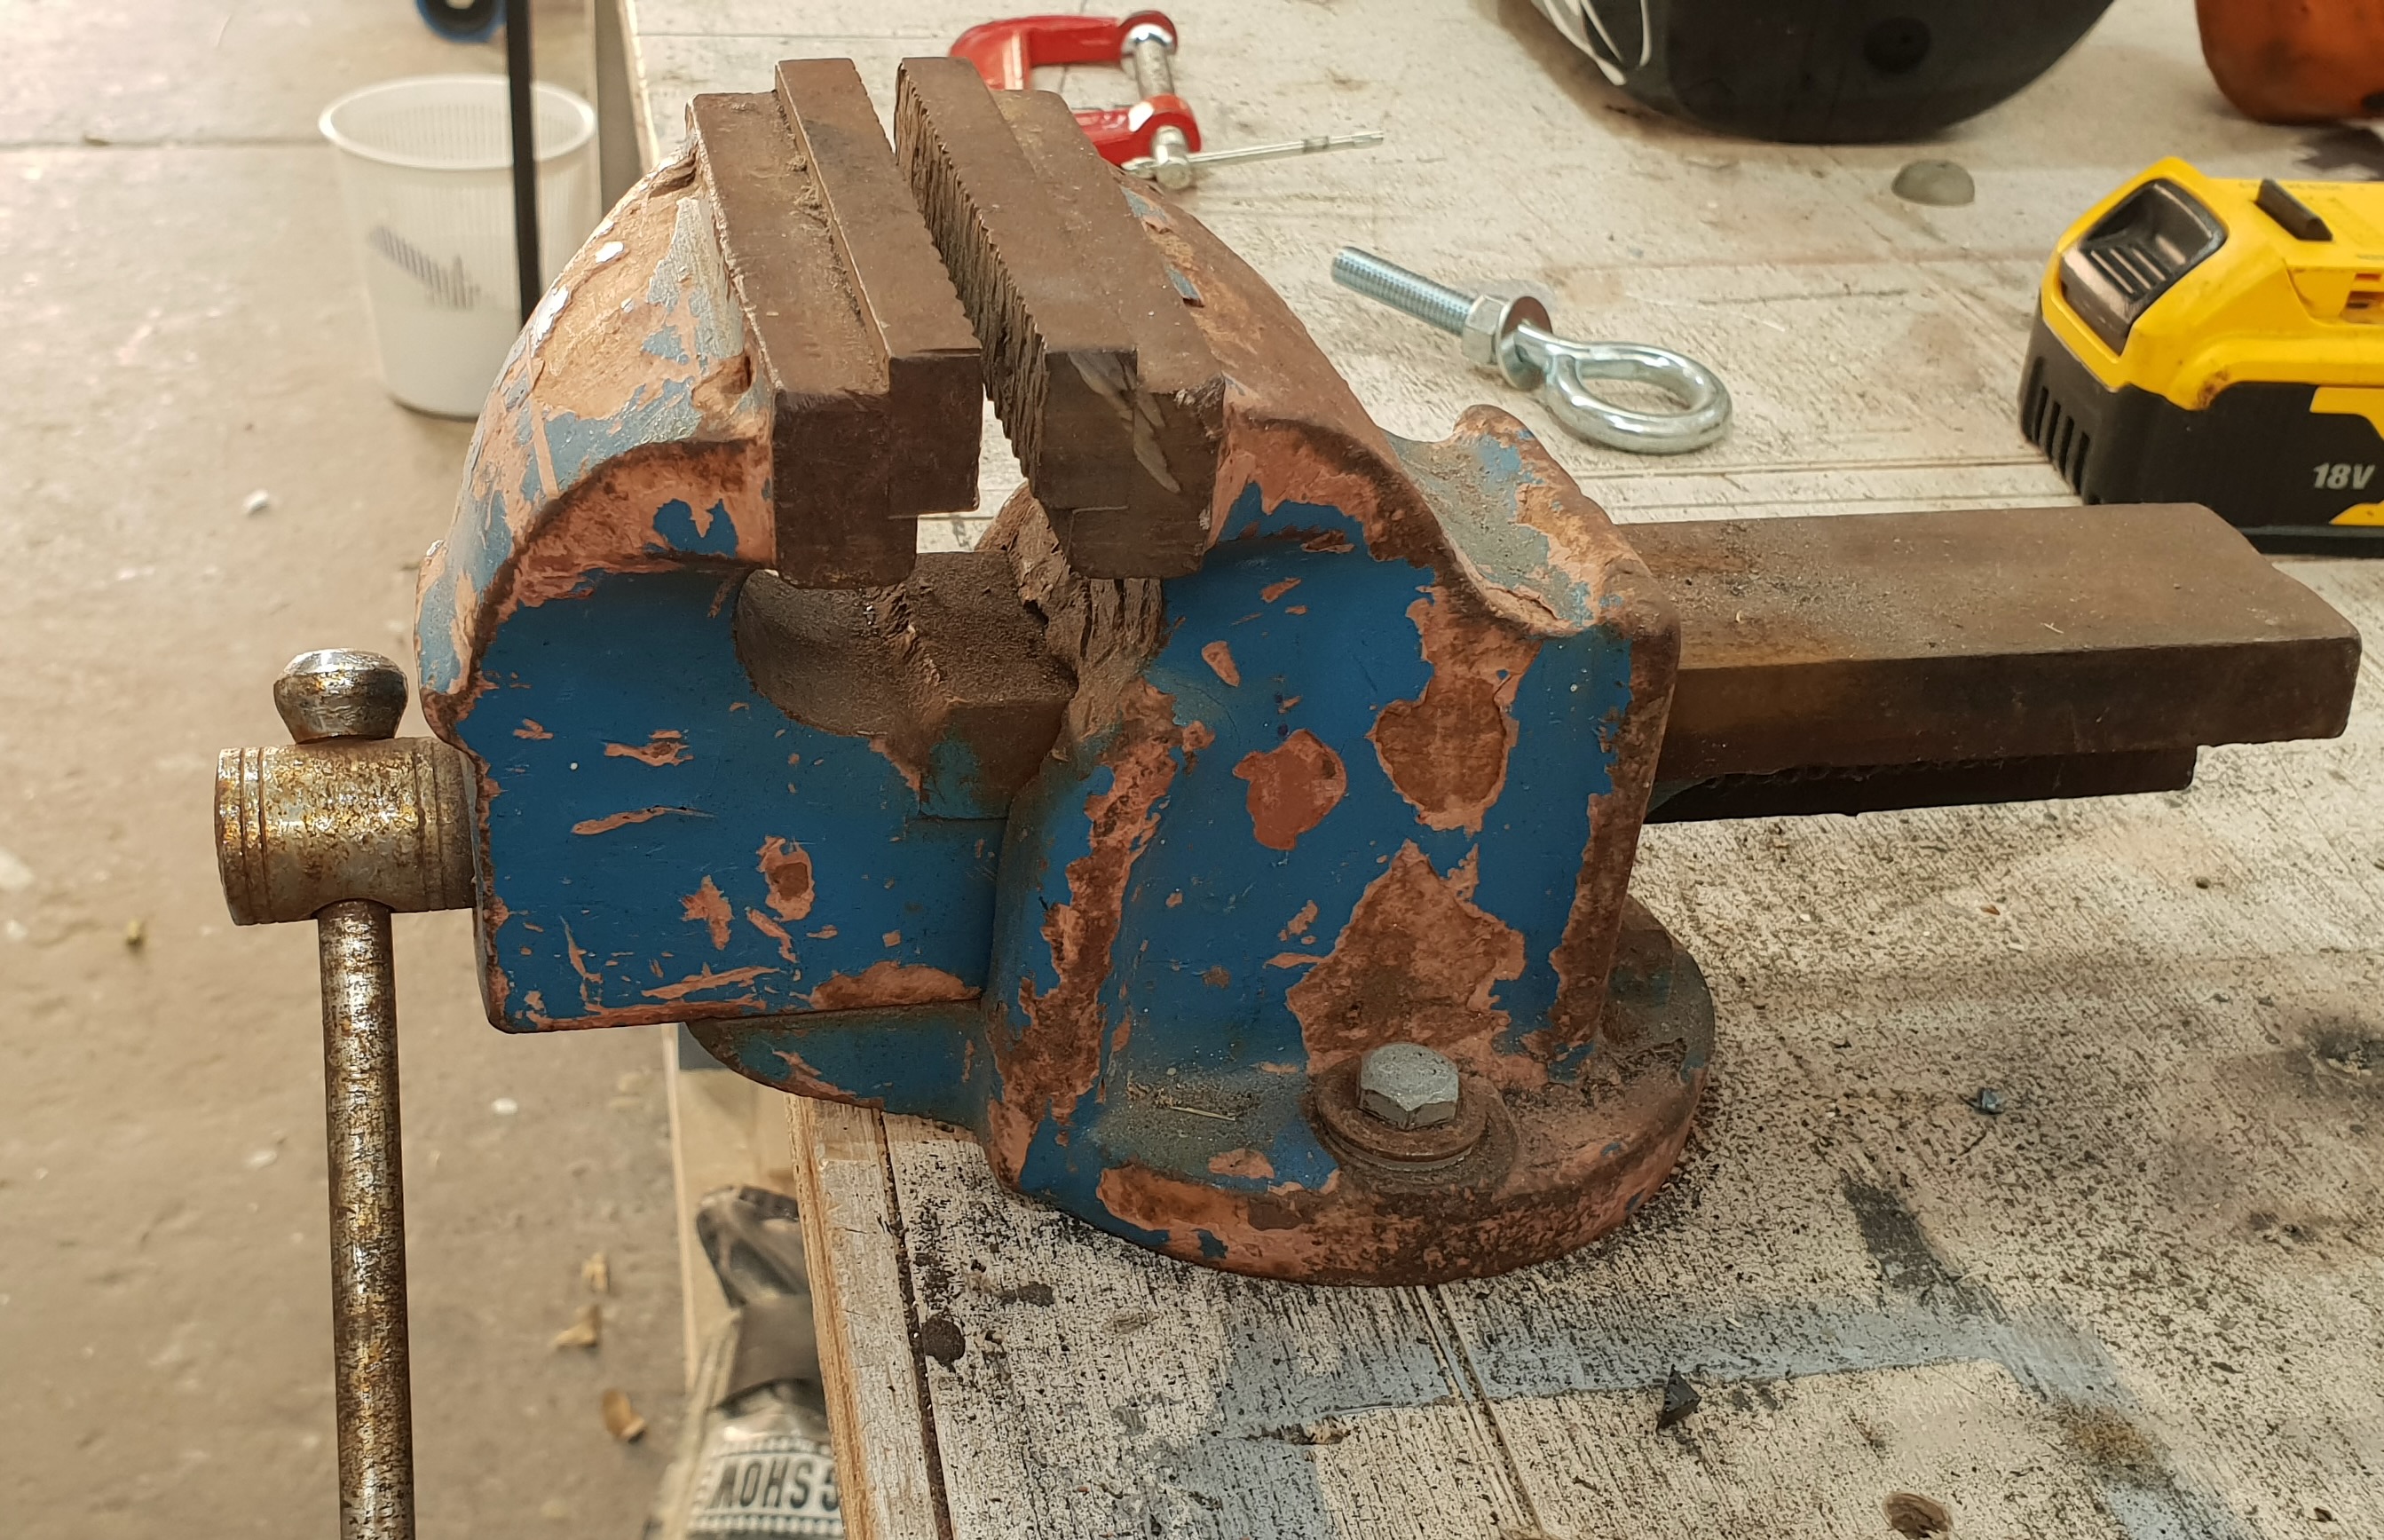
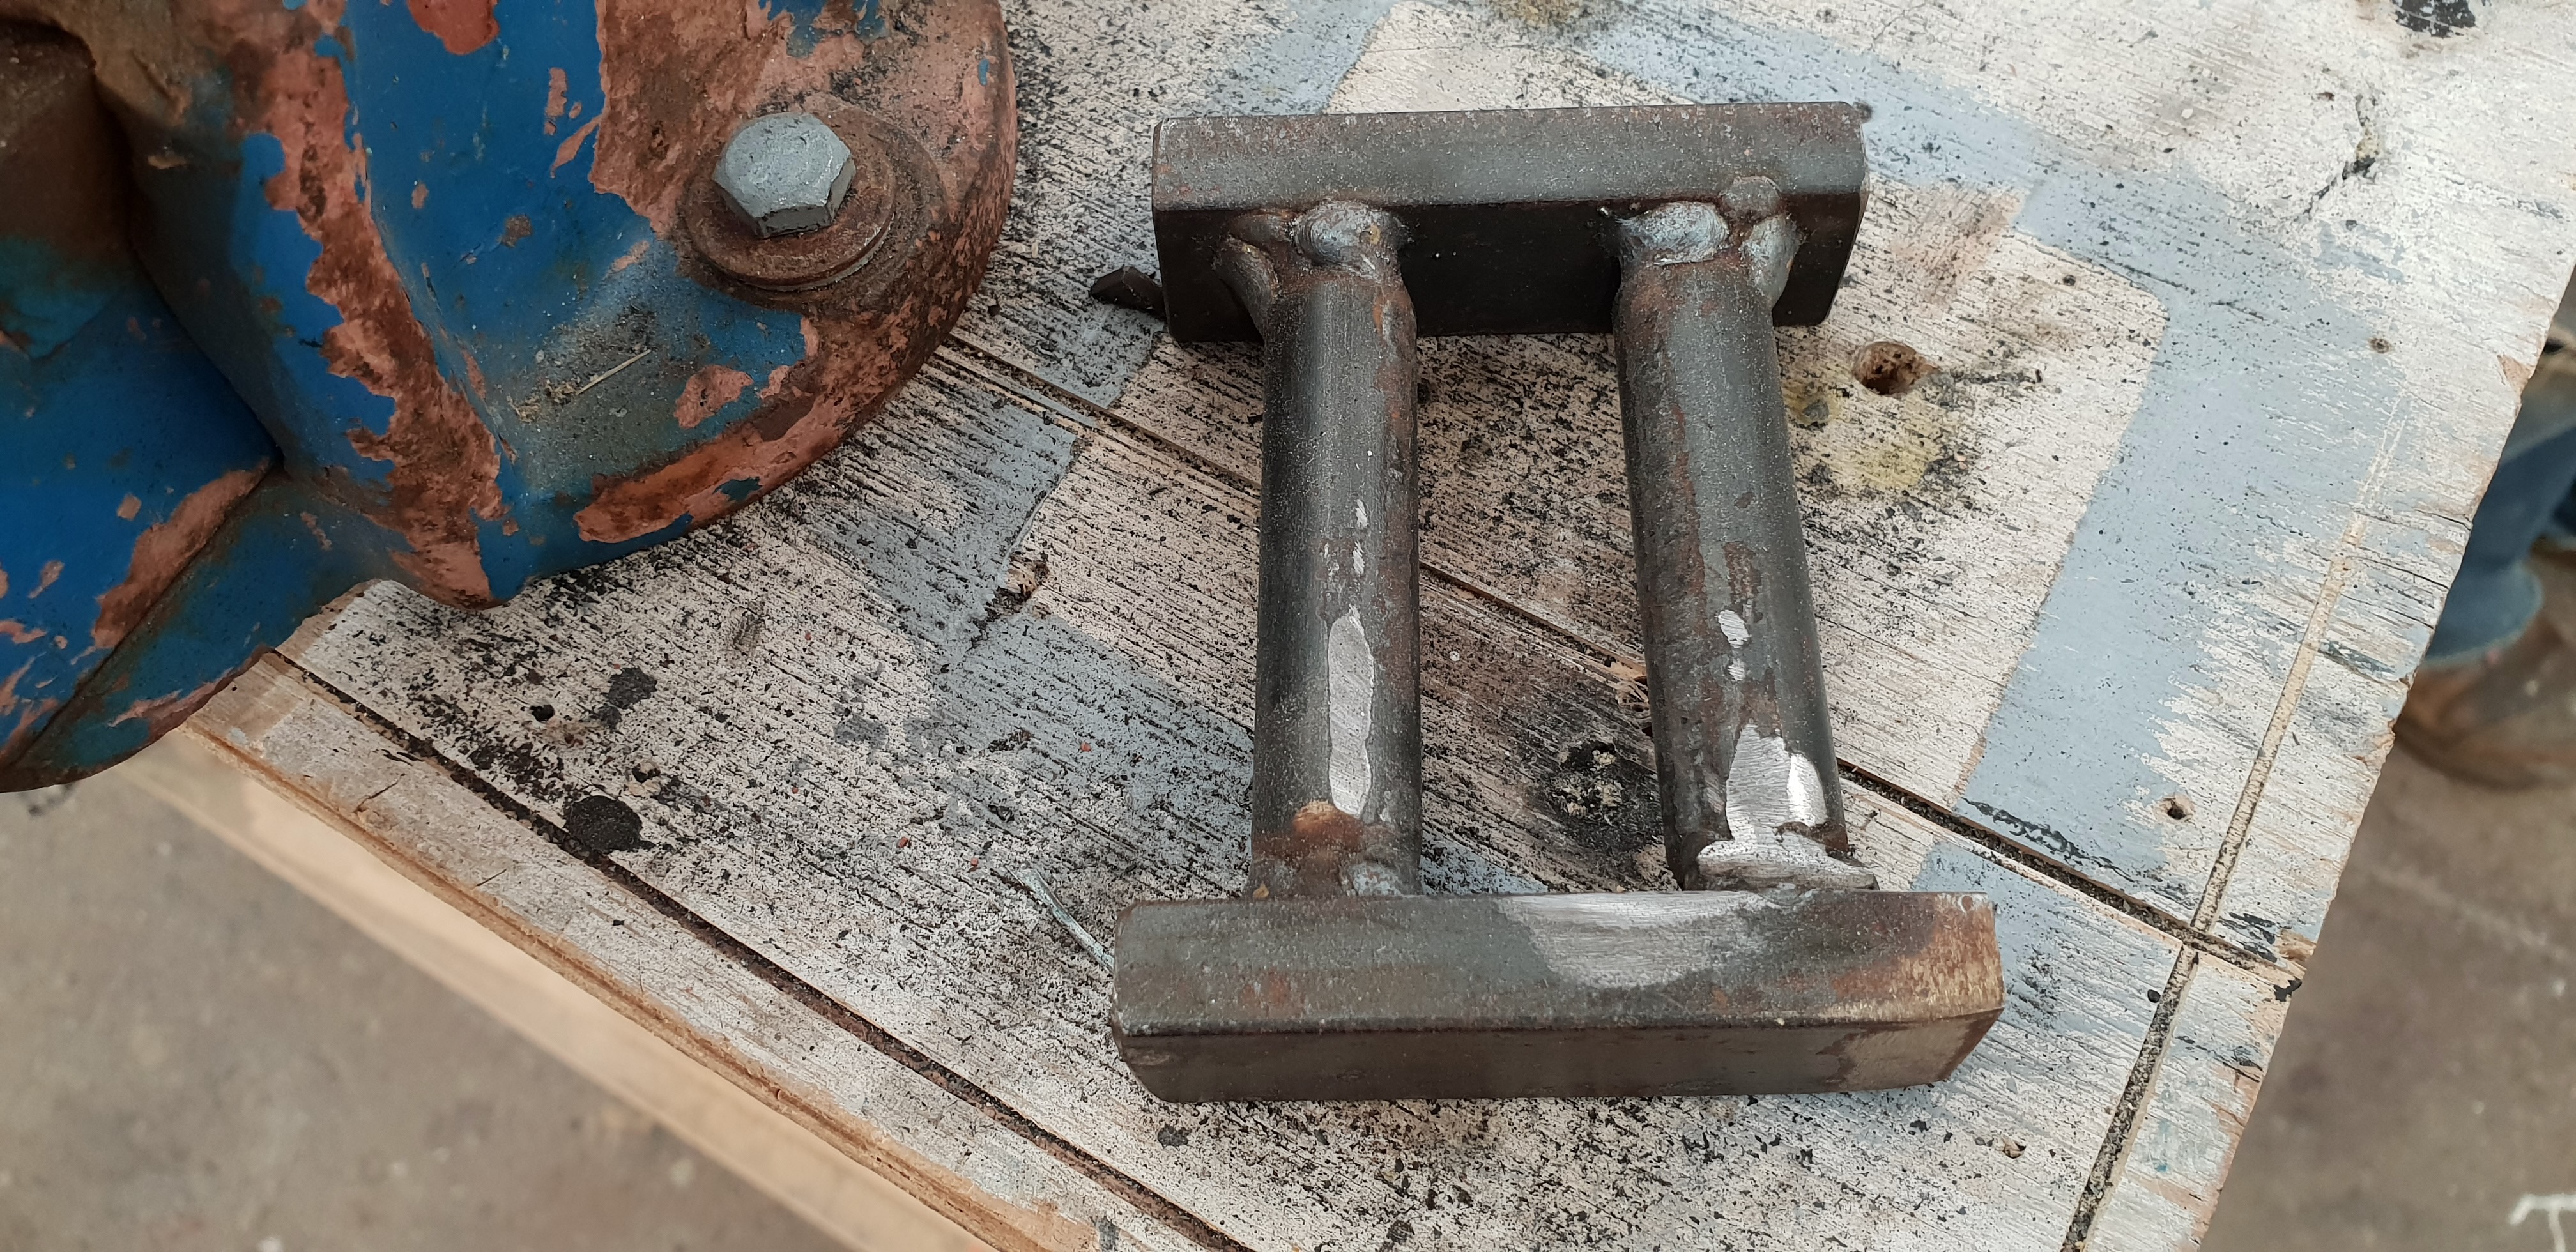
The tops of the brazier’s main posts were also bent, but using a jig in a vice.
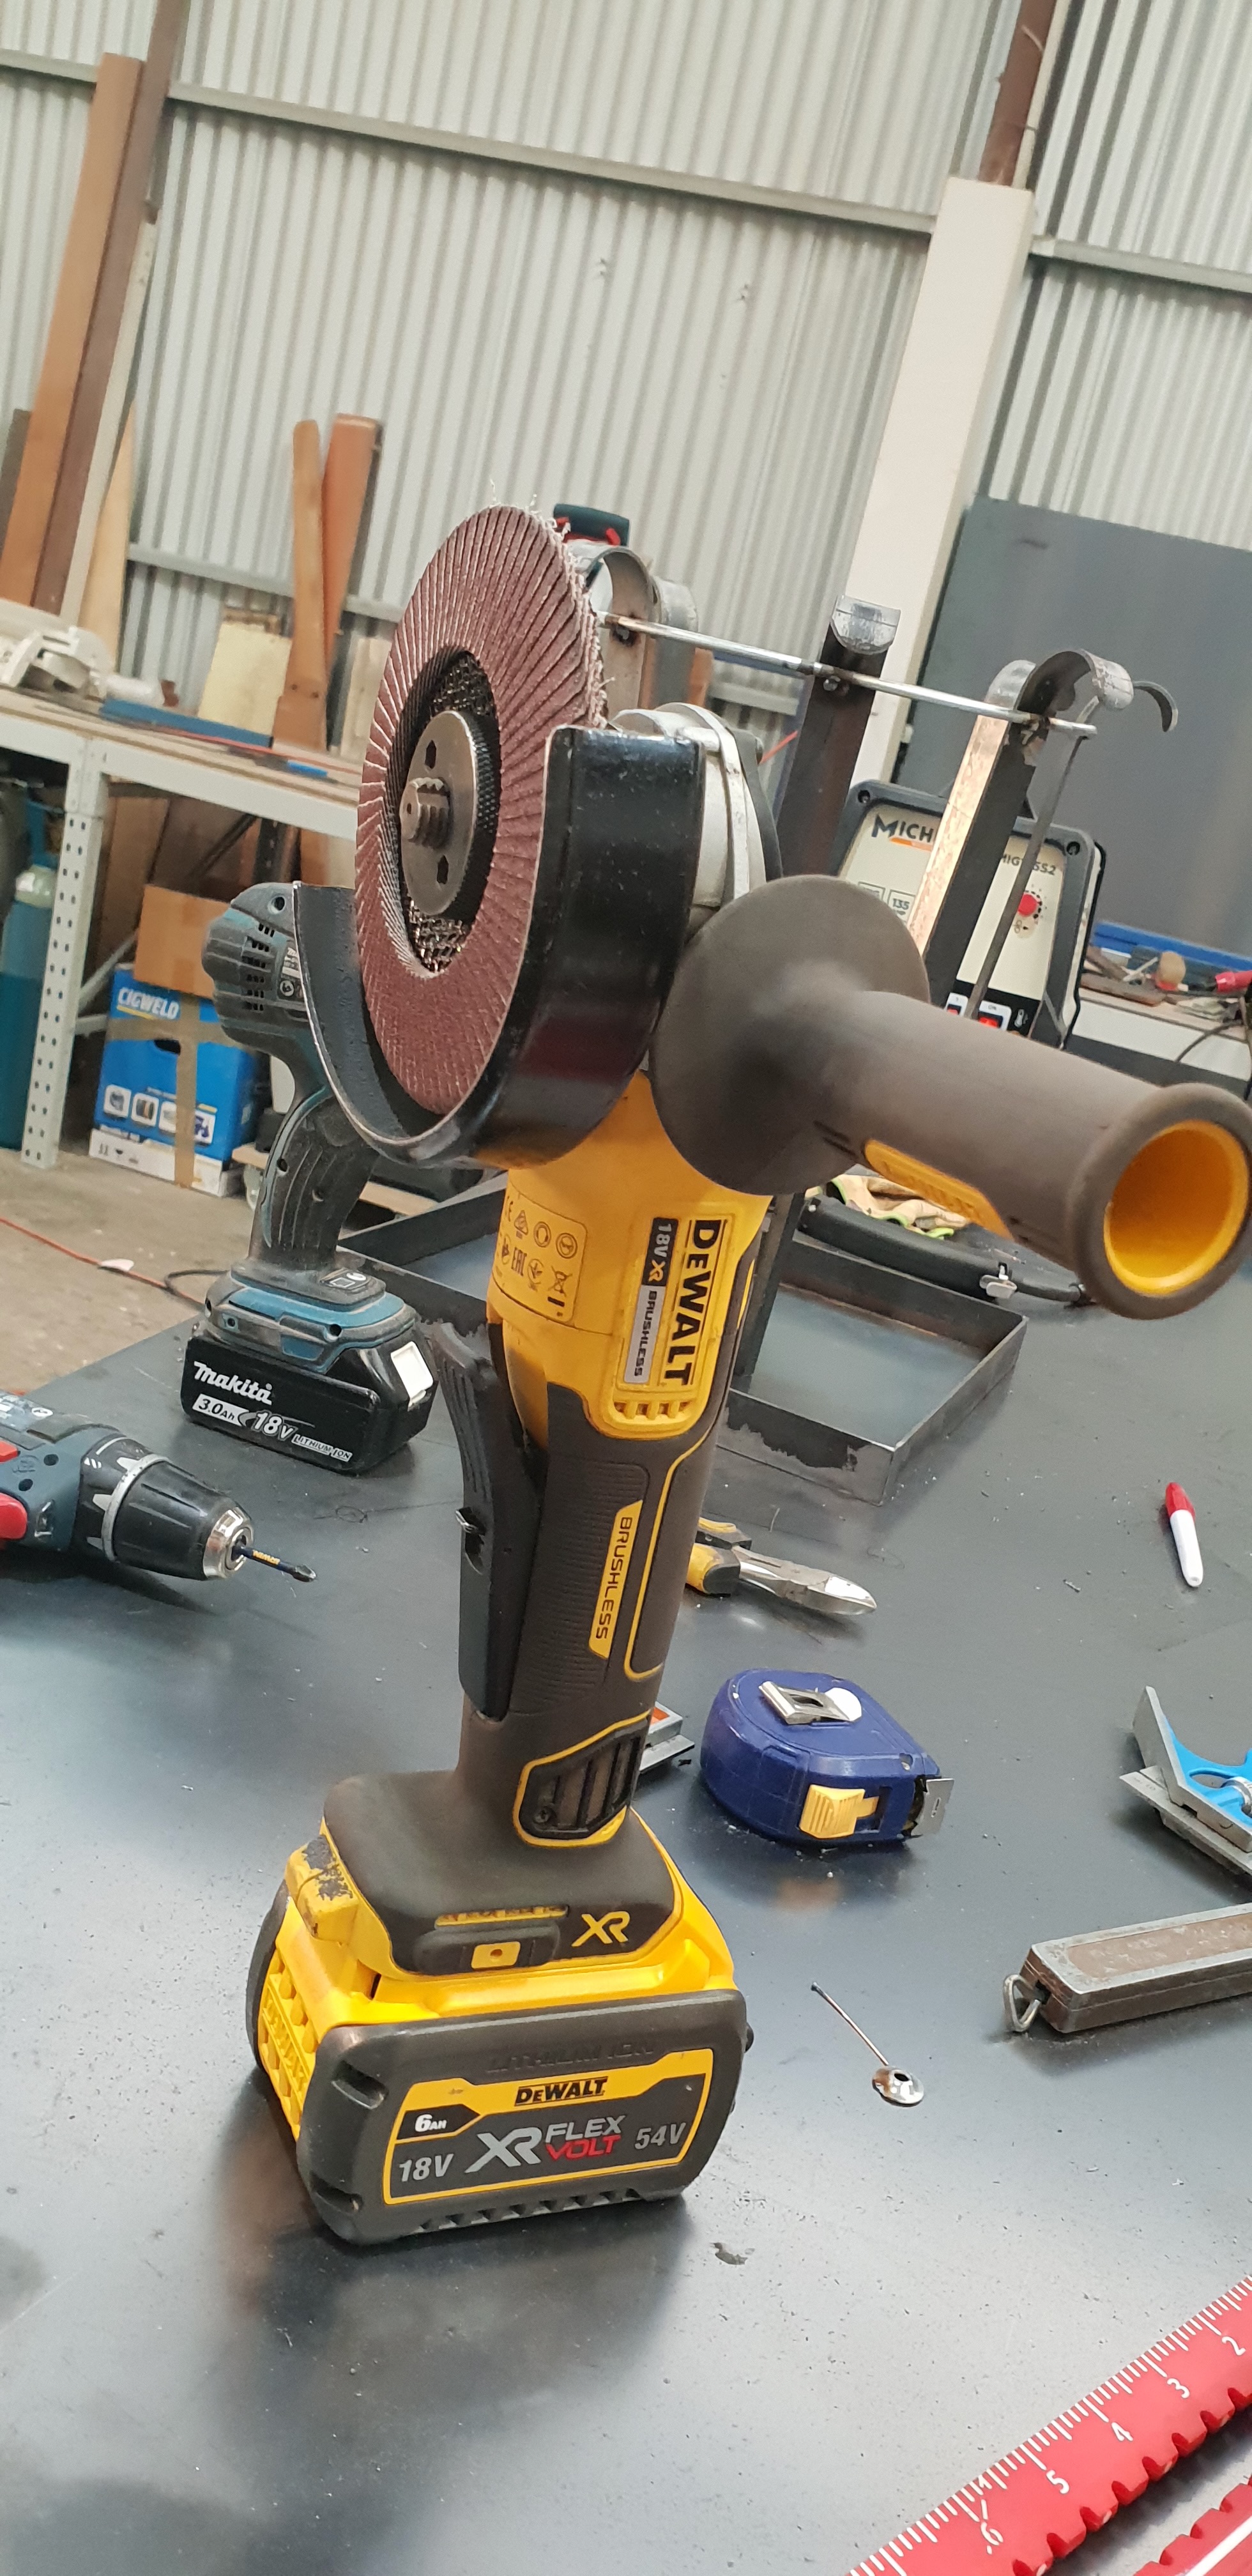
Once bent, the straight ends needed to be evened up and cut into a curved shape. We did this with cutting discs then grinding discs.
The base of the brazier needed to be cut into a circle. I confess I chickened out of trying to do this and JC did it overnight for me! Our rationale for allowing this indiscipline was that I don’t ever expect to want to cut flat circular discs of metal in my work!
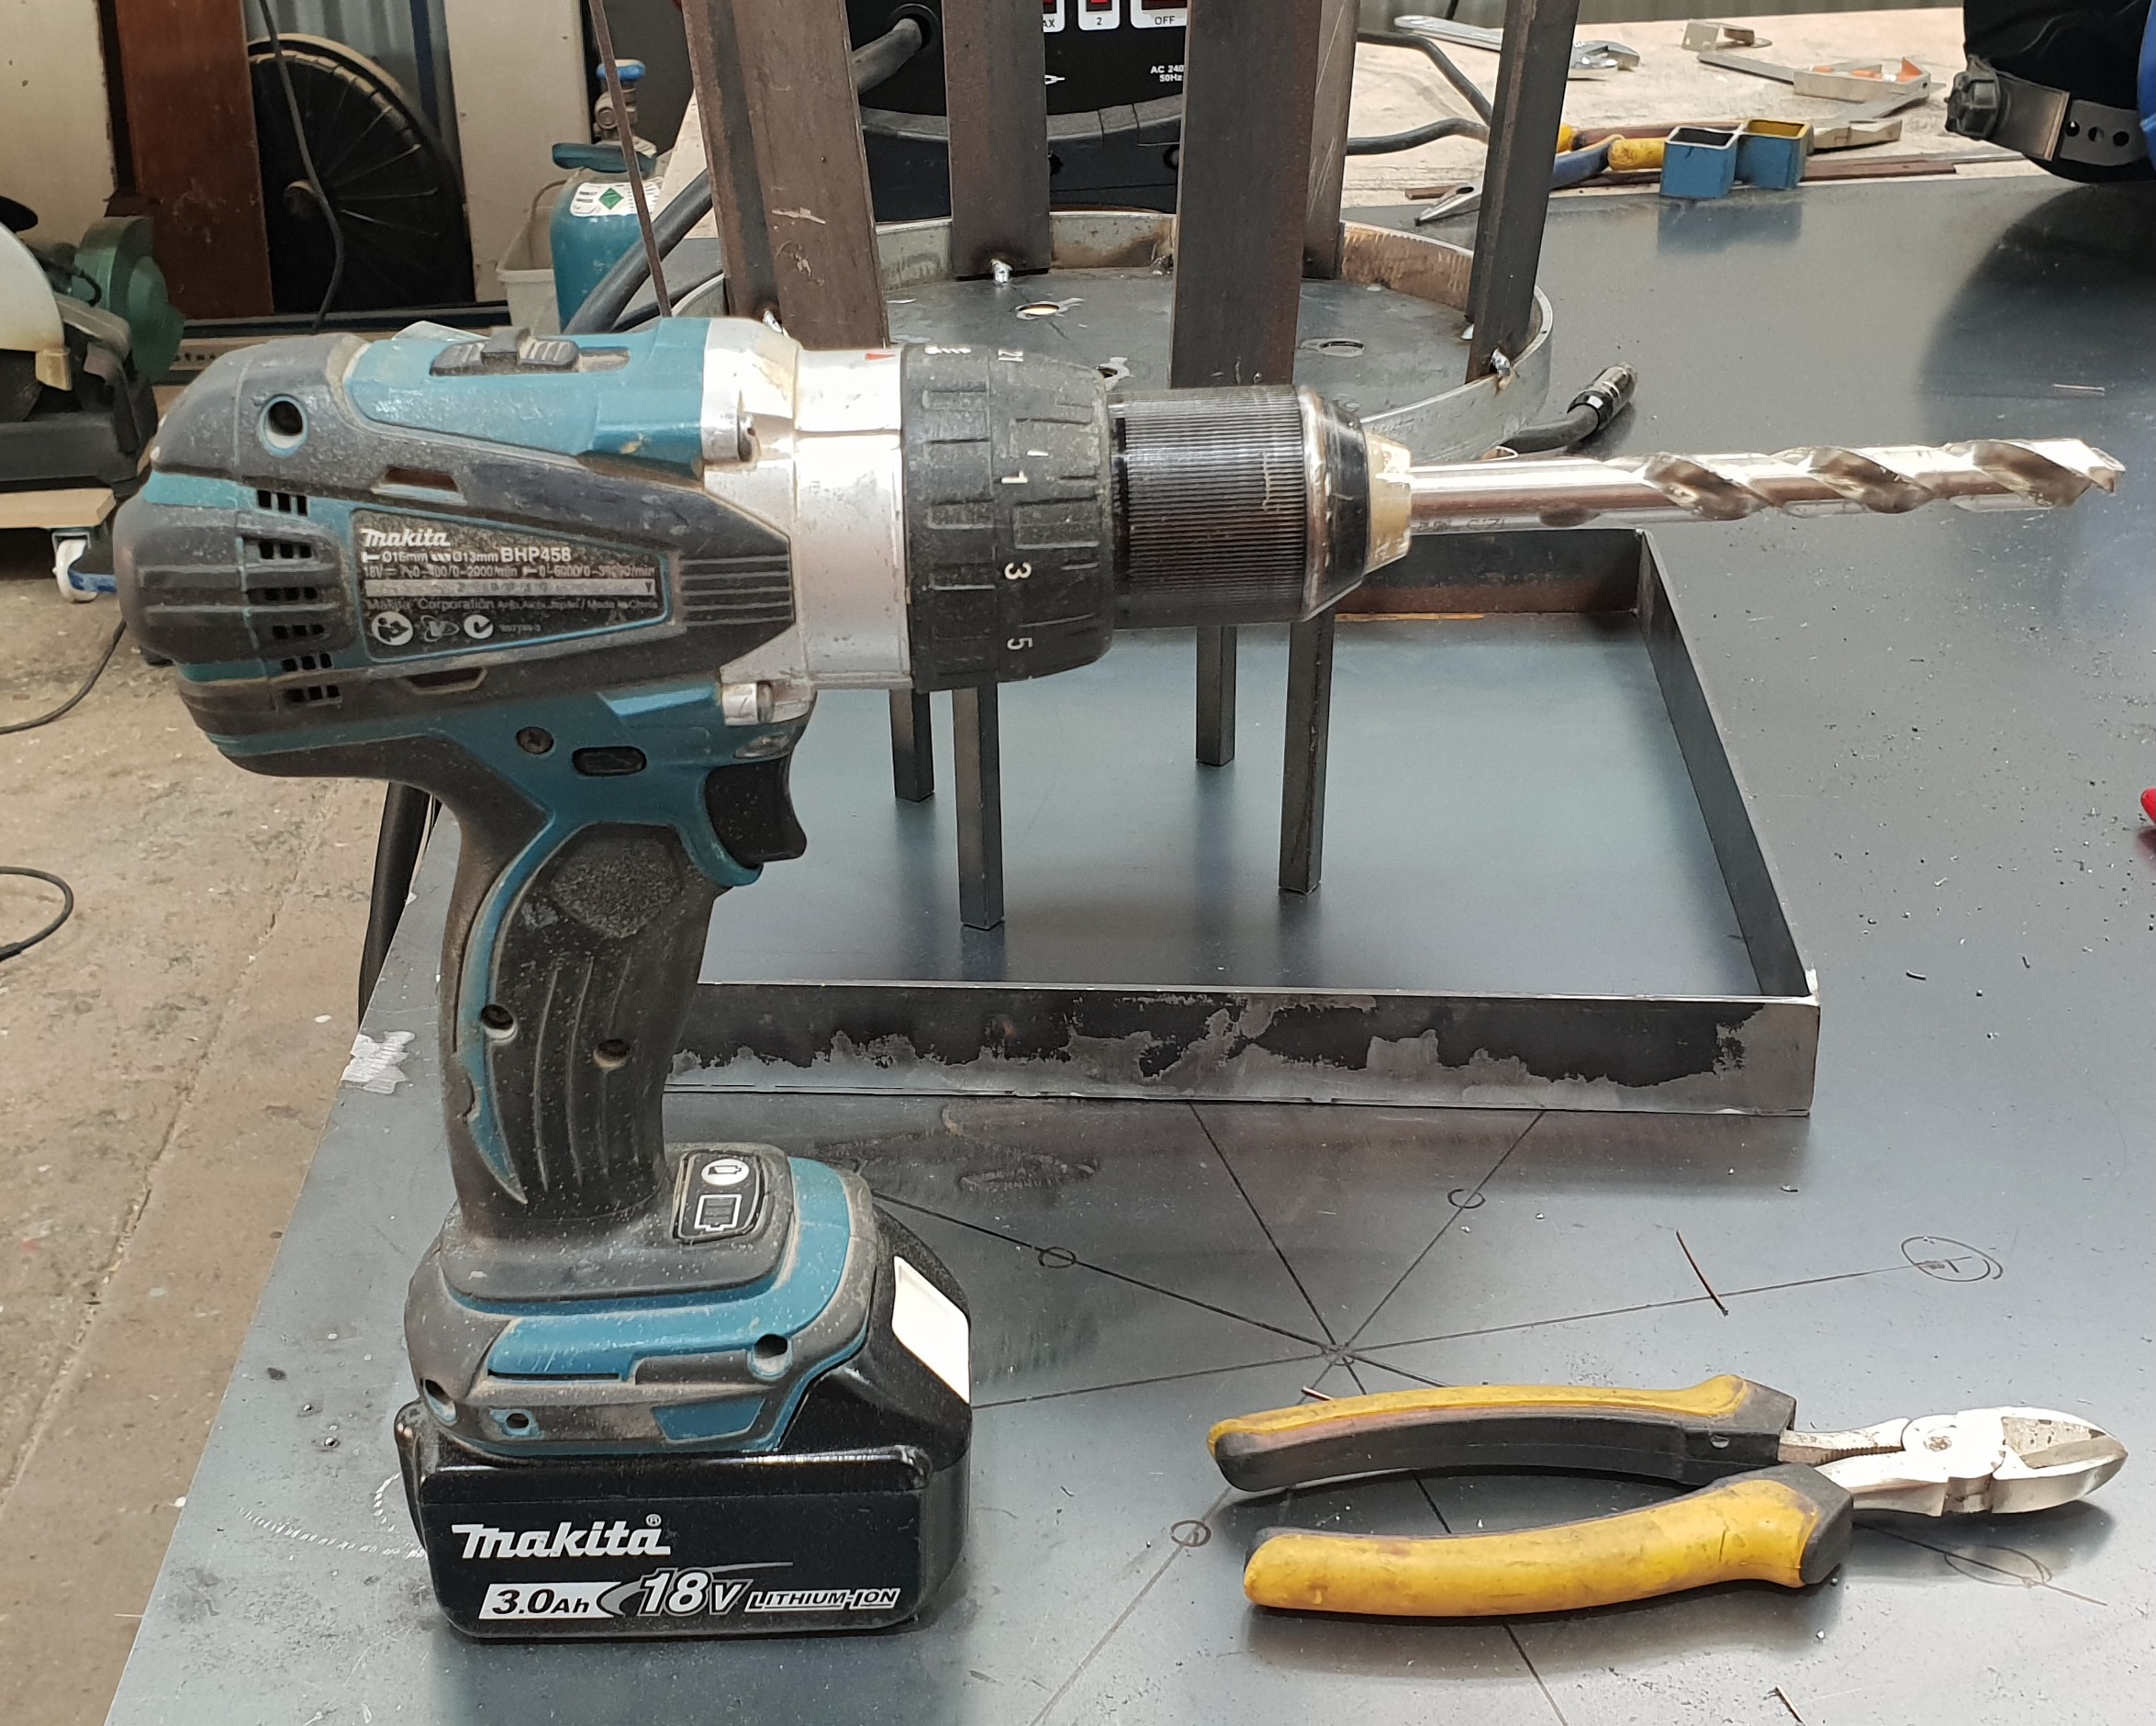
I did, however, drill the drainage holes into this circular base and also drilled smaller holes to mark where the legs would go.
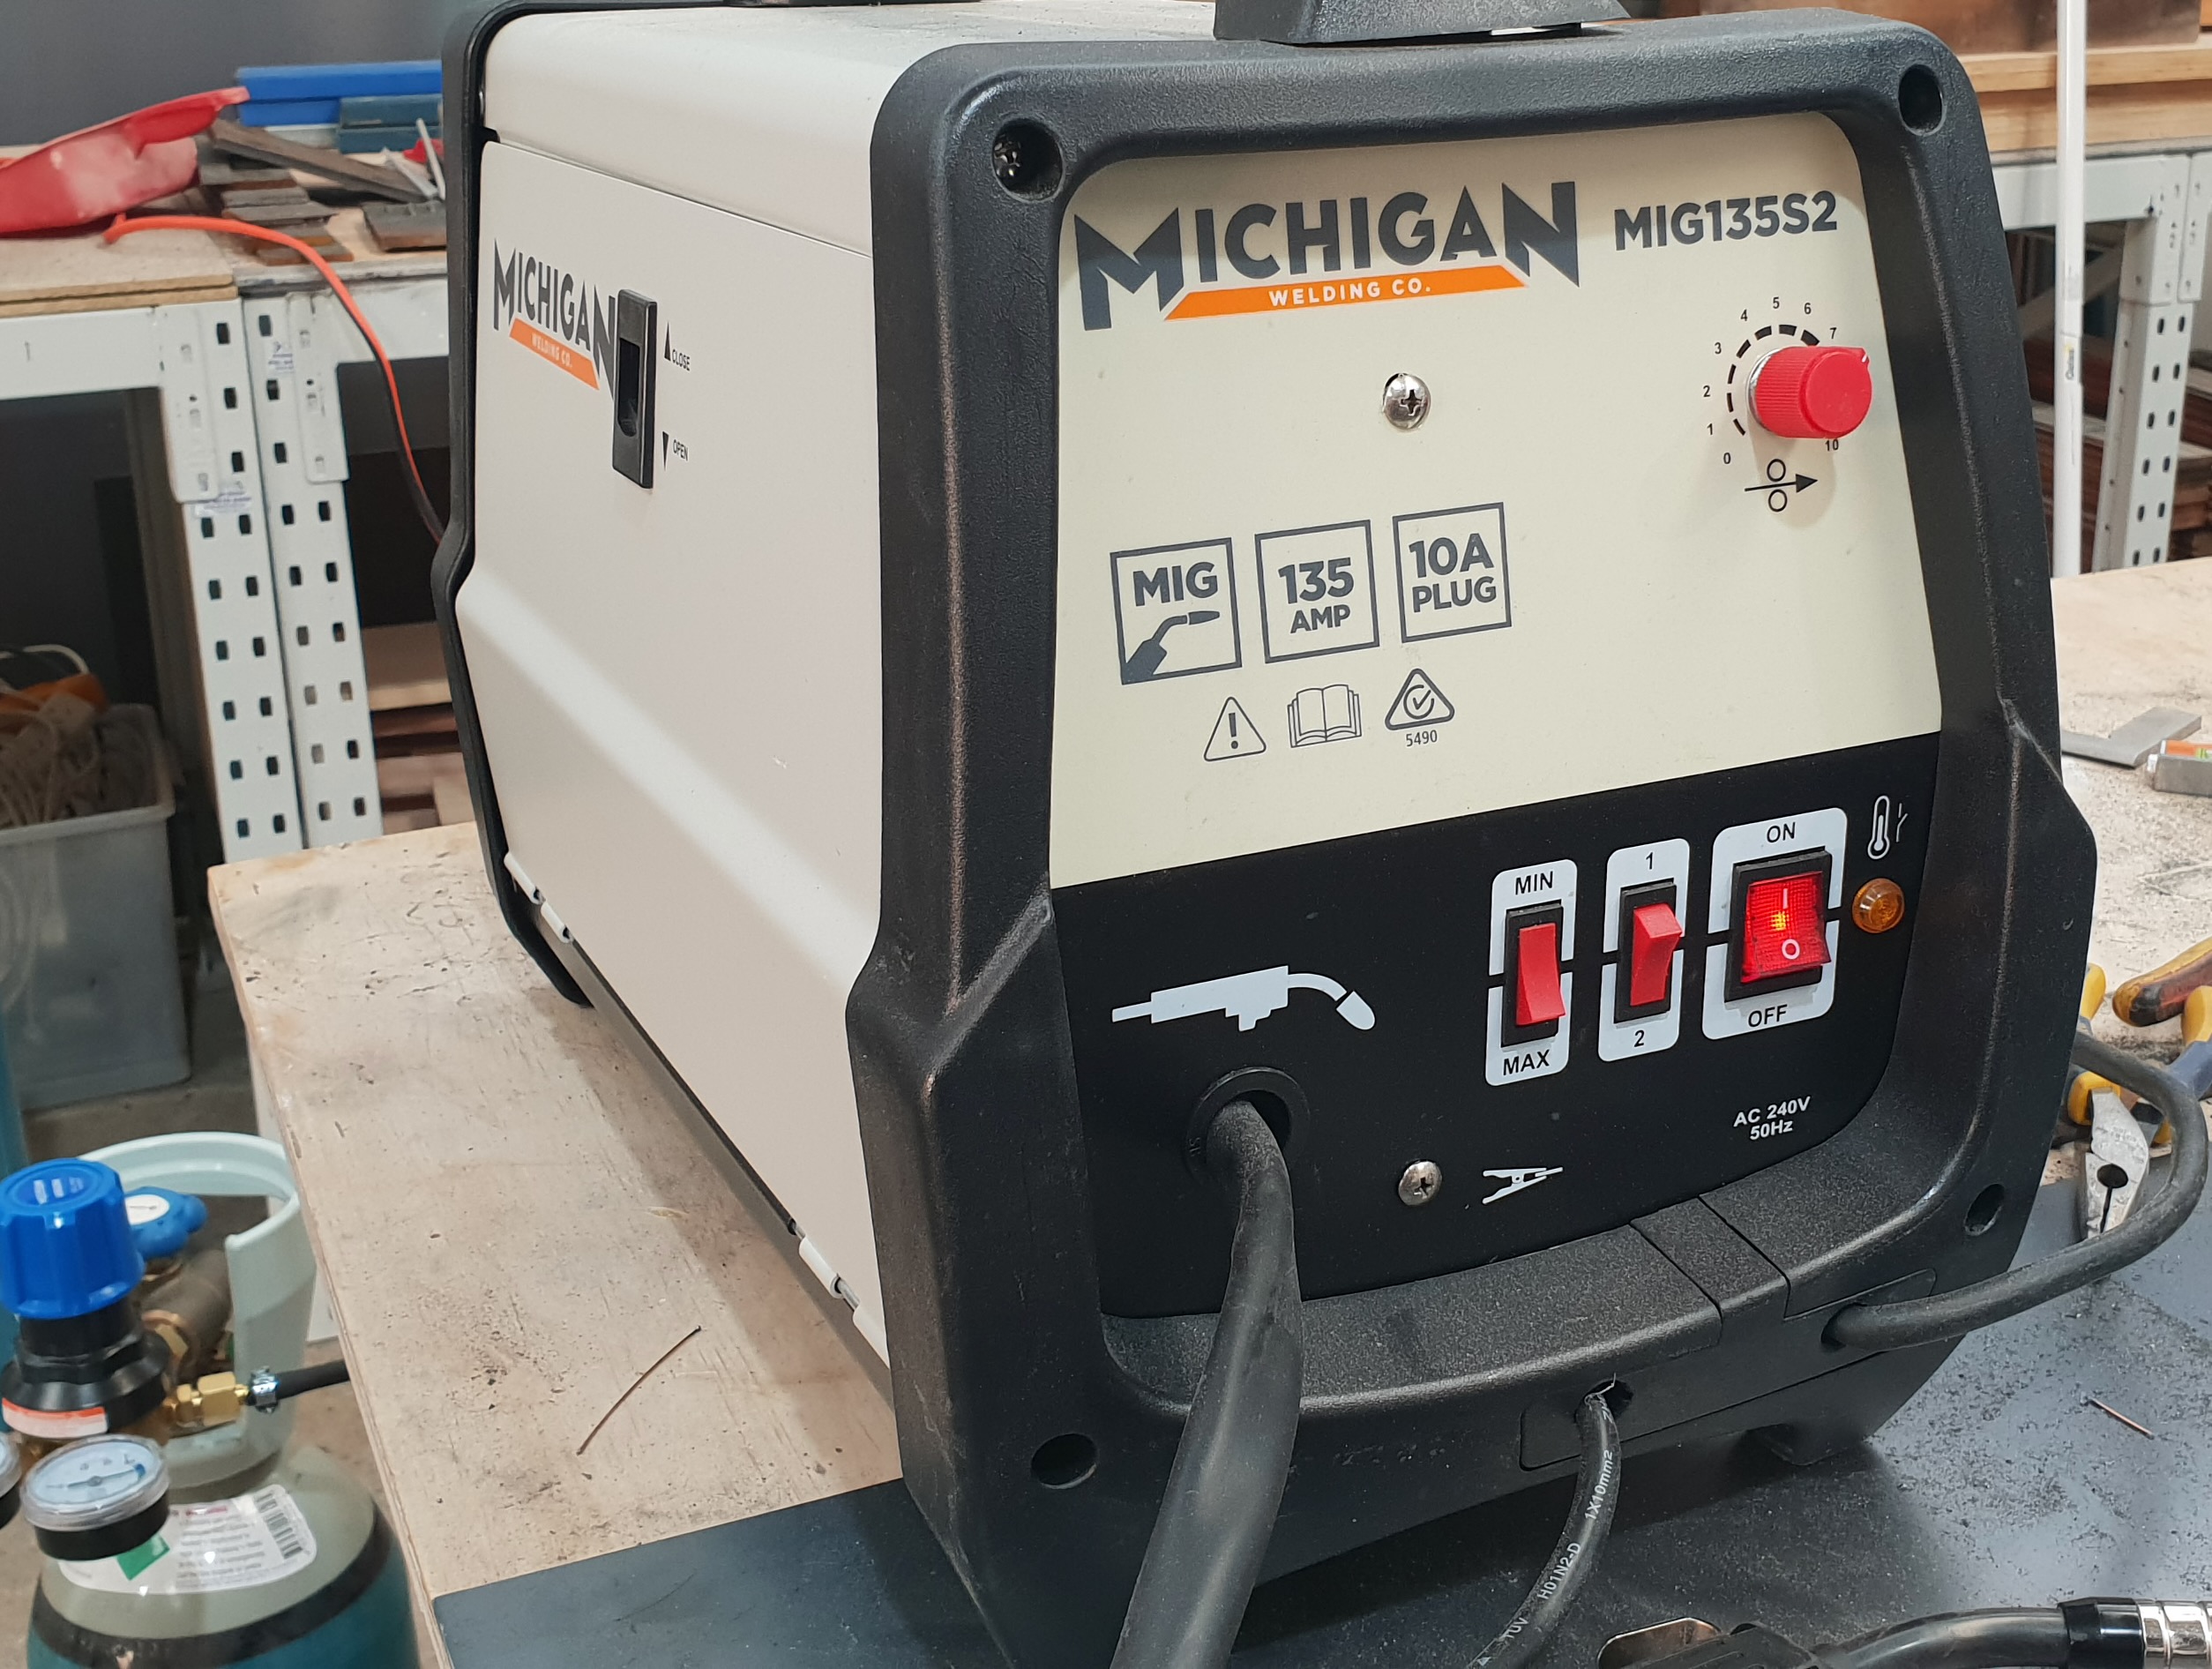
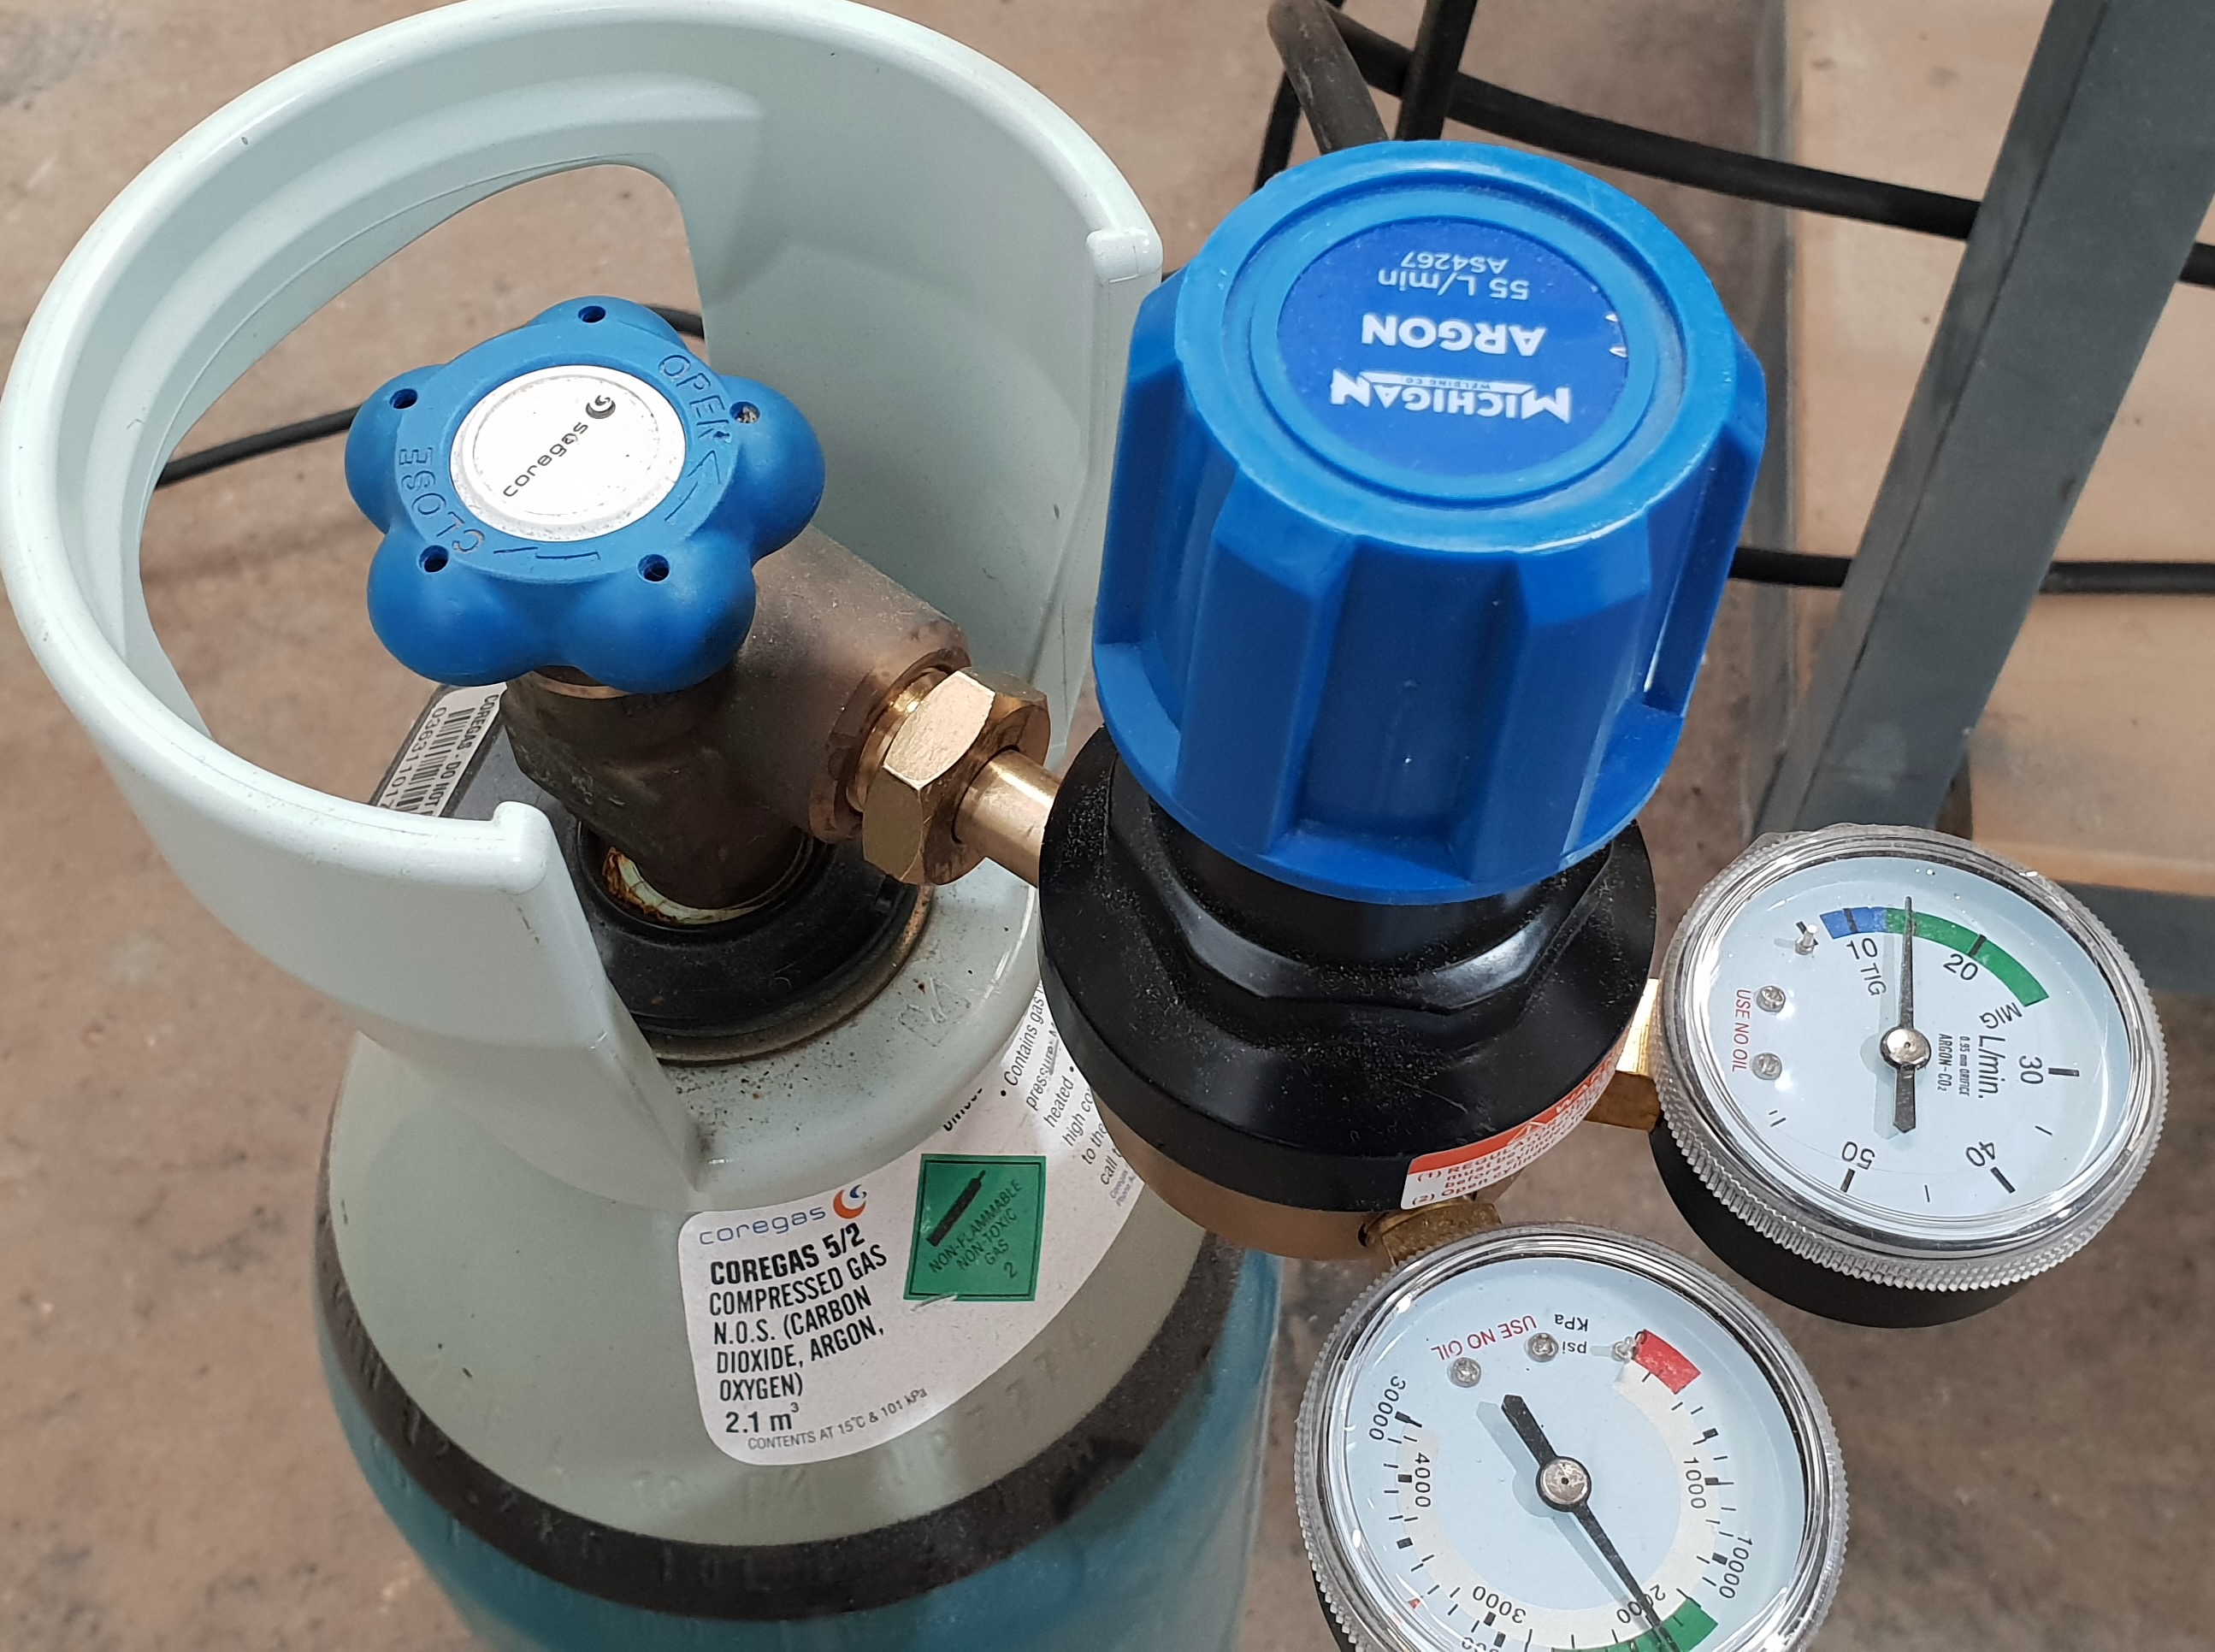
Having cut, shaped and marked all the components, it was finally time to put them firmly together. This involved learning to use the welder. We talked about how it worked; and the importance of getting the gas flow, the voltage and the wire speed right. We were doing MIG welding where MIG stands for metal inert gas. In this case the gas was 90% argon and 10% carbon dioxide.
The gas in the bottle has a regulator that shows both the volume of gas remaining and the pressure/flow rate.
I tried to master two welding techniques. The first, called tacking, involves applying the “point” of the welder into the join of the two metals. I found it very hard to see this point, even when it was cut to an extra length. My guess is that I was 50% accurate. JC tidied up non-joints with the grinder the rest of the time and I had another go.Then I was 50% successful again. Repeat JC tidying… etc.etc. In my case practice did not make perfect. It just reduced the non-joints a bit each time…With that technique I secured a good part of the bottom to its base.
Having achieved about 50% success rate at tacking, I embarked on real welding, ie, a seam for joining two metal edges…
Nothing to see here. No success. JC completed all of the welded seams required of the project. Again, we rationalised that I’m mostly going to want to spot weld rather than run long metal edges together….so my inability to weld seams is not necessarily a handicap.
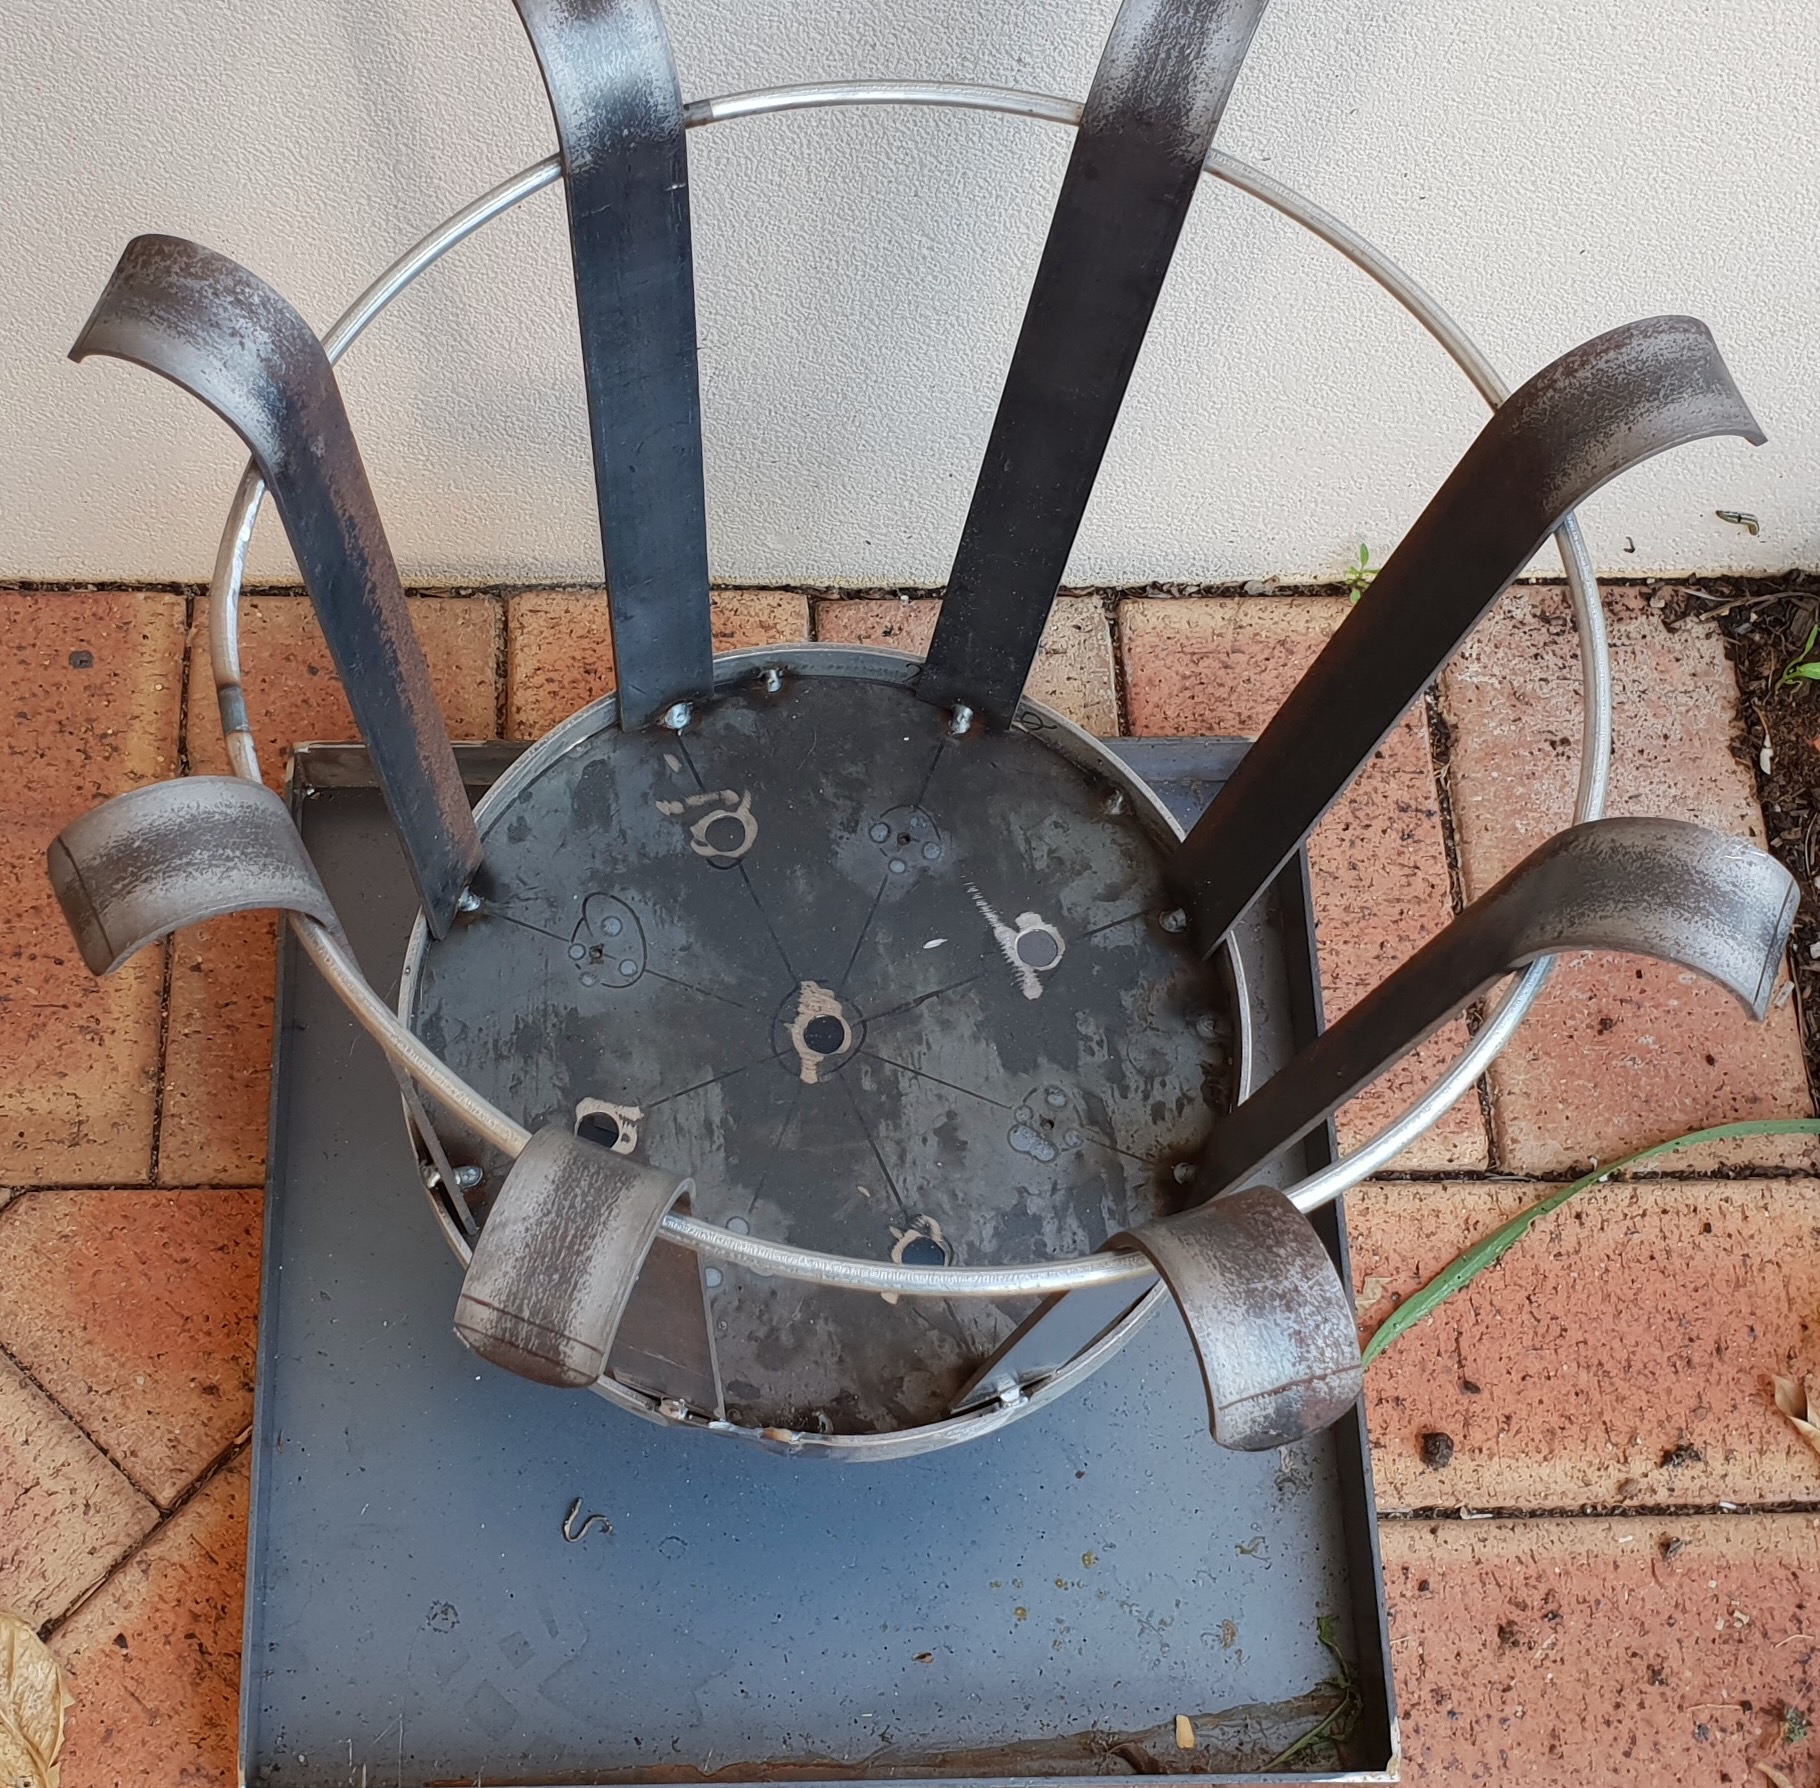

I took home a brazier. Yes, JC nursed me through it and actually did a lot of it. However, I learned a great deal in a very short time. I might not be proficient but I’m now trained to use the tools properly and safely.
JC is happy to have me back when I develop a design I want to make. We will confer on whether I’m able to do it. If not I can always commission her to do so. My preference, of course, is to design something that I can make myself with a bit of advice. I can use her tools on a pay as you go basis for power and other consumables and that means I don’t drive my suburban neighbours mad with the noise.
In the meantime I will apply primer and paint and use it as a pot plant container. The leafiness of said plant will conceal any flaws not masked by the paint! I’ll post an image then.
I’m so glad I live in Perth, Western Australia where Women on The Tools is there to correct the results of historic deficits in women’s skill development. Thank you, Janet Carter aka JC!!

Wow..well done you, such an empowering experience. Look forward to hearing about further tool-based endeavours. Go Margaret !! 🙂☺️👏👏