Recently I demonstrated simple techniques for wrapping a wire armature at my contemporary quilt group. This is a summary:
Requirements
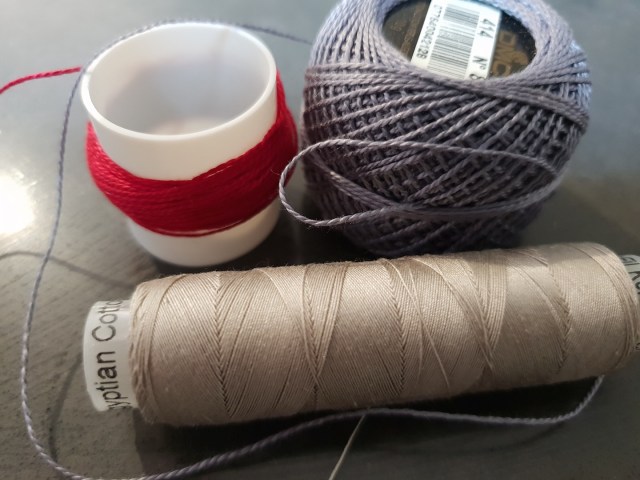
Figure 1 Machine weight thread and decorative threads
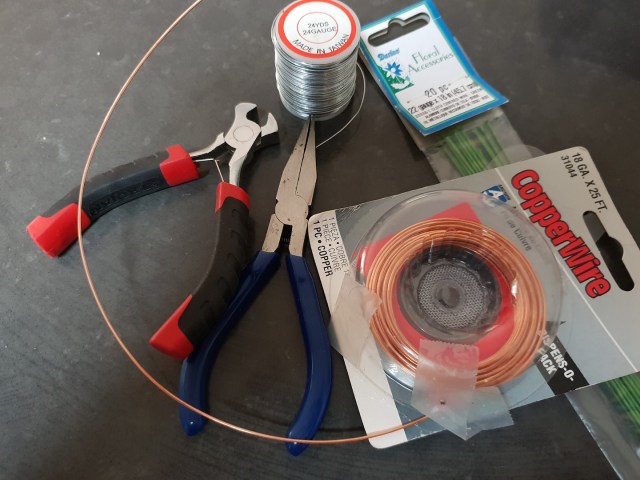
Figure 2 Wires, wire cutters and pliers for bending
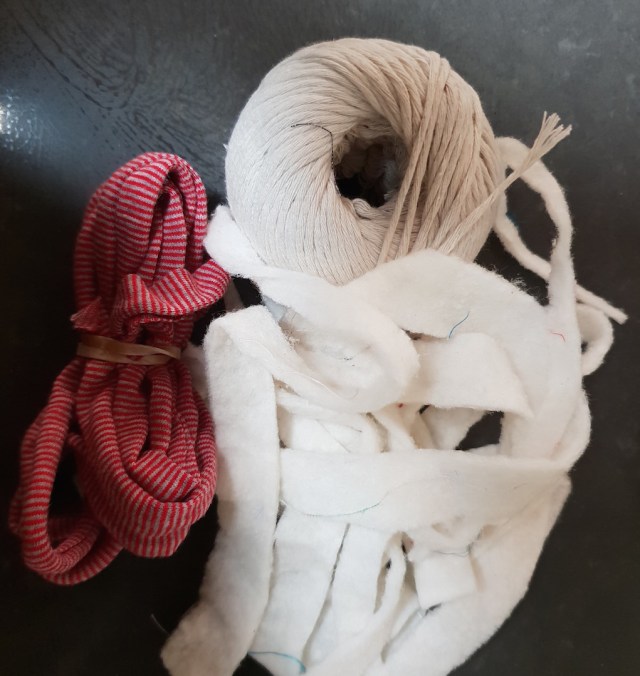
Figure 3 Cotton string, fabric strips and narrow strips of batting
Method
- Select wire
1.1 The smaller the intended piece, the finer the wire (the higher the gauge no.) you will choose. The example in these images is copper wire # 18.
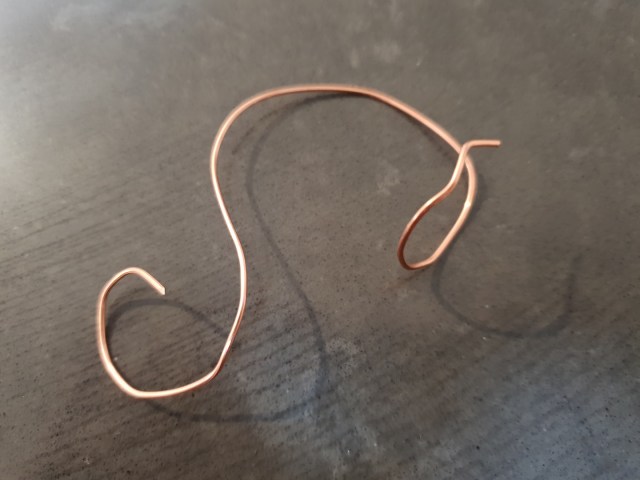
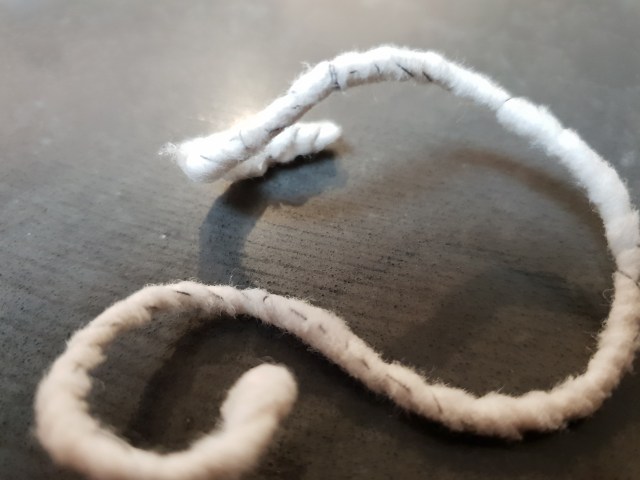
- Shape wire. That is, bend it as you want. See above.
- Bind wire with string or batting. The smaller and finer the piece, the more suitable is something like kitchen twine as a wrap. Larger pieces, or pieces requiring some differential shaping (for example, muscles on a body form), warrant the use of 1cm wide cut strips of batting. The examples imaged here used batting. Contrast thread used for clarity.
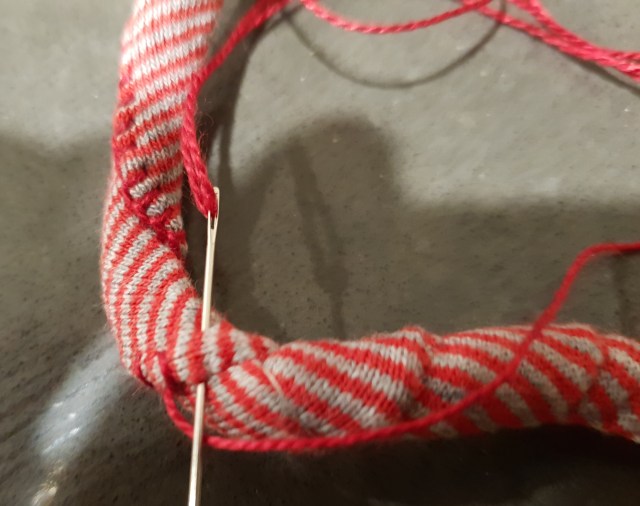
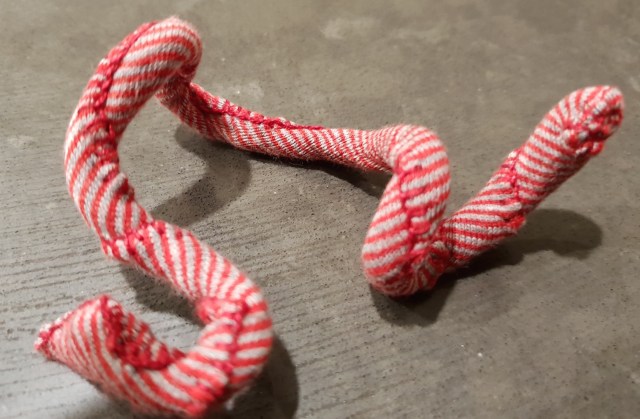
- Wrap wire with fabric. The examples here are wrapped with a knit and finely striped fabric. Knit fabrics are easier to stretch and wrap around the base. However, bias cut woven fabrics also work well. Even straight cut woven fabrics can be used but these are best used when curvatures are not extreme. Rough or frayed edges can also add texture.

Note 1: It’s not necessary to match the stripes. I was channelling a meticulous friend!
Note 2: During the demo I was asked if it would be easier to do all the wrapping and stitching BEFORE the bending. At the time I replied that I did the shaping of the wire first for two reasons. First, that bending afterwards can cause the batting to shift and expose wire. Second, that if you want to build up areas a bit more thickly than you need an idea of where those areas will be on the piece. However, in making the examples here I realised that slipping of the fabric can be prevented by just increasing the extent to which the strips are overlapped as they are wrapped, and unless there are to be some very severe angles twisted into the piece afterwards this should not be a problem. Moreover, nothing says that the extra padding you might want to add in some areas must be included in the initial wrapping. It could certainly be added afterwards when the bending has been done.
- Stitch the wrapping. Blanket stitch is my “go to” as it fits well with the edges of the bound fabrics. Extra embellishments can also be added.
Note: Much more stitching can be down here. Decorative cords can be wrapped around; beads stitched on, etc., etc.
- Think of something to do with the product
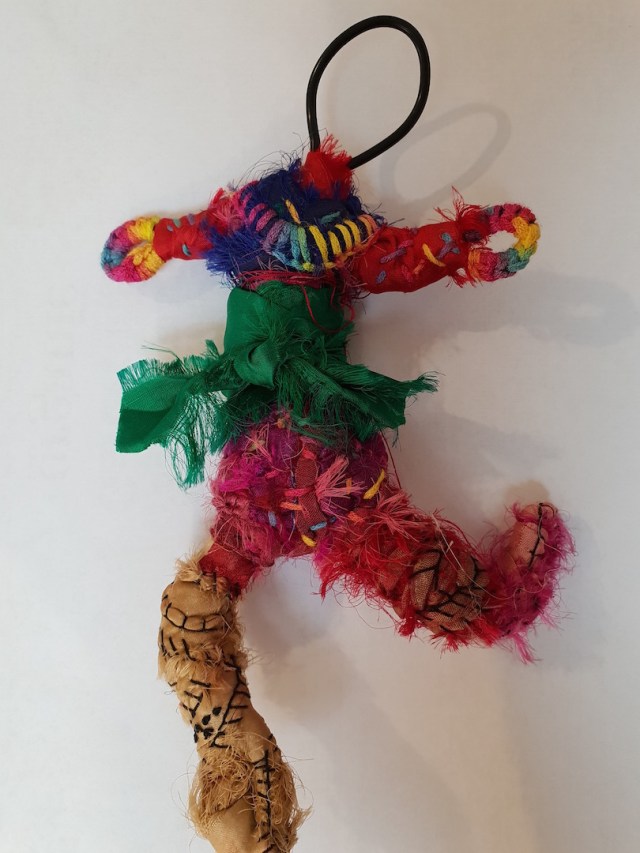
Figure 4 Key ring fob?

Figure 5 Necklace or pendant?
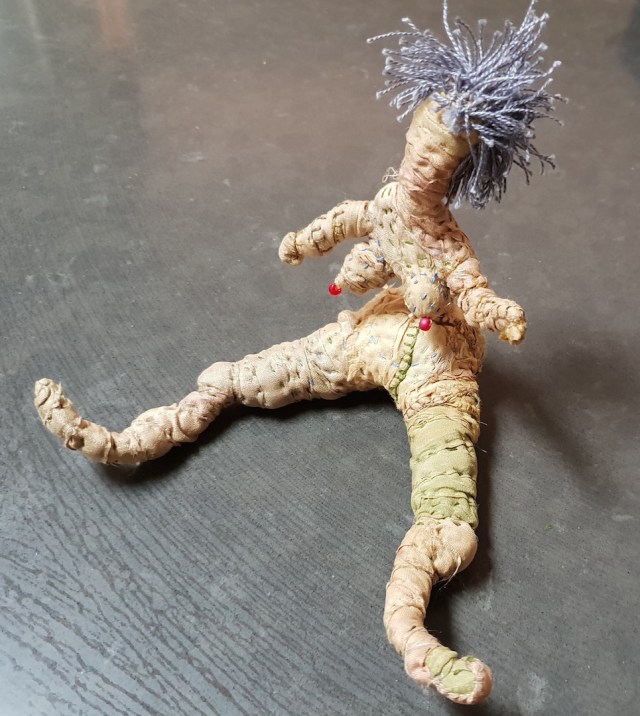
Figure 6 My Future is….Now!
