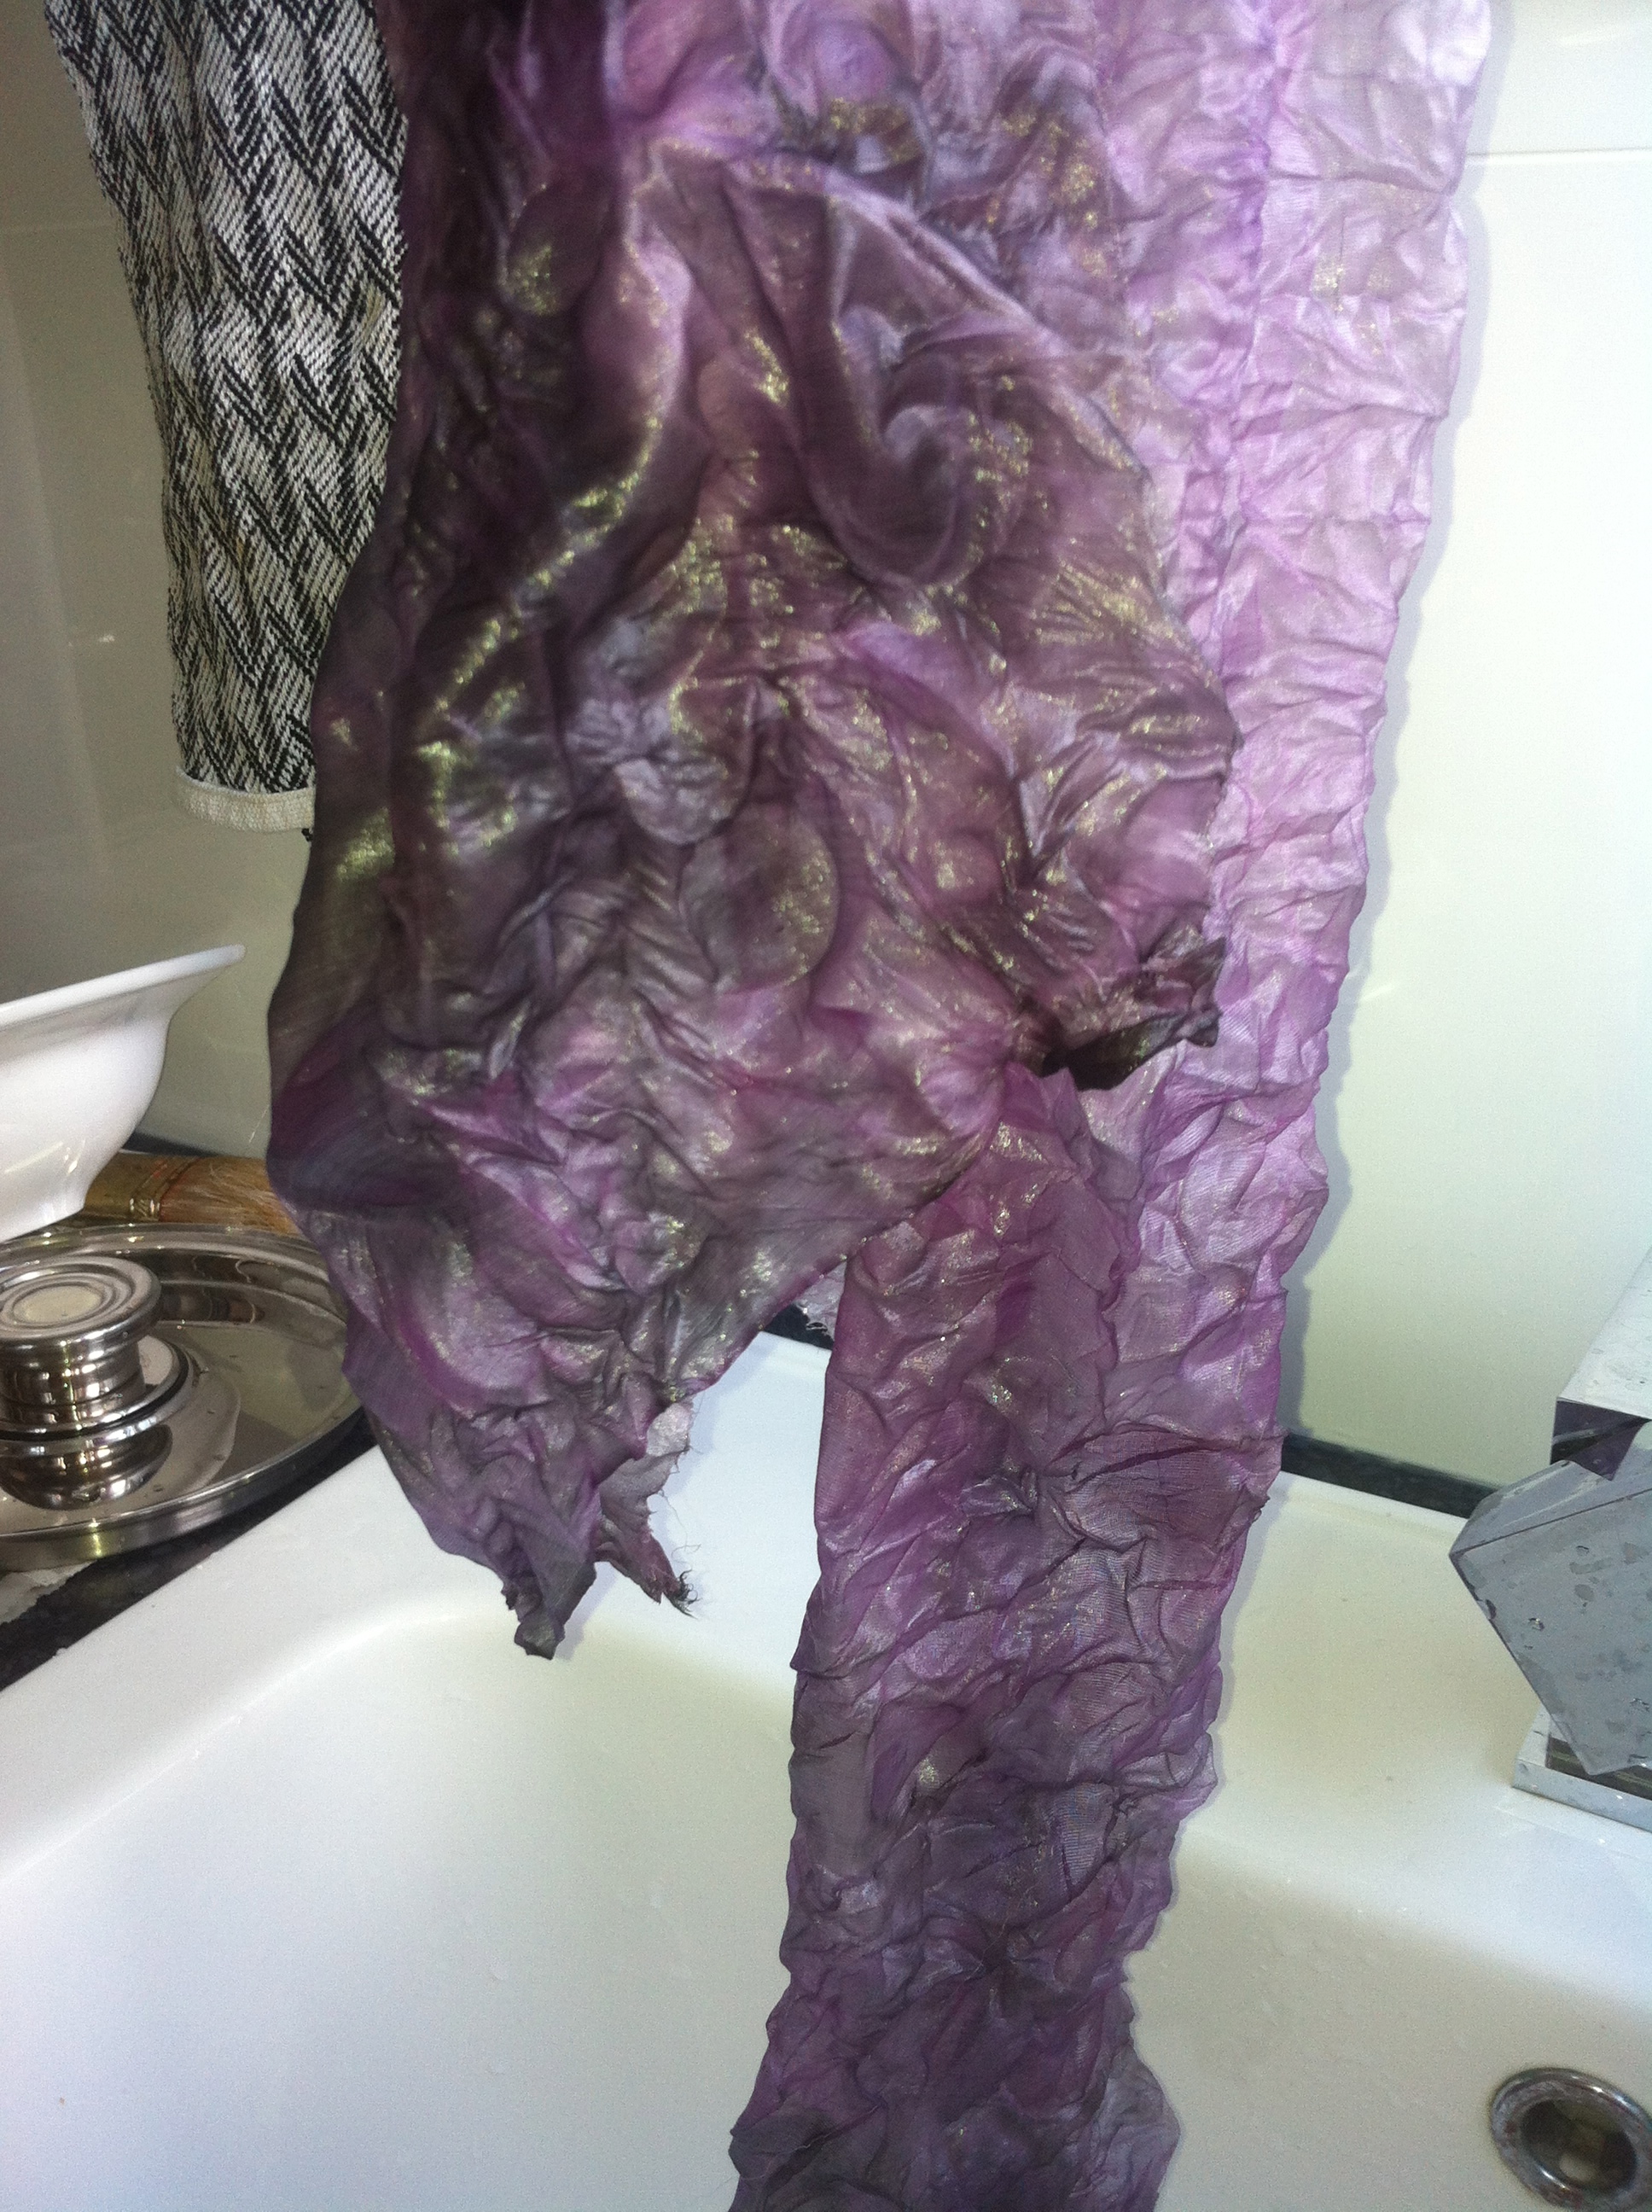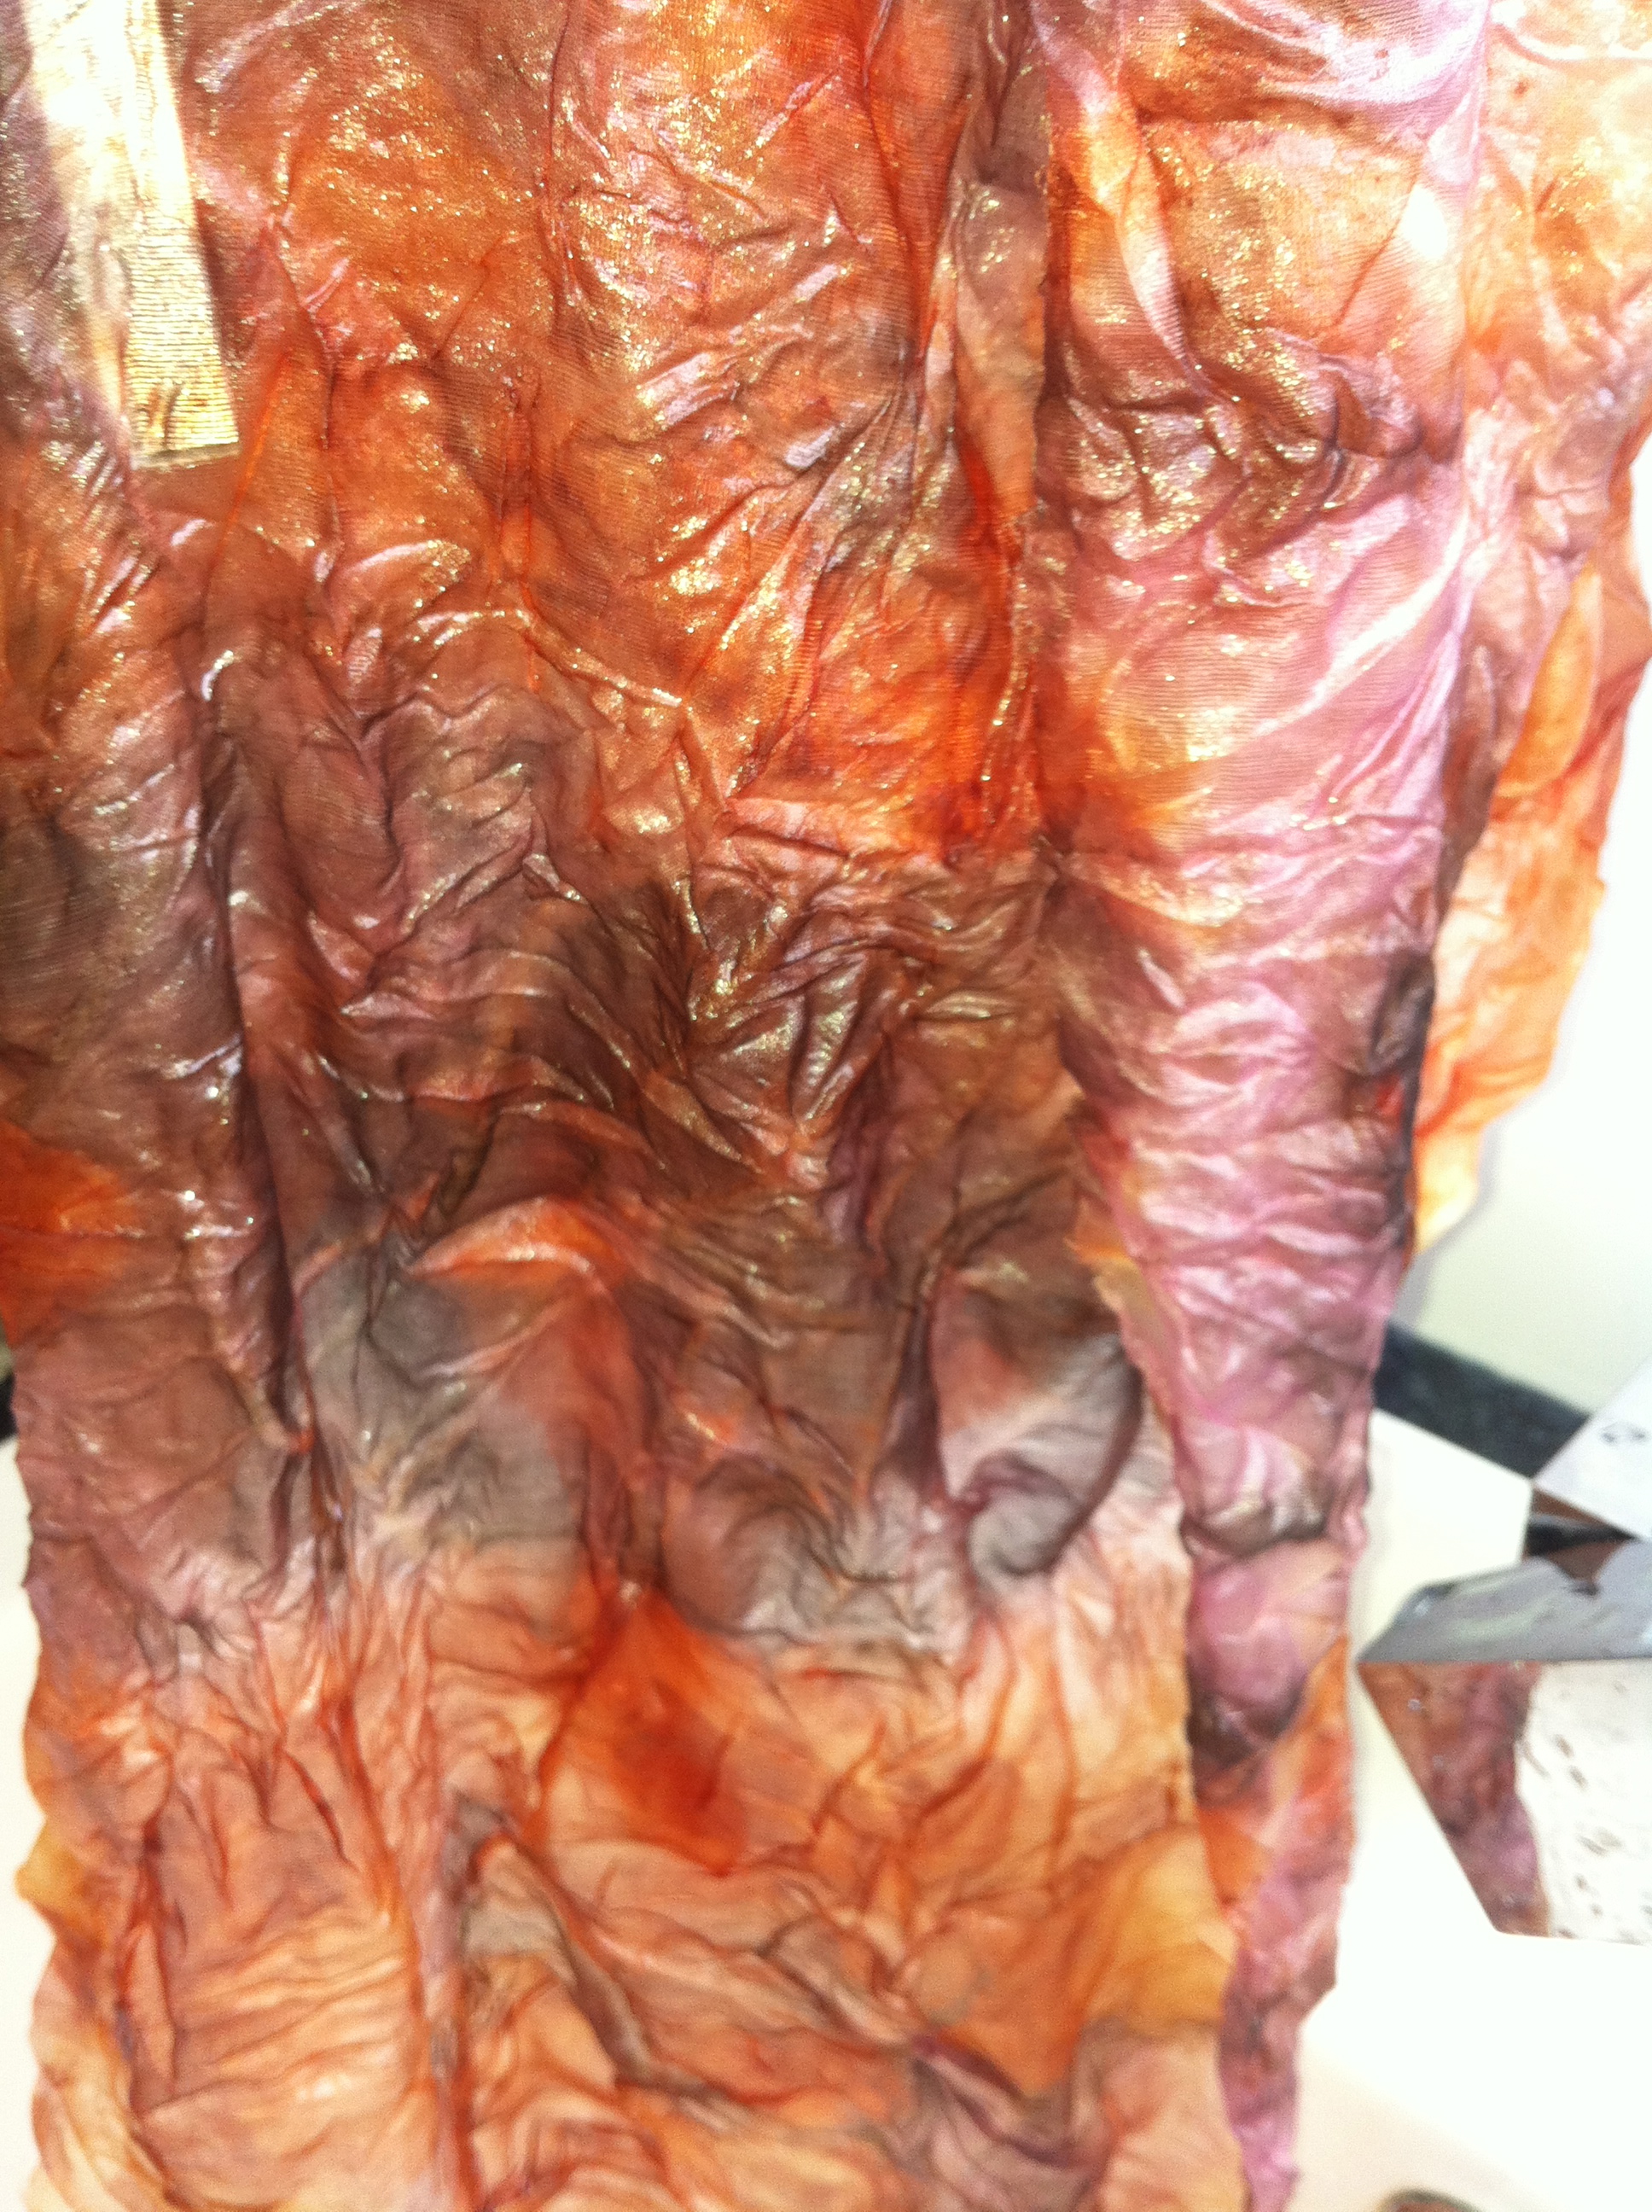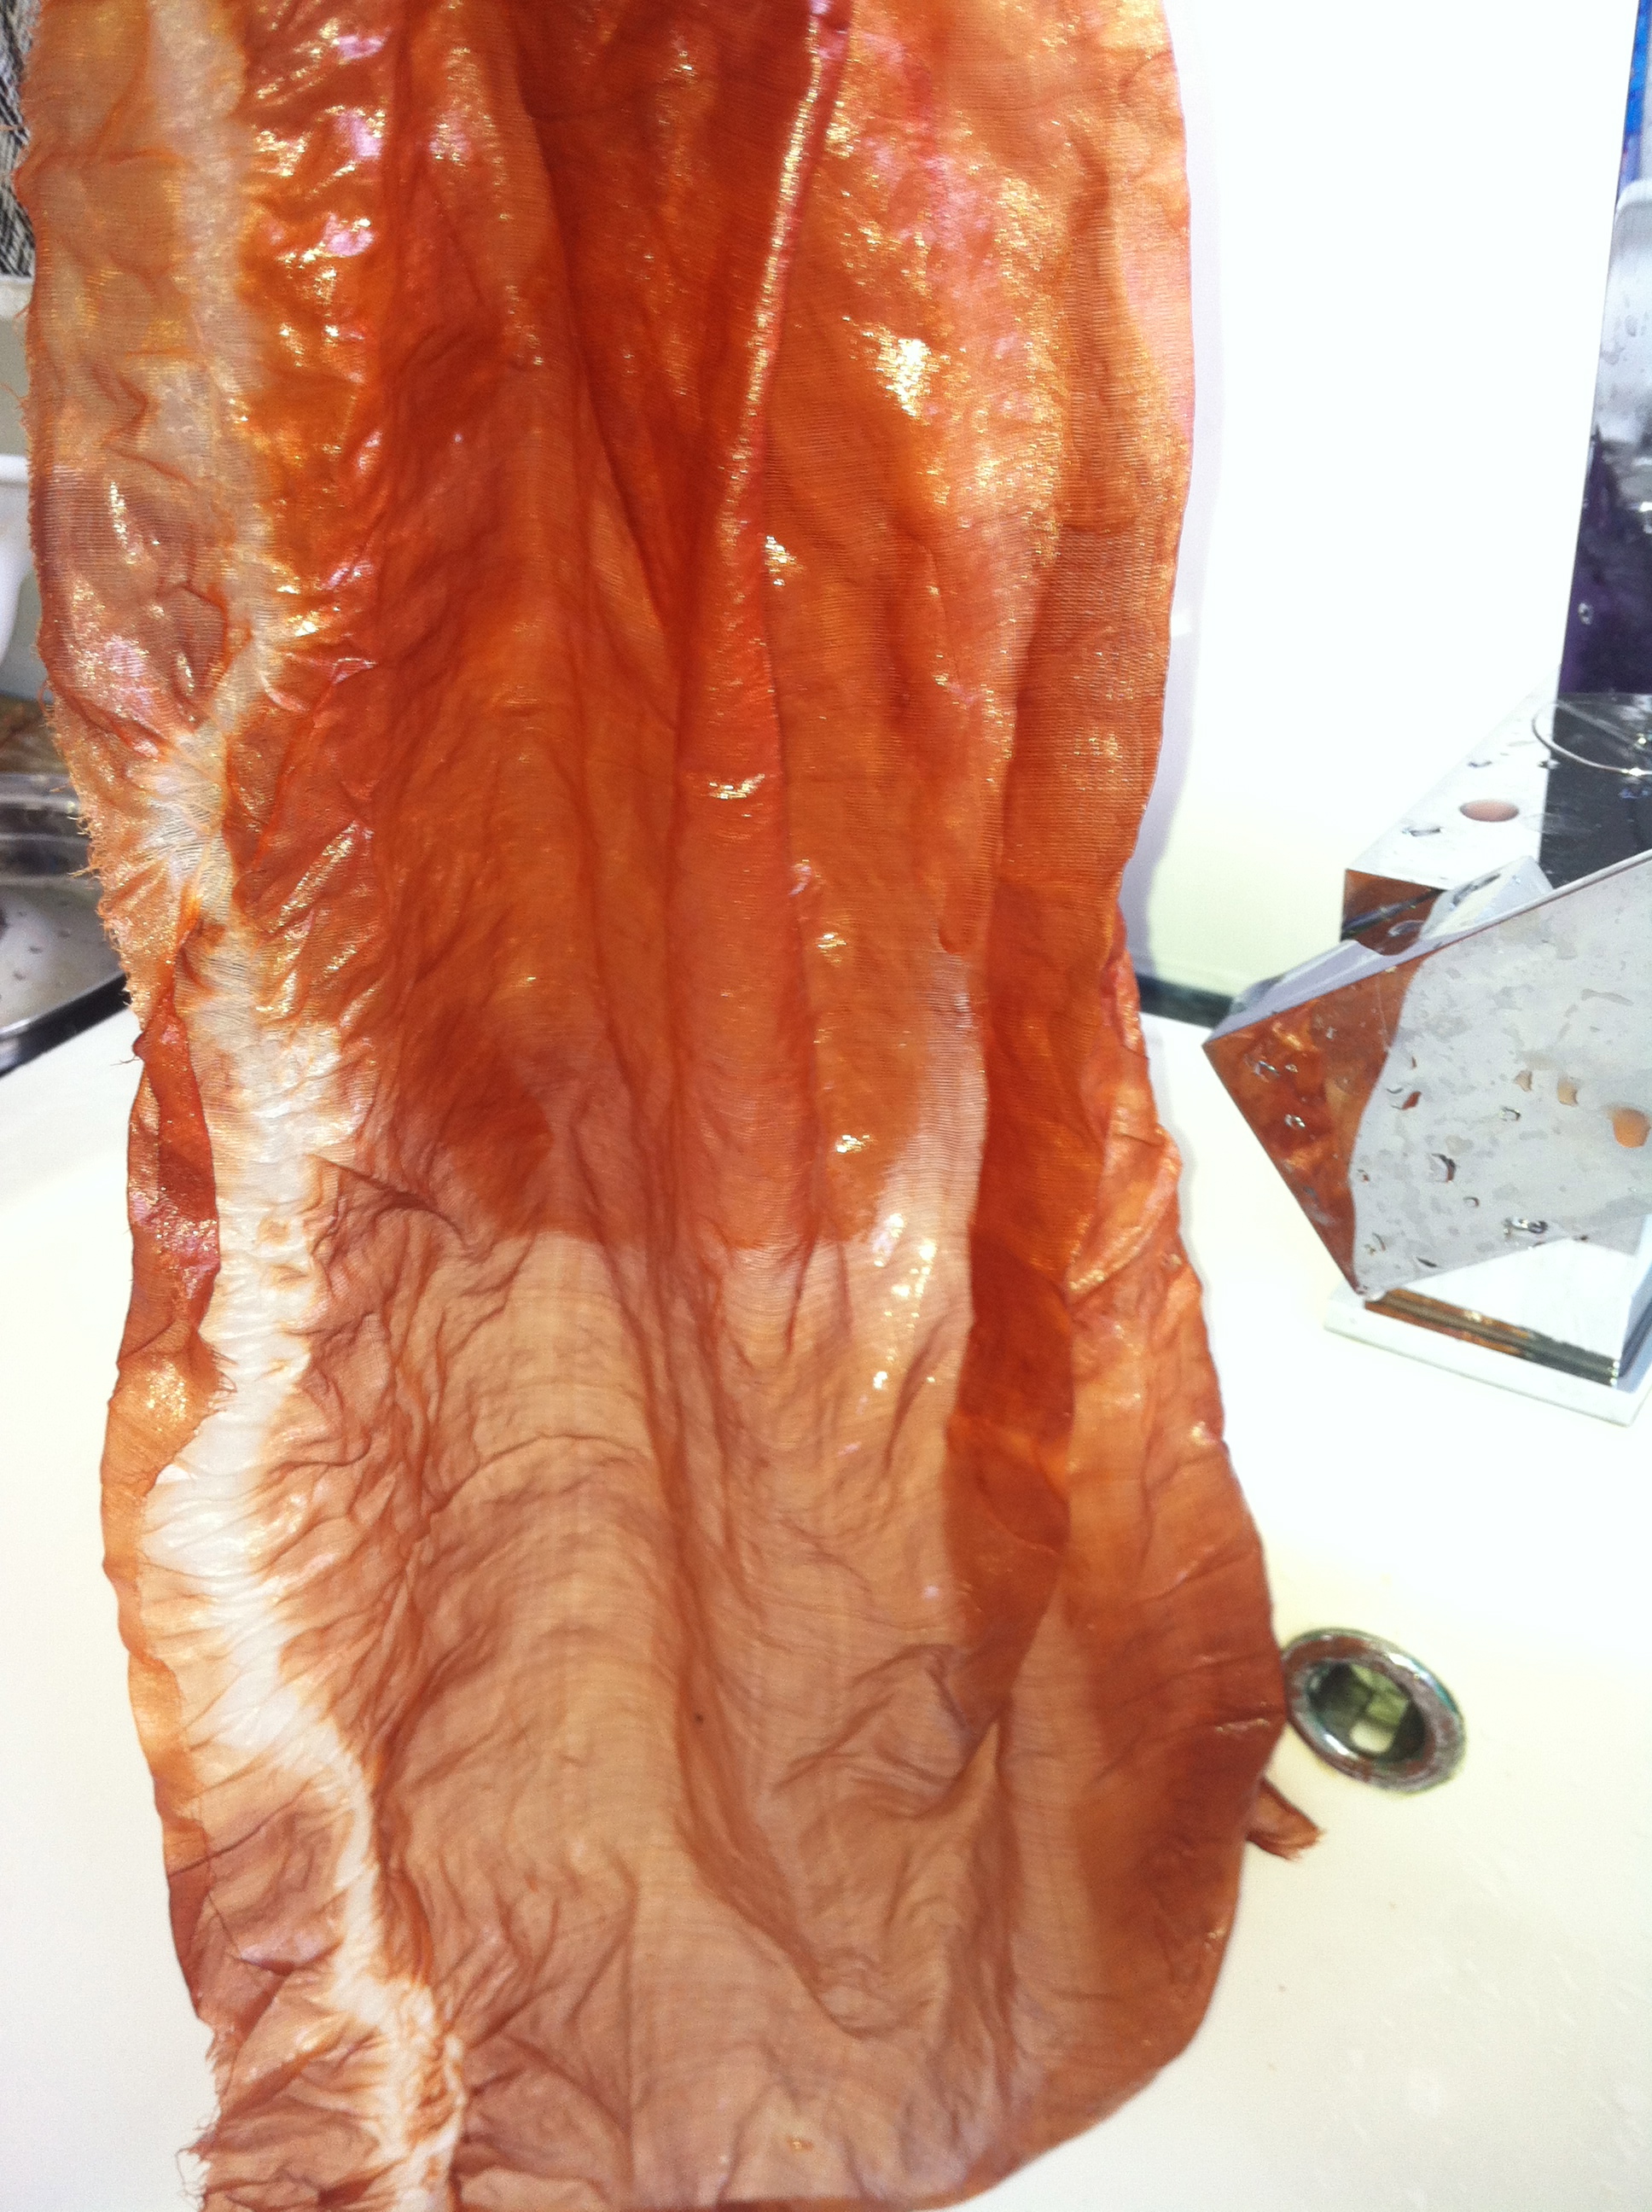
Earlier this year (April 2014) as a member of the Western Australian Fibre and Textile Association (www.wafta.com.au) I had the chance to learn Judy Dominic’s version of bogolanfini. Participants in the workshops brought mud to share from the breadth of WA, including Broome (very red) Kalgoorlie and further east (more yellow) and Denmark and beyond (black, from someone’s dam).
Judy gave us tips and methods for fixing the colours of the mud immediately and they worked. However, she also encouraged us to think about applying some patience, as the traditional African practitioners do, and just waiting a few months before we washed our fabrics out to see how well the pigments in our mud fixed to the cloth. The specific time mentioned was six months.
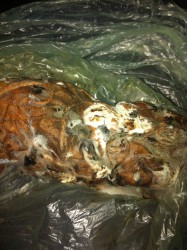
So today when I was looking for something else I found my samples of cotton cloth with its mud still on it. Seemed like a good time to wash it. Took a before photo then popped it into the washing machine without any detergent and washed it for 30 minutes. Ironed it dry.
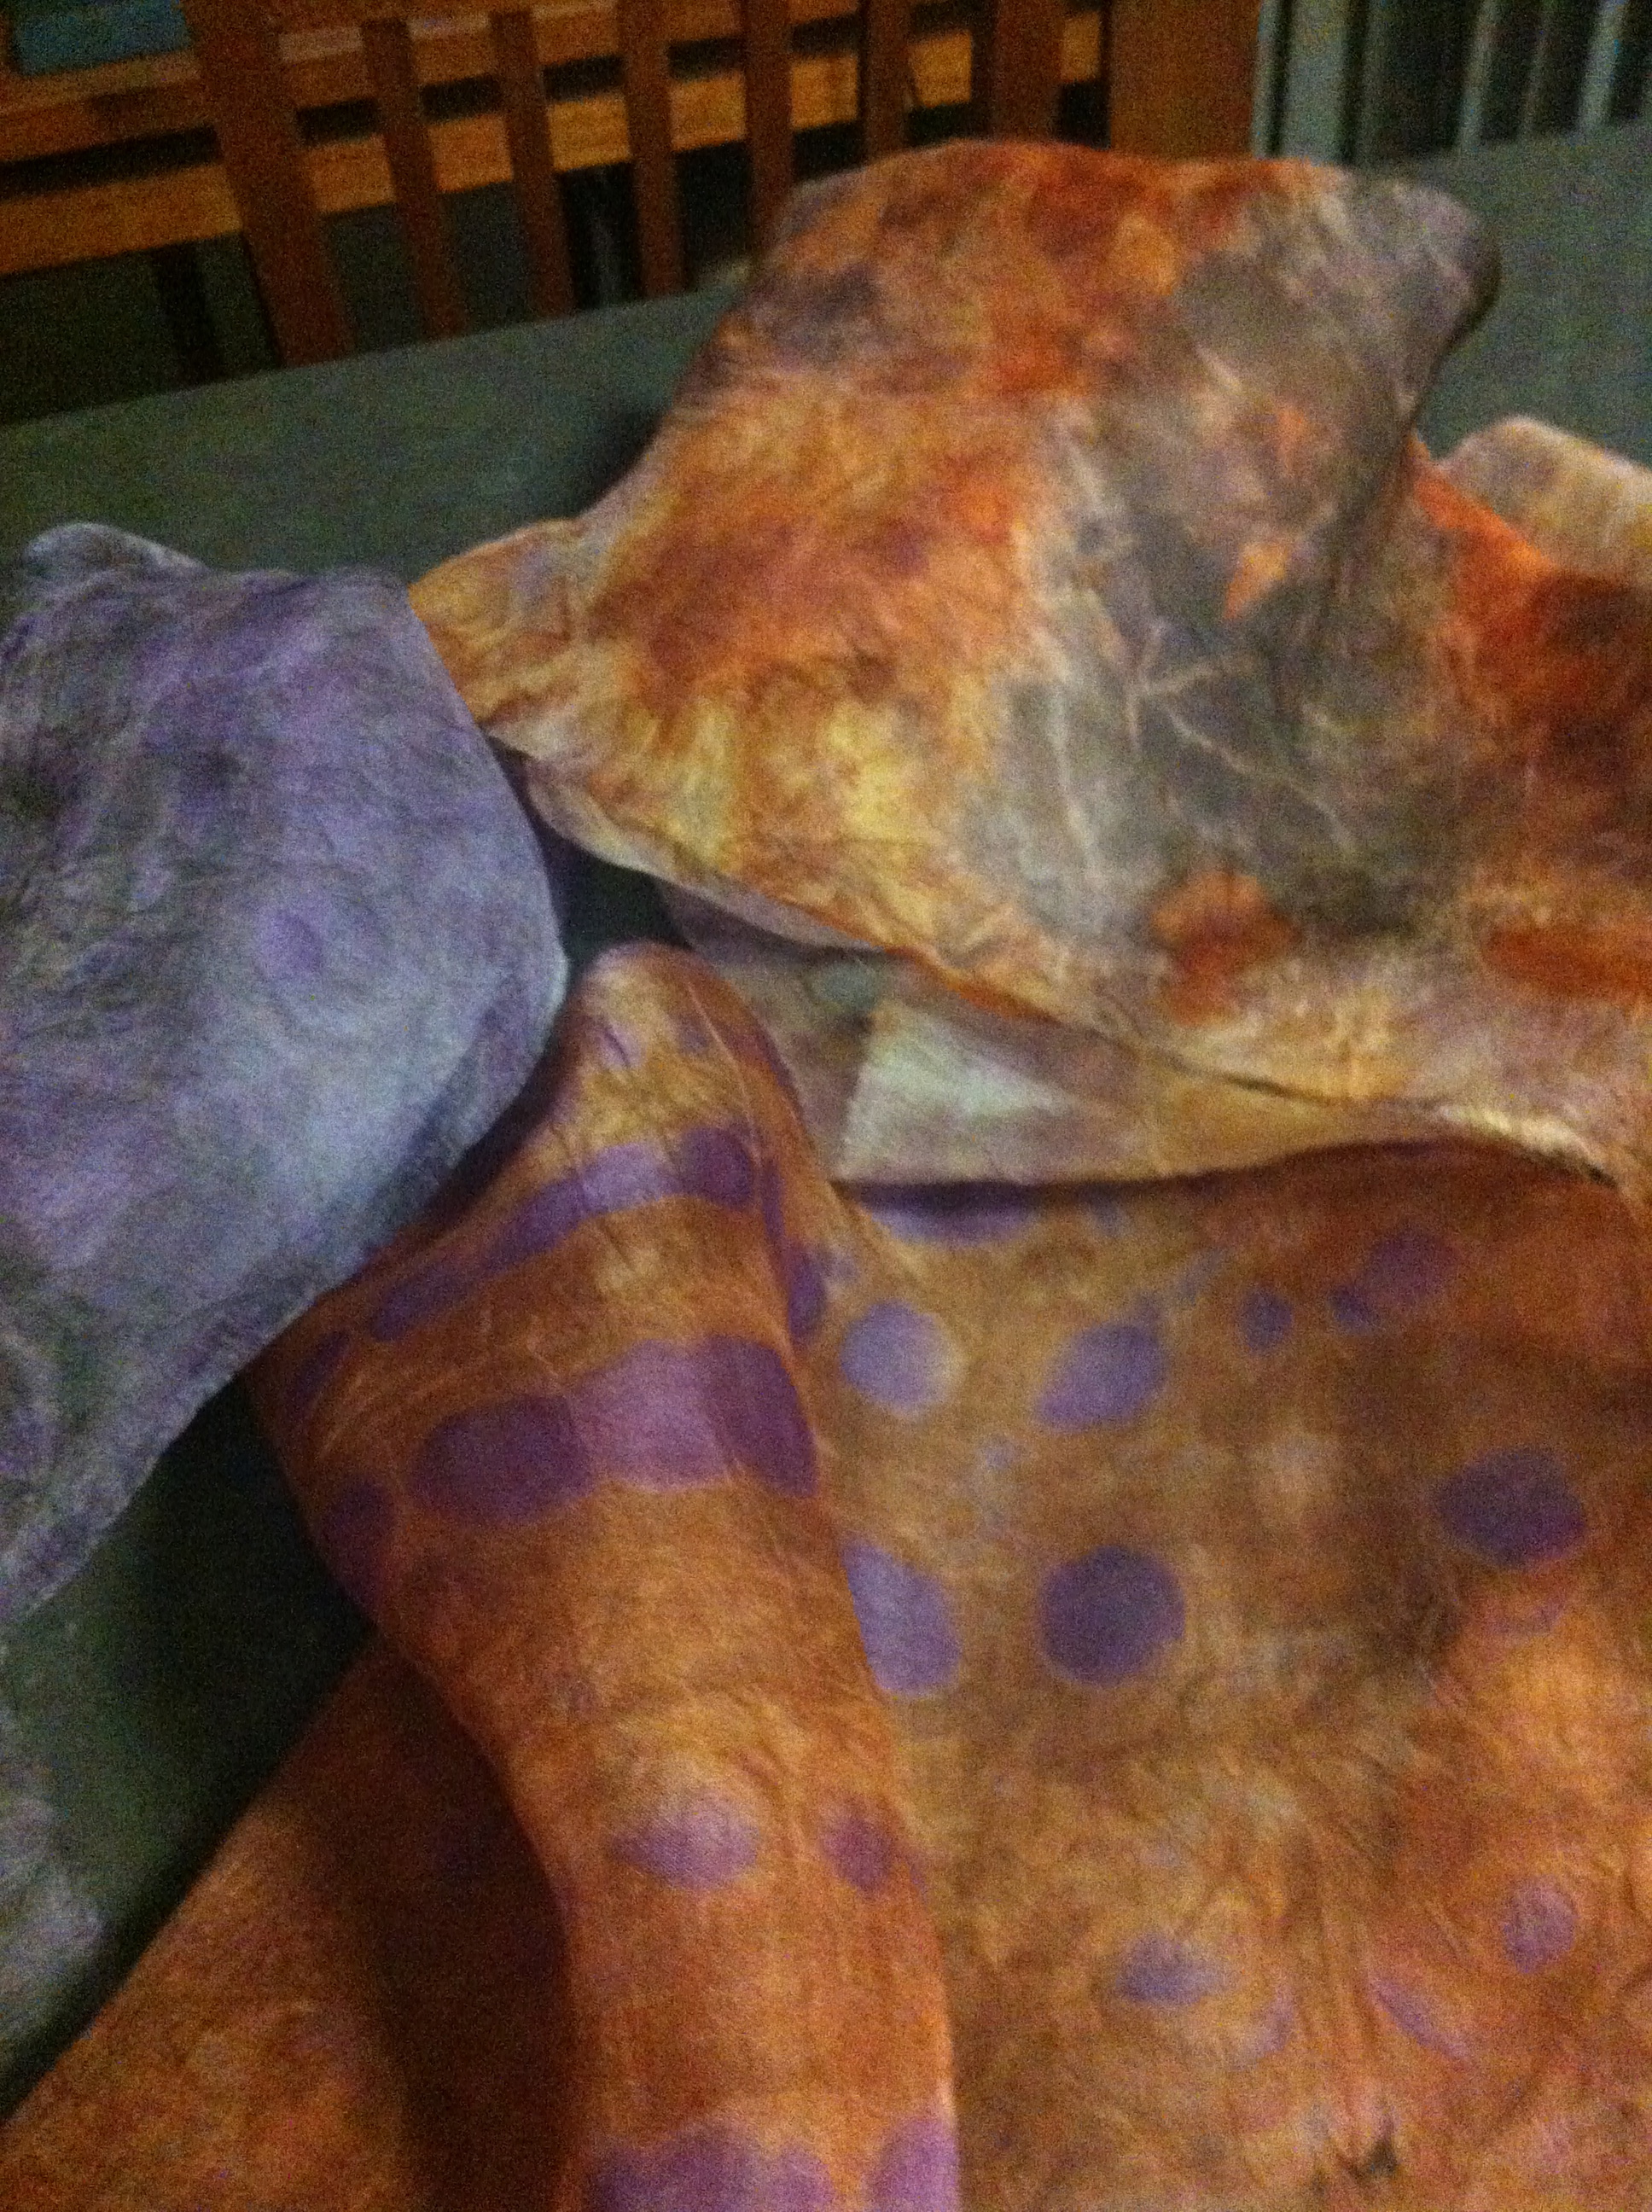
The results:

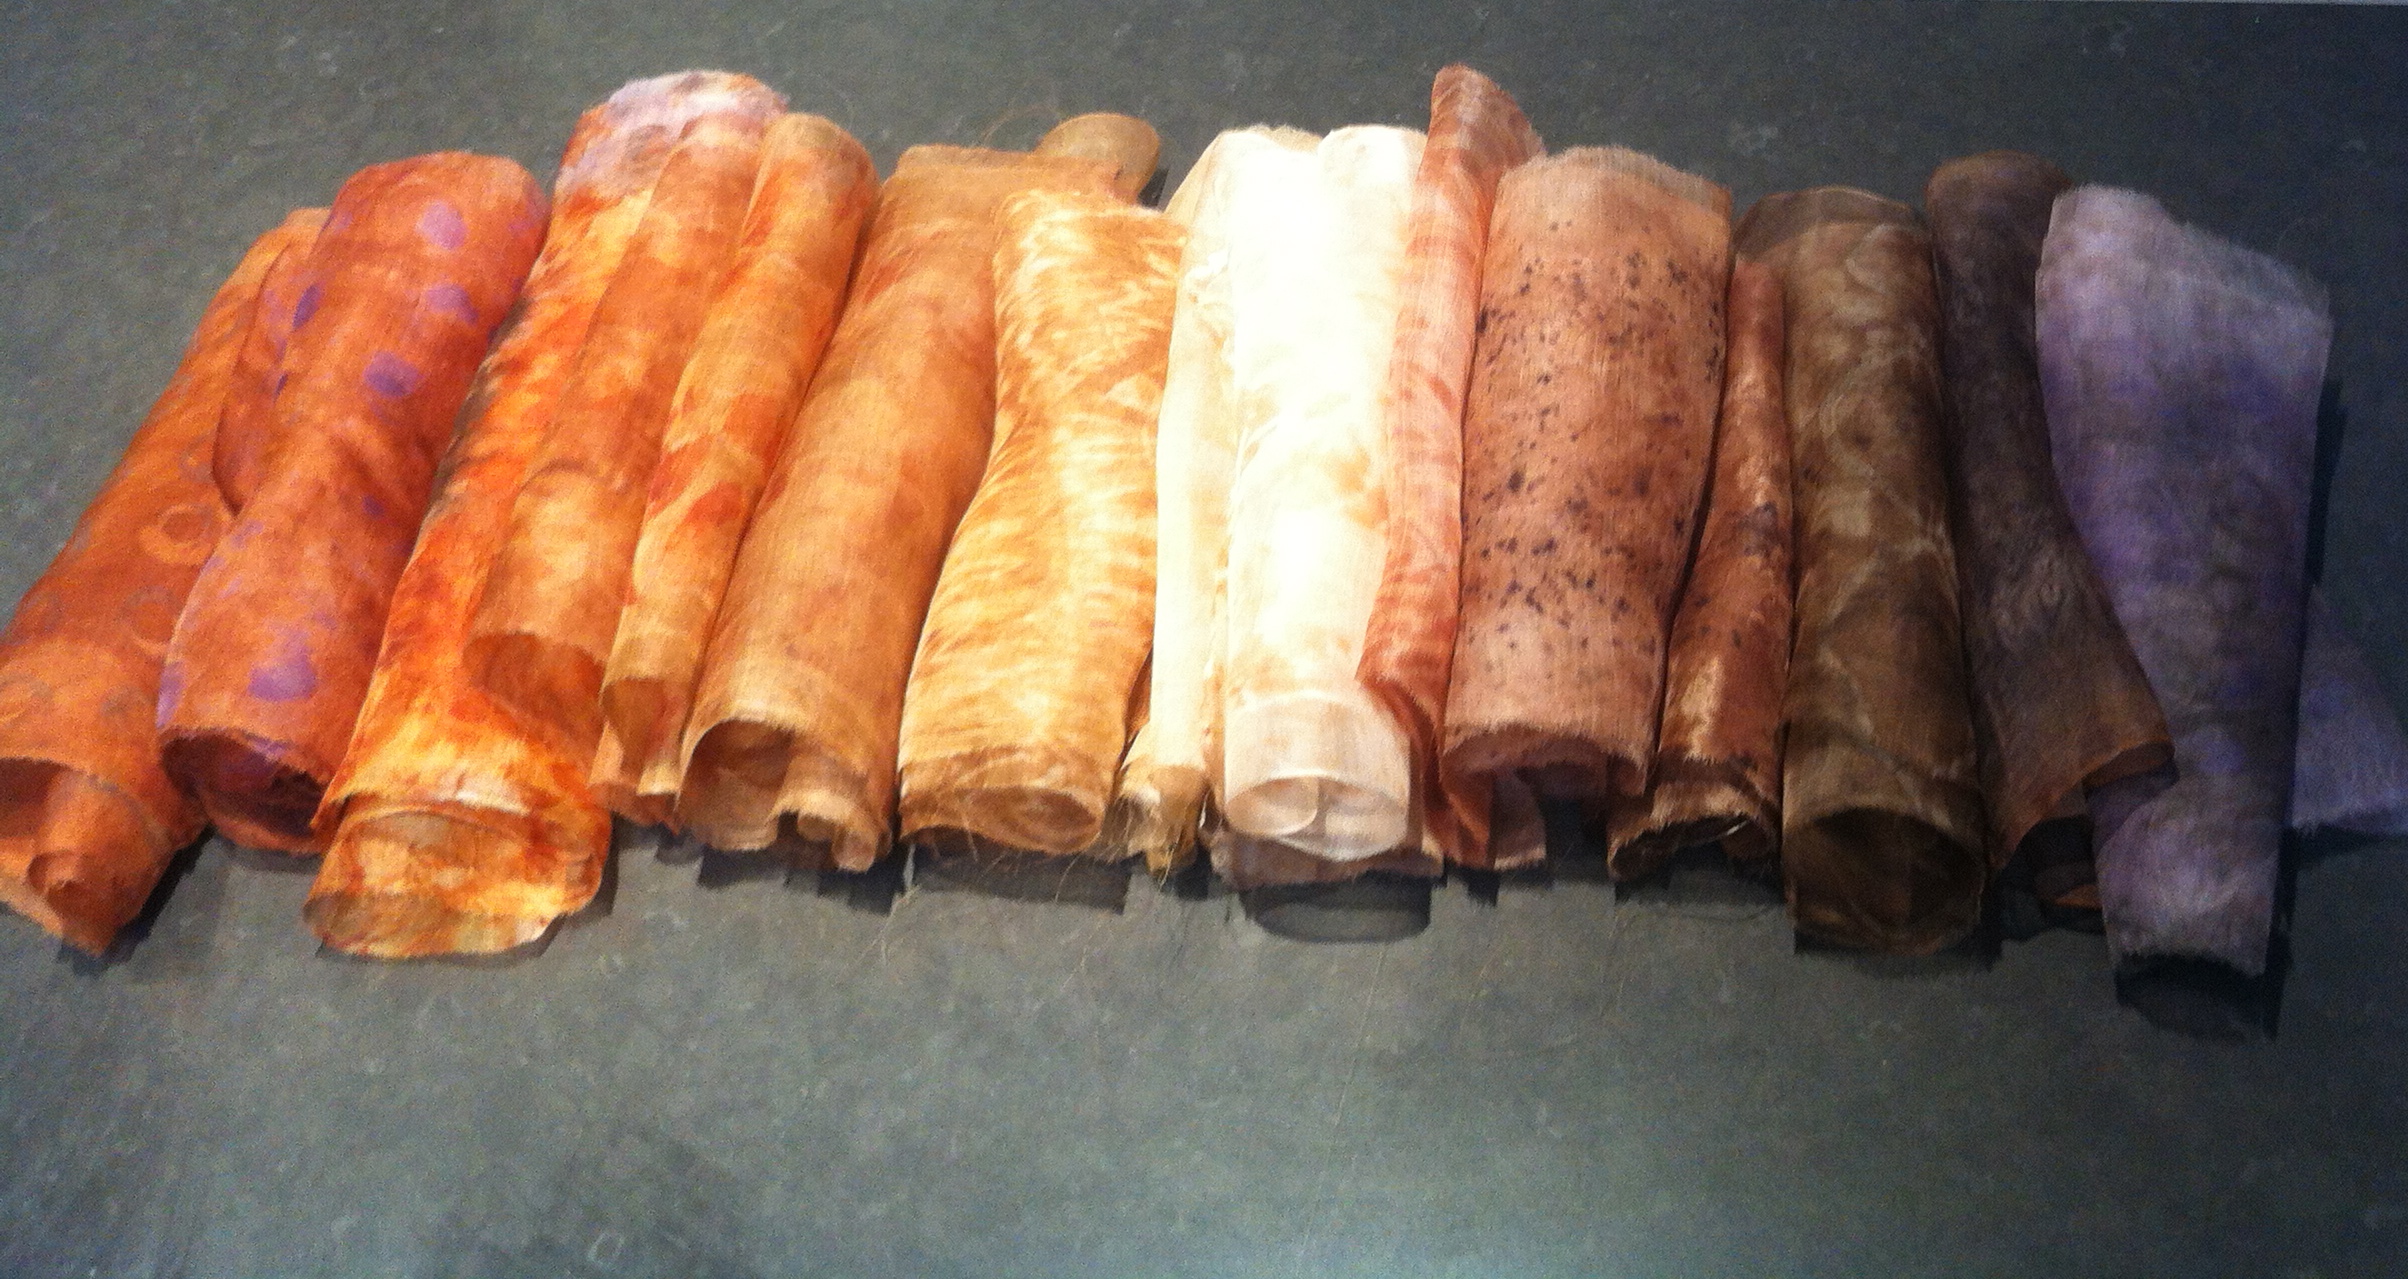
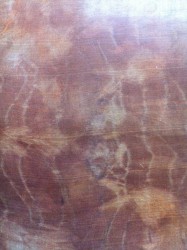
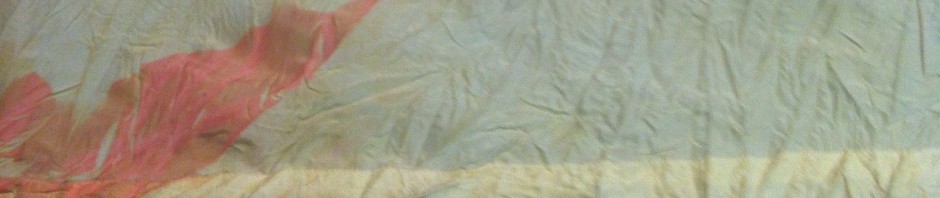
Straight out of the cupboard after six months and before washing

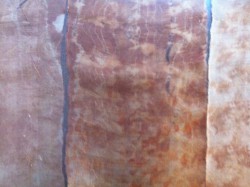
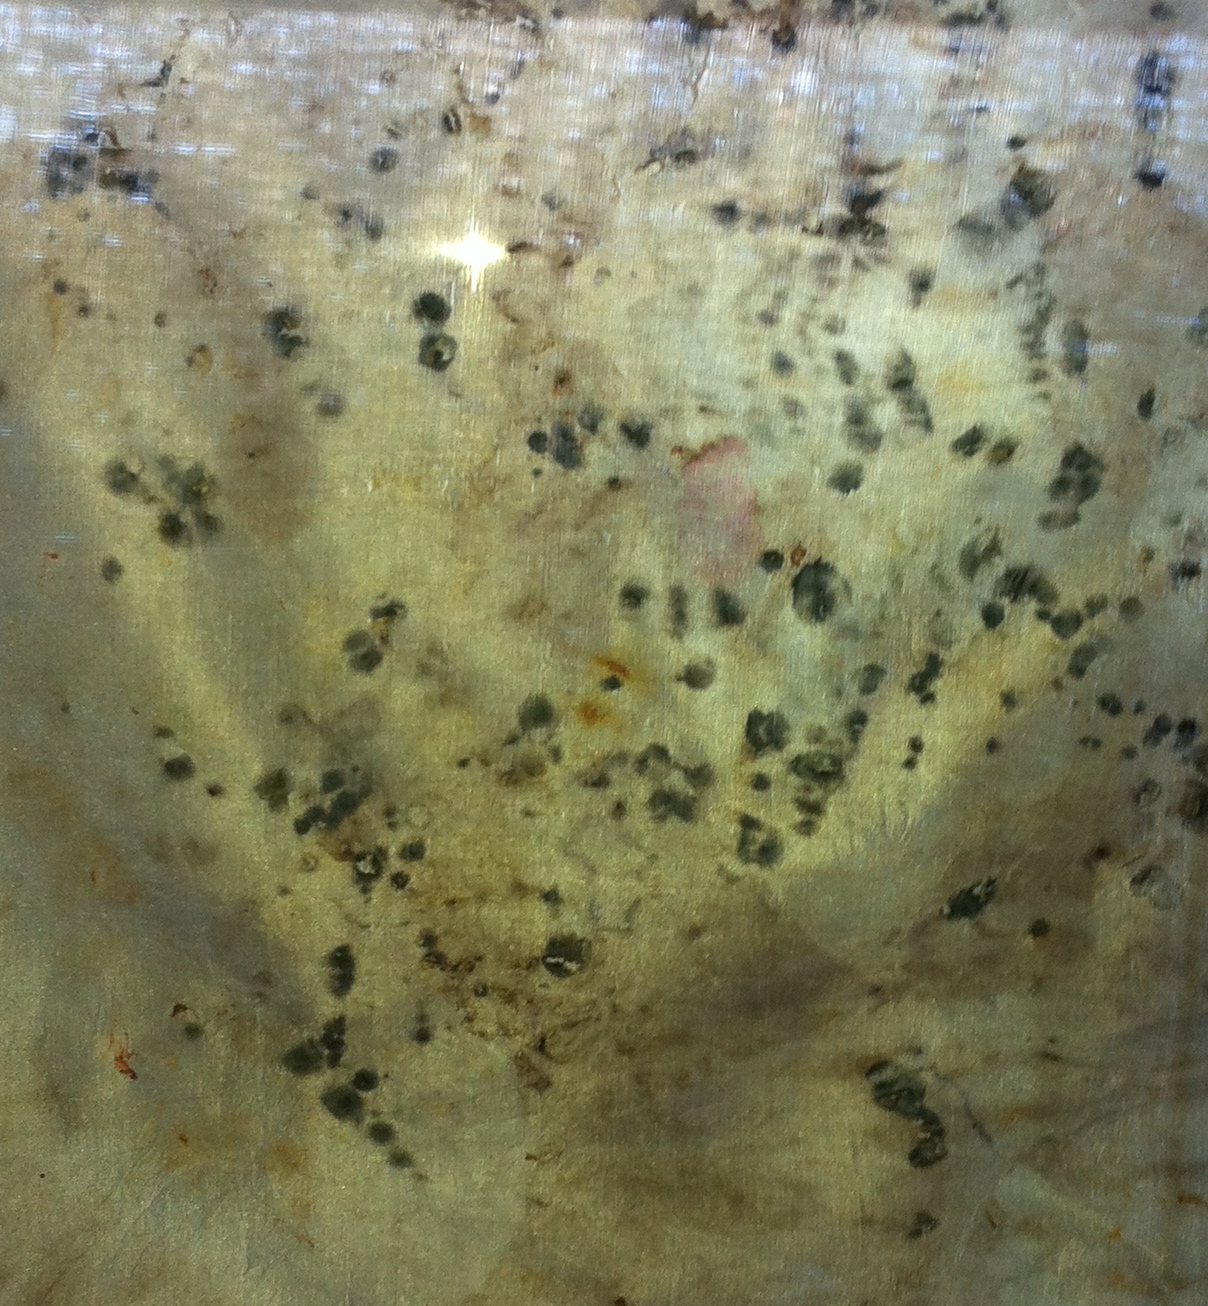
Same lighting conditions but after 30 minutes of machine washing and then being ironed dry.
The washed pieces are clearly lighter but I like them. They feel soft and look subtle. The other interesting difference between these pieces and those I washed immediately six months ago without treating them with any fixative is that these pieces didn’t have colour bleeding into the background. It has remained quite white.
I love that this exercise has captured Western Australia’s colours in a unique way. I don’t know what I’ll do with these fabrics but something will suggest itself! In the meantime the workshop added to my repertoire of natural dyeing techniques.