My two briefs from Ruth Hadlow’s workshop invoke exploring crochet a bit more.
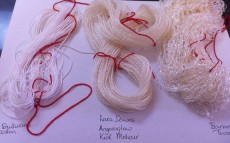
Armed with skeins of undyed alpaca, alpaca and silk, silk, wool and cotton of different weights, I drove to York (120 km east of Perth) to indulge in a weekend of dyeing with my sister, Prudence Ford. Prudence is not only an expert at procion dyeing but it’s also fun to have company while one prepares the yarns and uses the dyes. Preparation took all of the first day as we turned balls of yarn into skeins and large commercially sourced skeins into balls so we could break them down again into smaller skeins for different dyeing treatment. The protein based fibres (the alpaca and wool, but not the silk) needed to be heat set and we chose to microwave them .
OVERVIEW
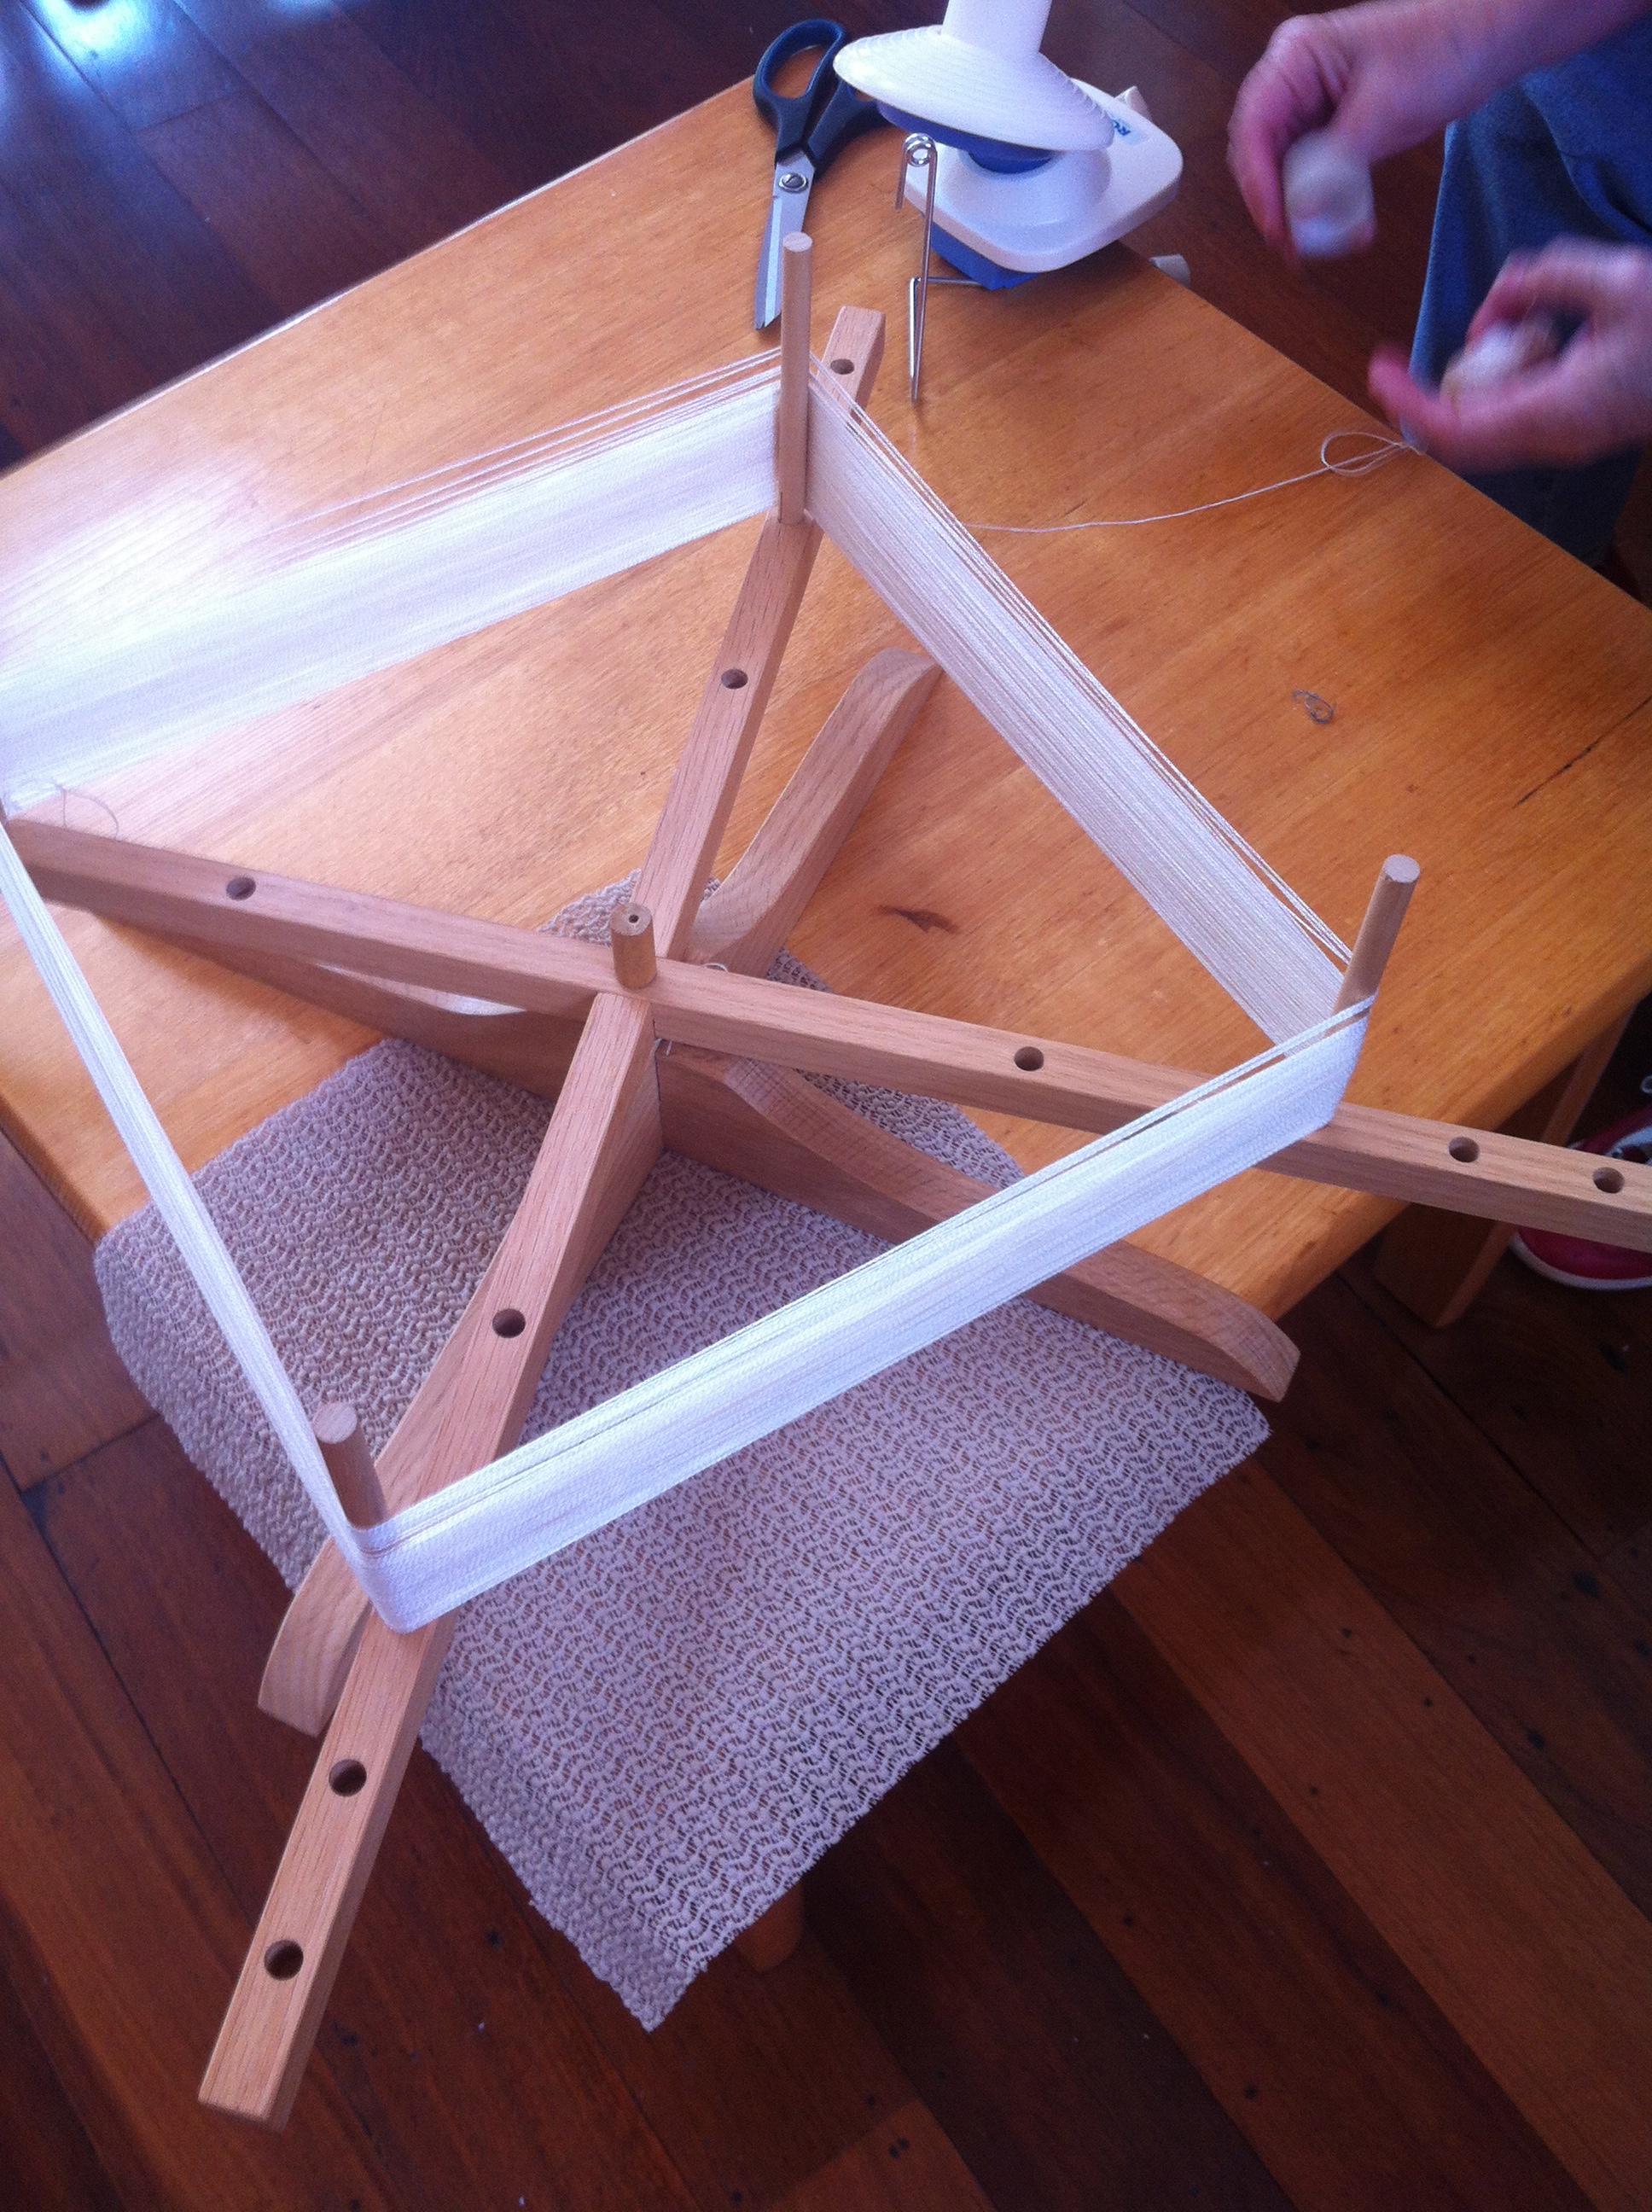
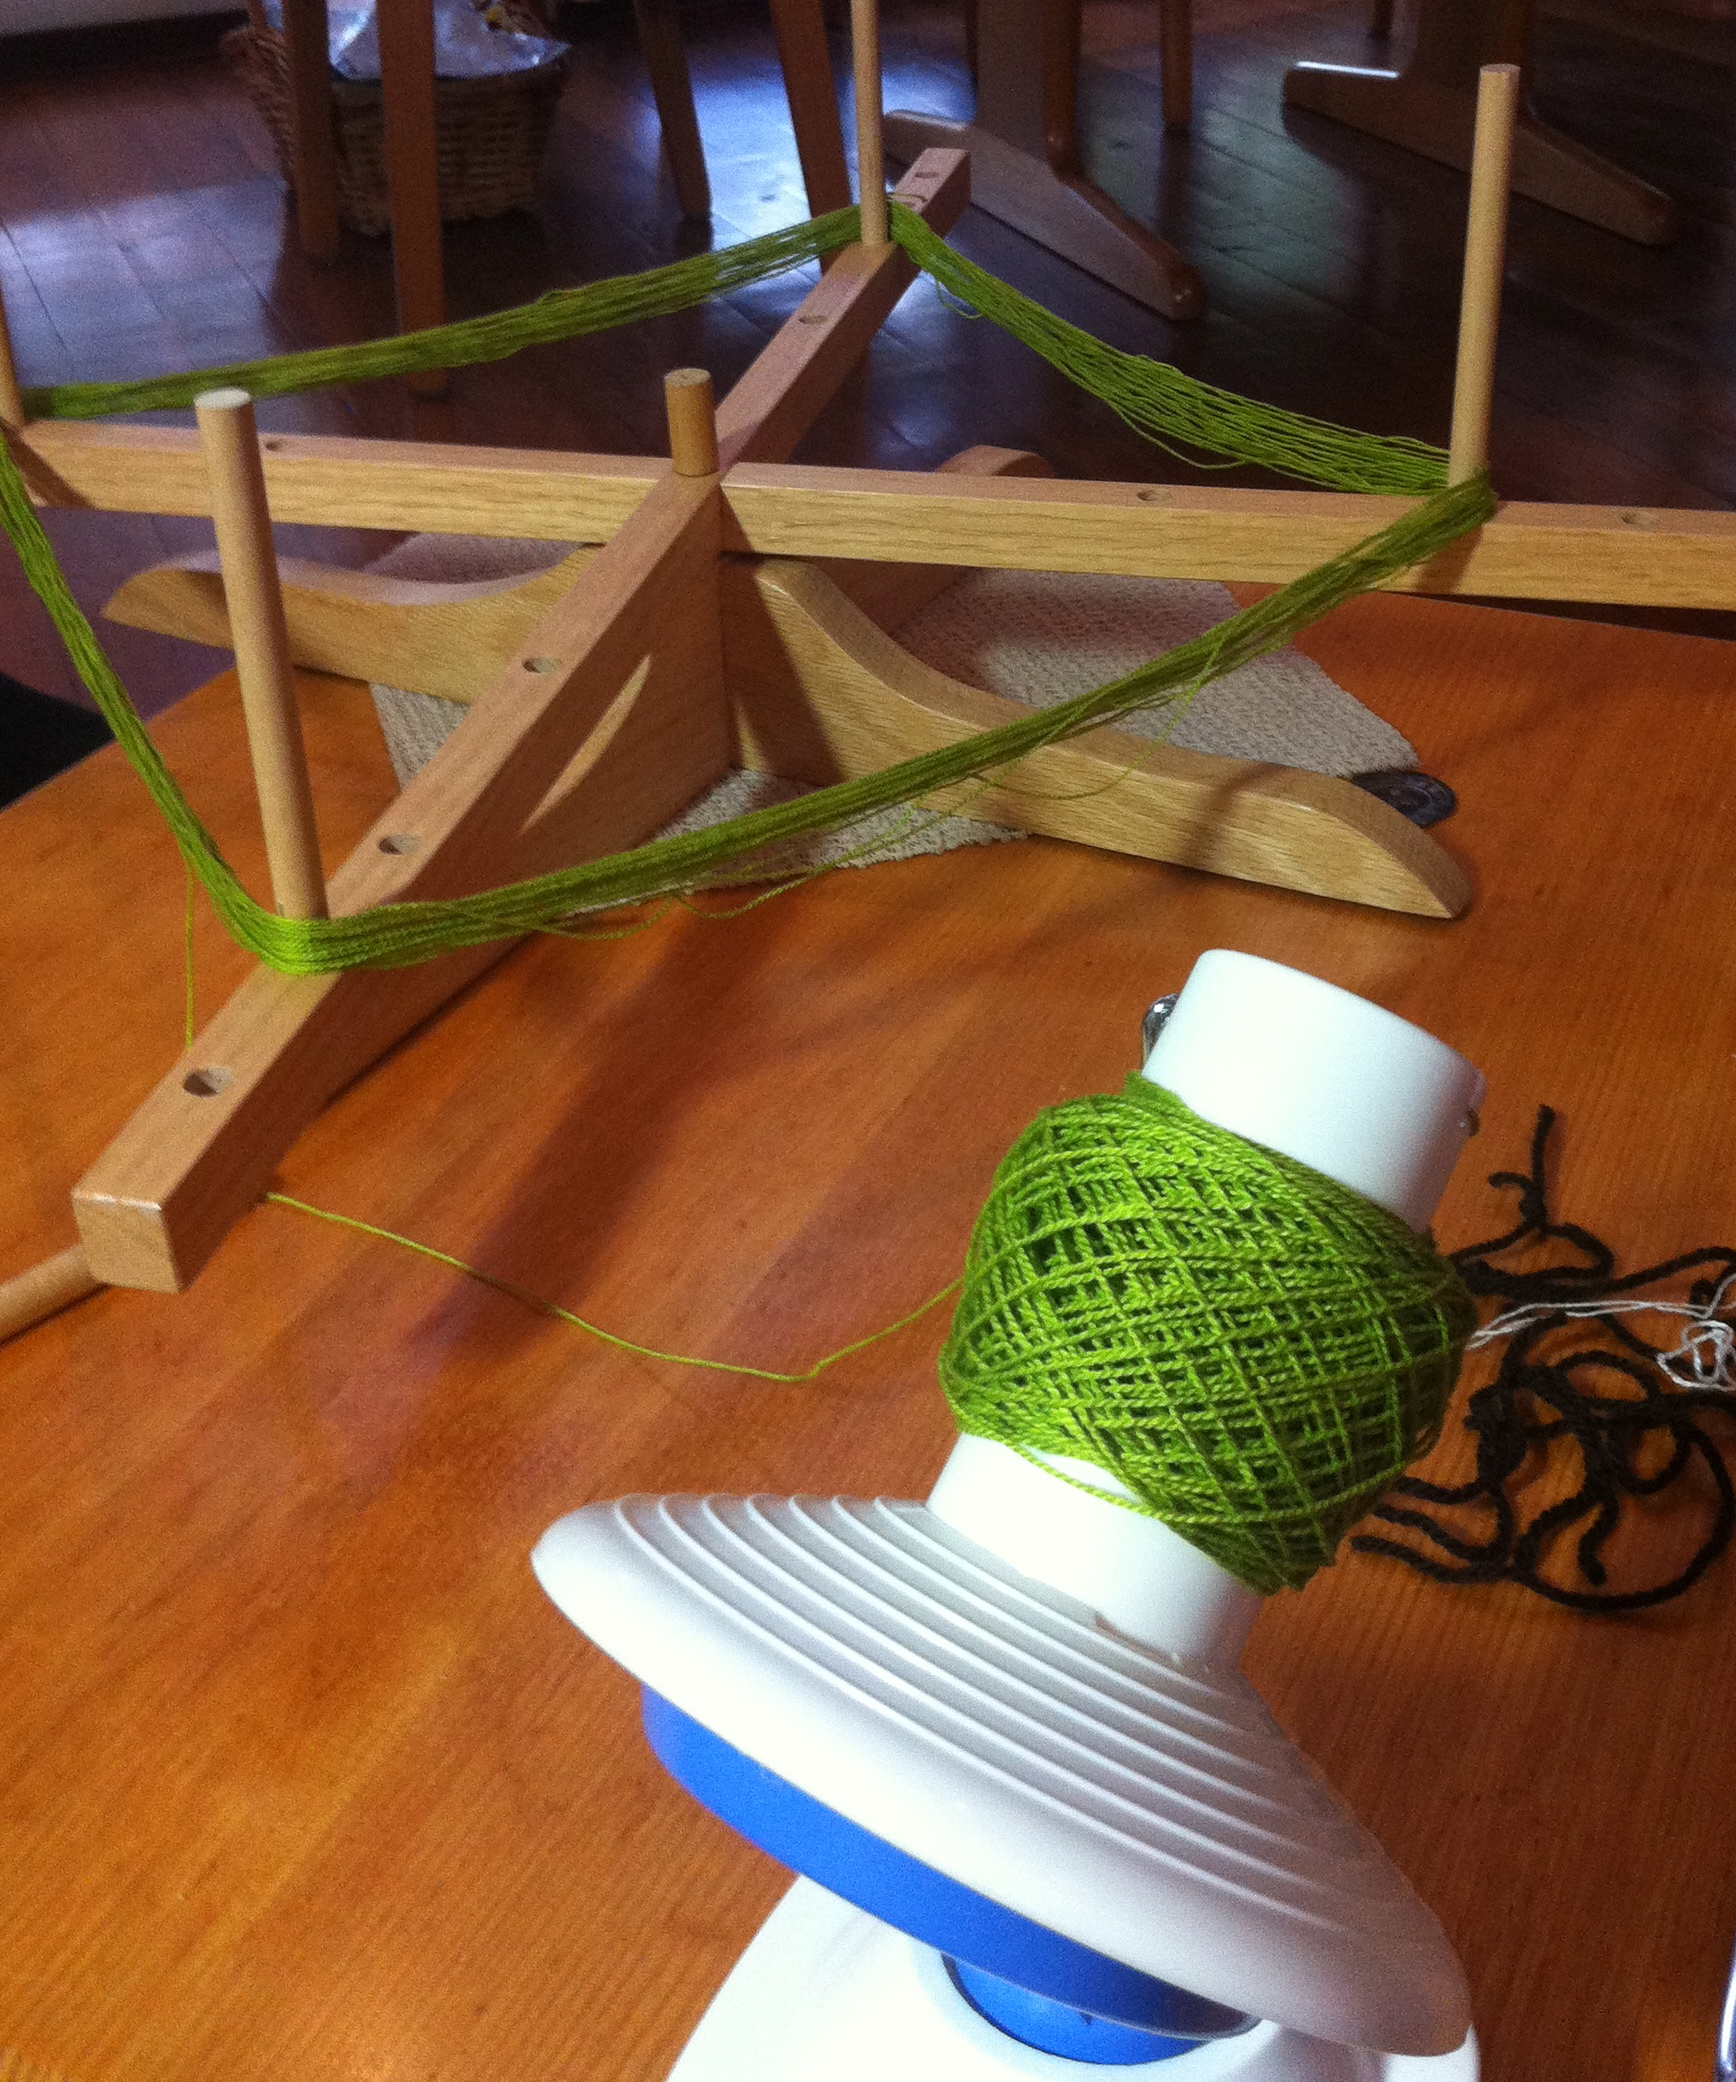
I’ve seen people dyeing a whole ball of thread but I’m sceptical about getting the dye right through. So I prefer to put the ball into a skein first.

Ball to skein using the swift in reverse.

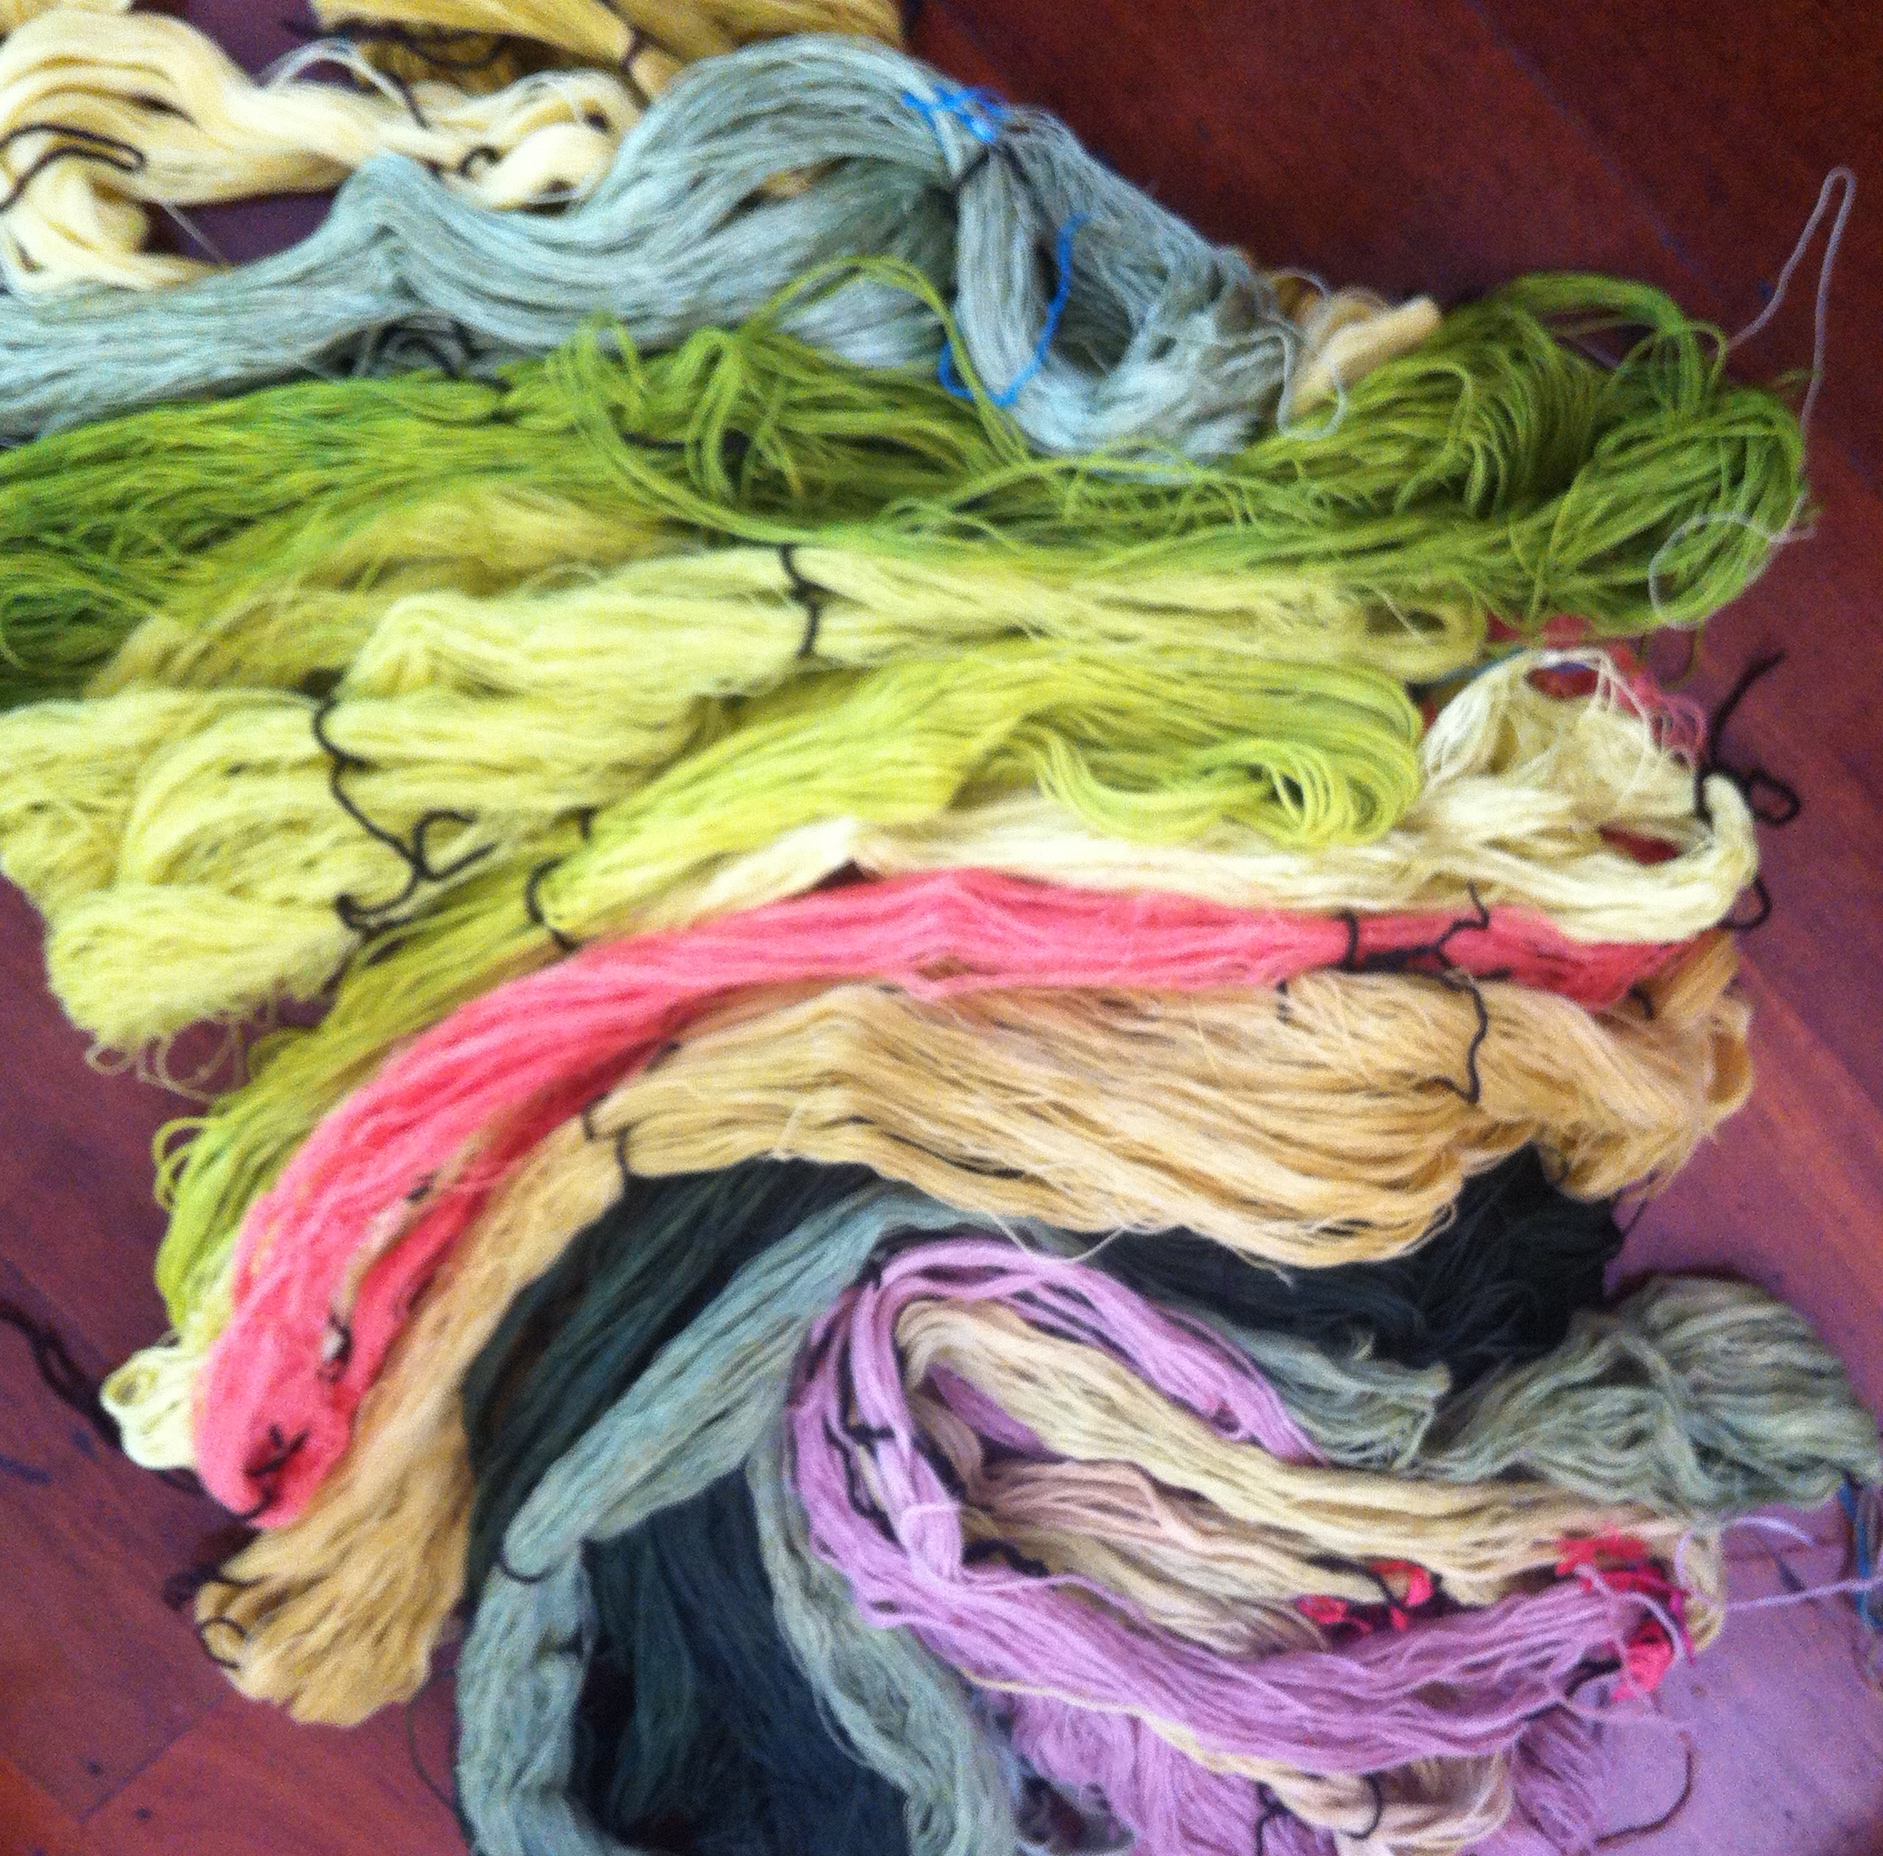
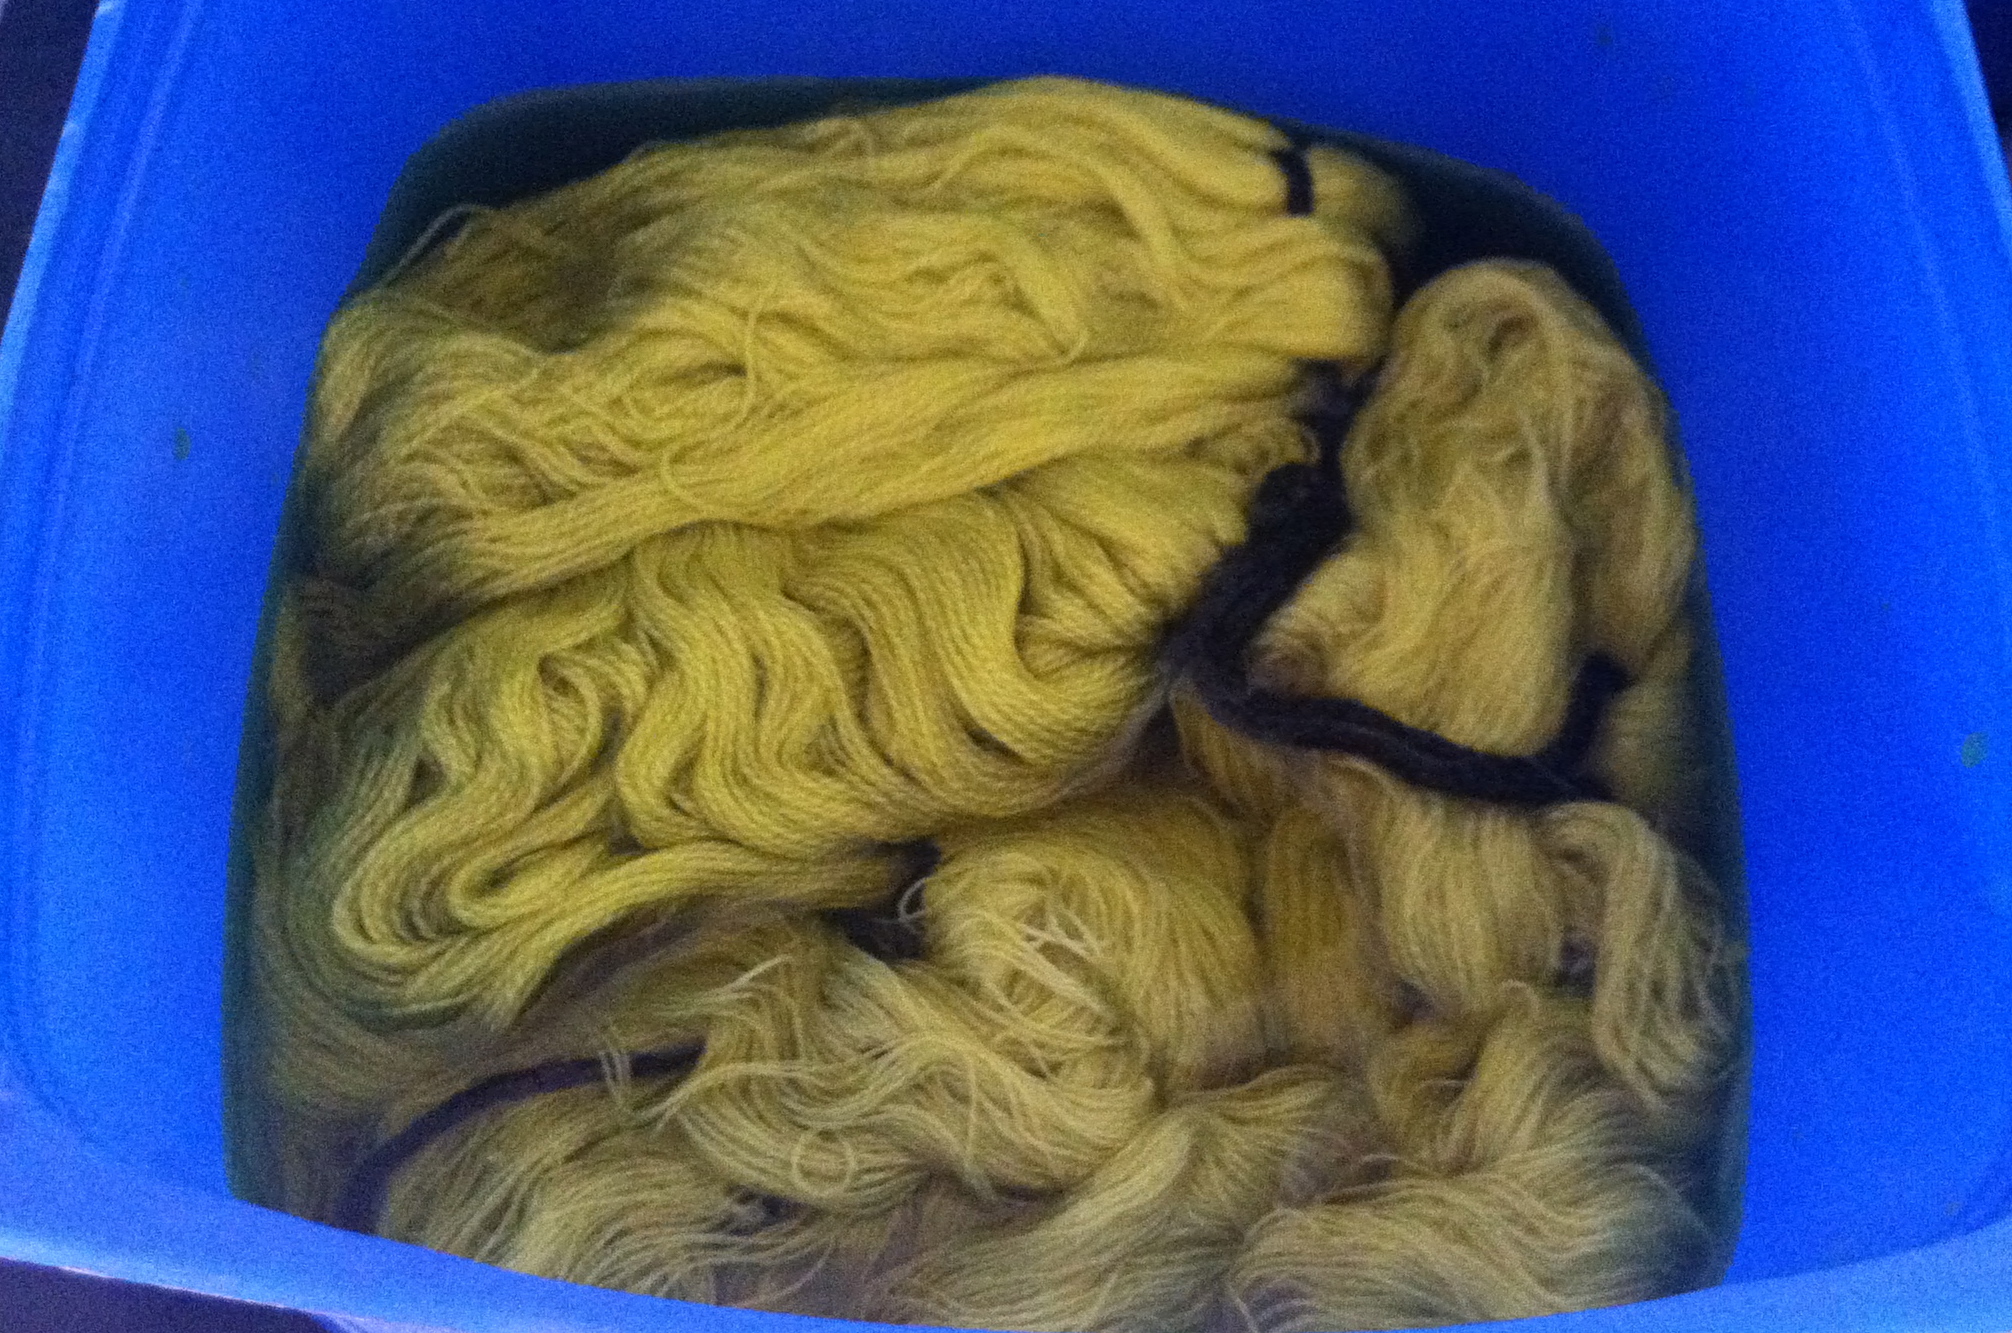
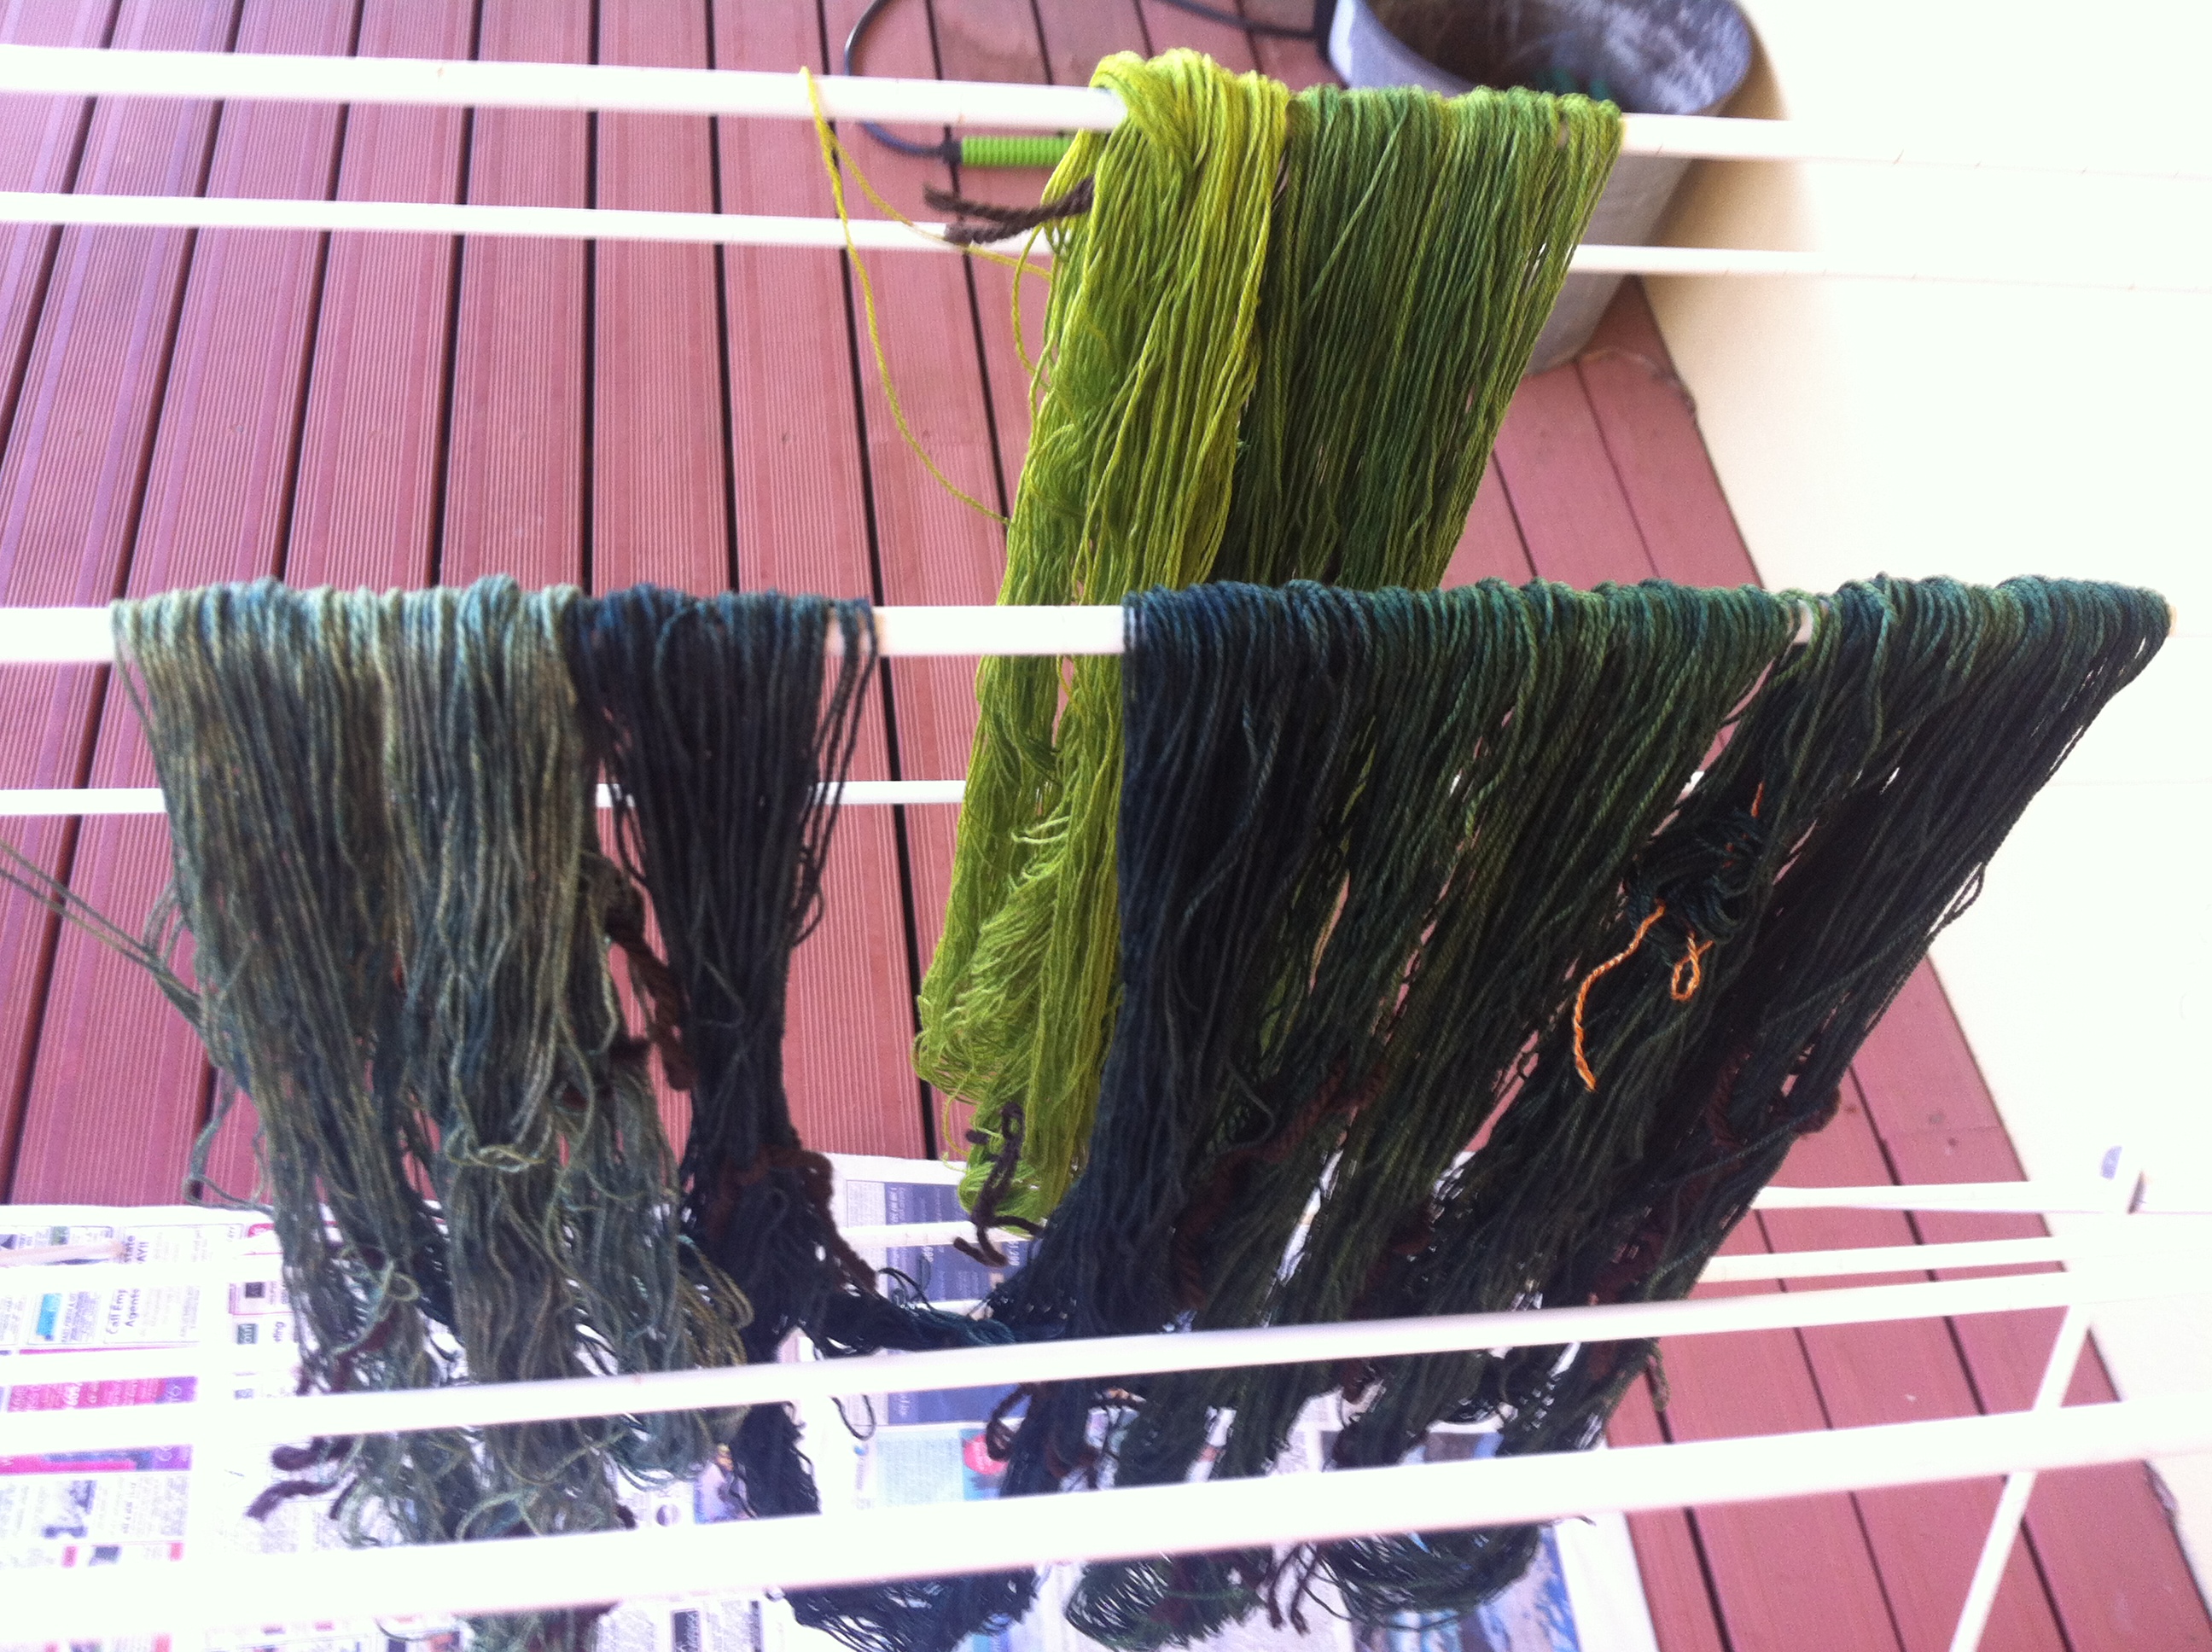
All the dyed, rinsed, heat set where necessary, and dried skeins.
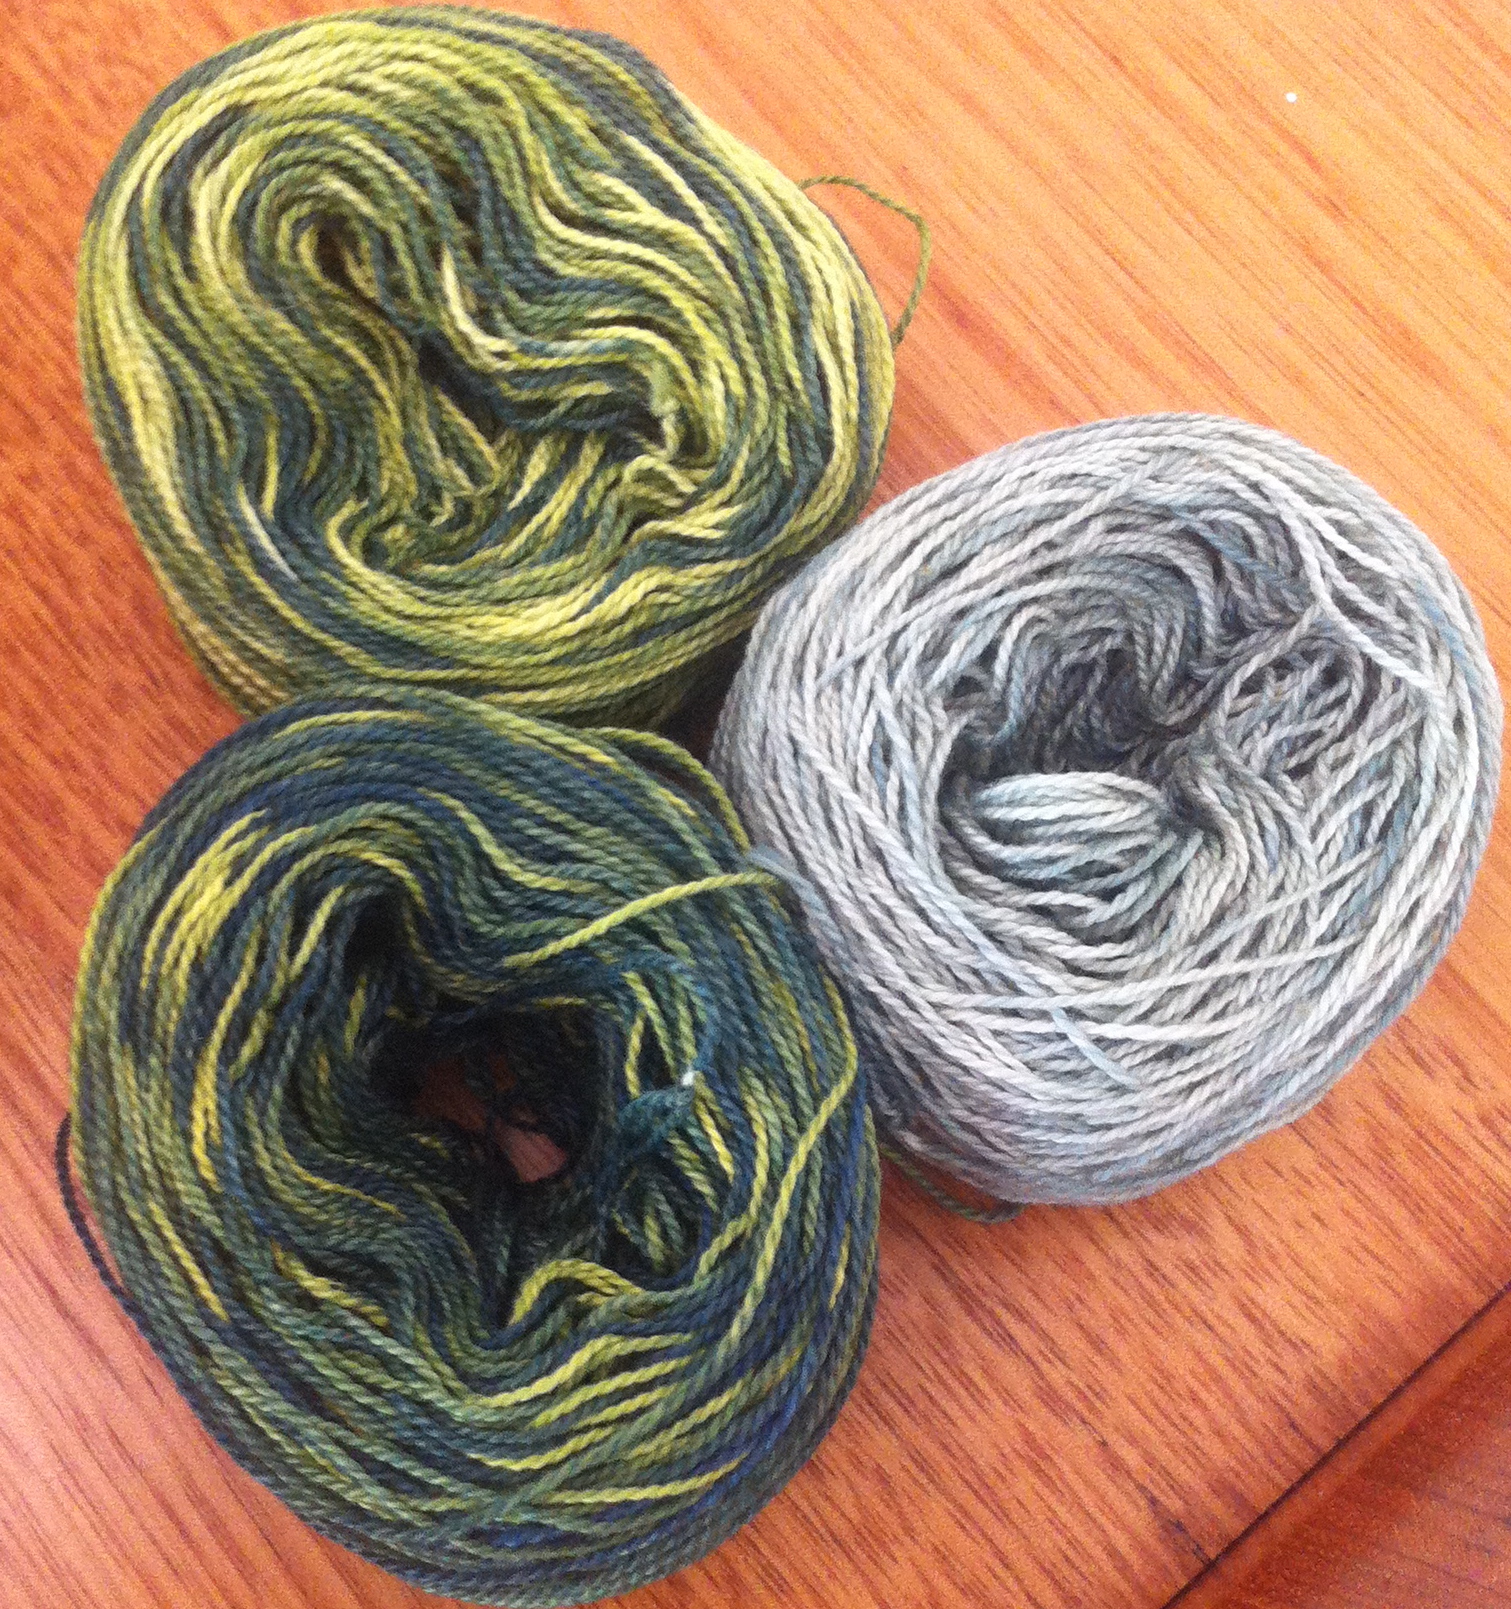
It’s exhilarating to see the accumulated skeins in all their coloured glory. But that’s only a part of the process. Each of these skeins then has to be made into a ball of yarn…..

Look closely and you’ll see four hands trying to wrestle this skein of dyed silk into a form that will yield a ball! Hours of work, which seems to be confined to silk!

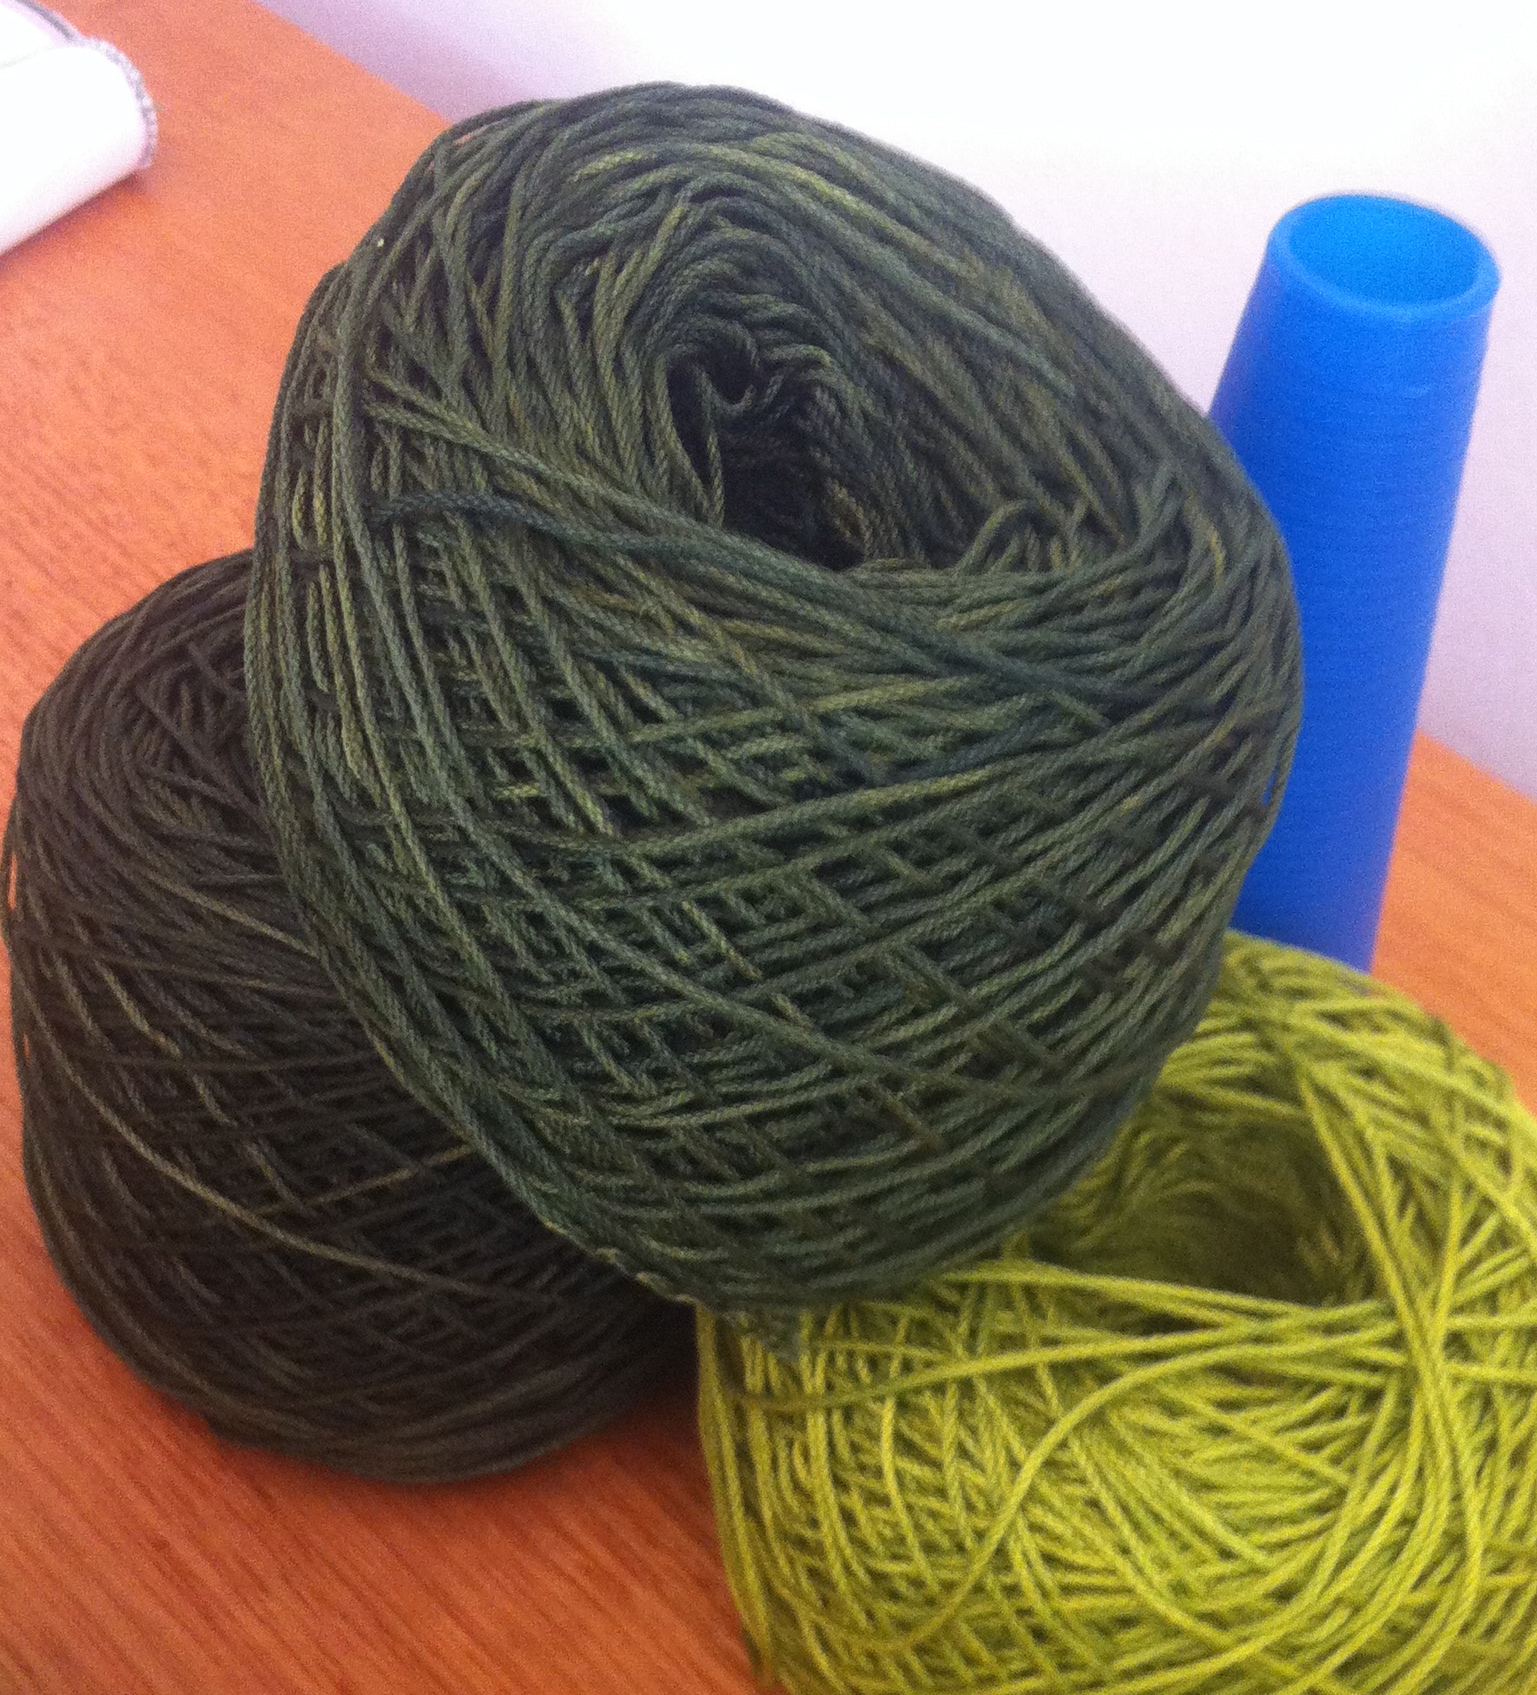
Dyed skein to ball using swift and Royal ball maker (this one was easy as it’s cotton).

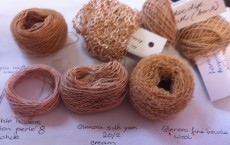
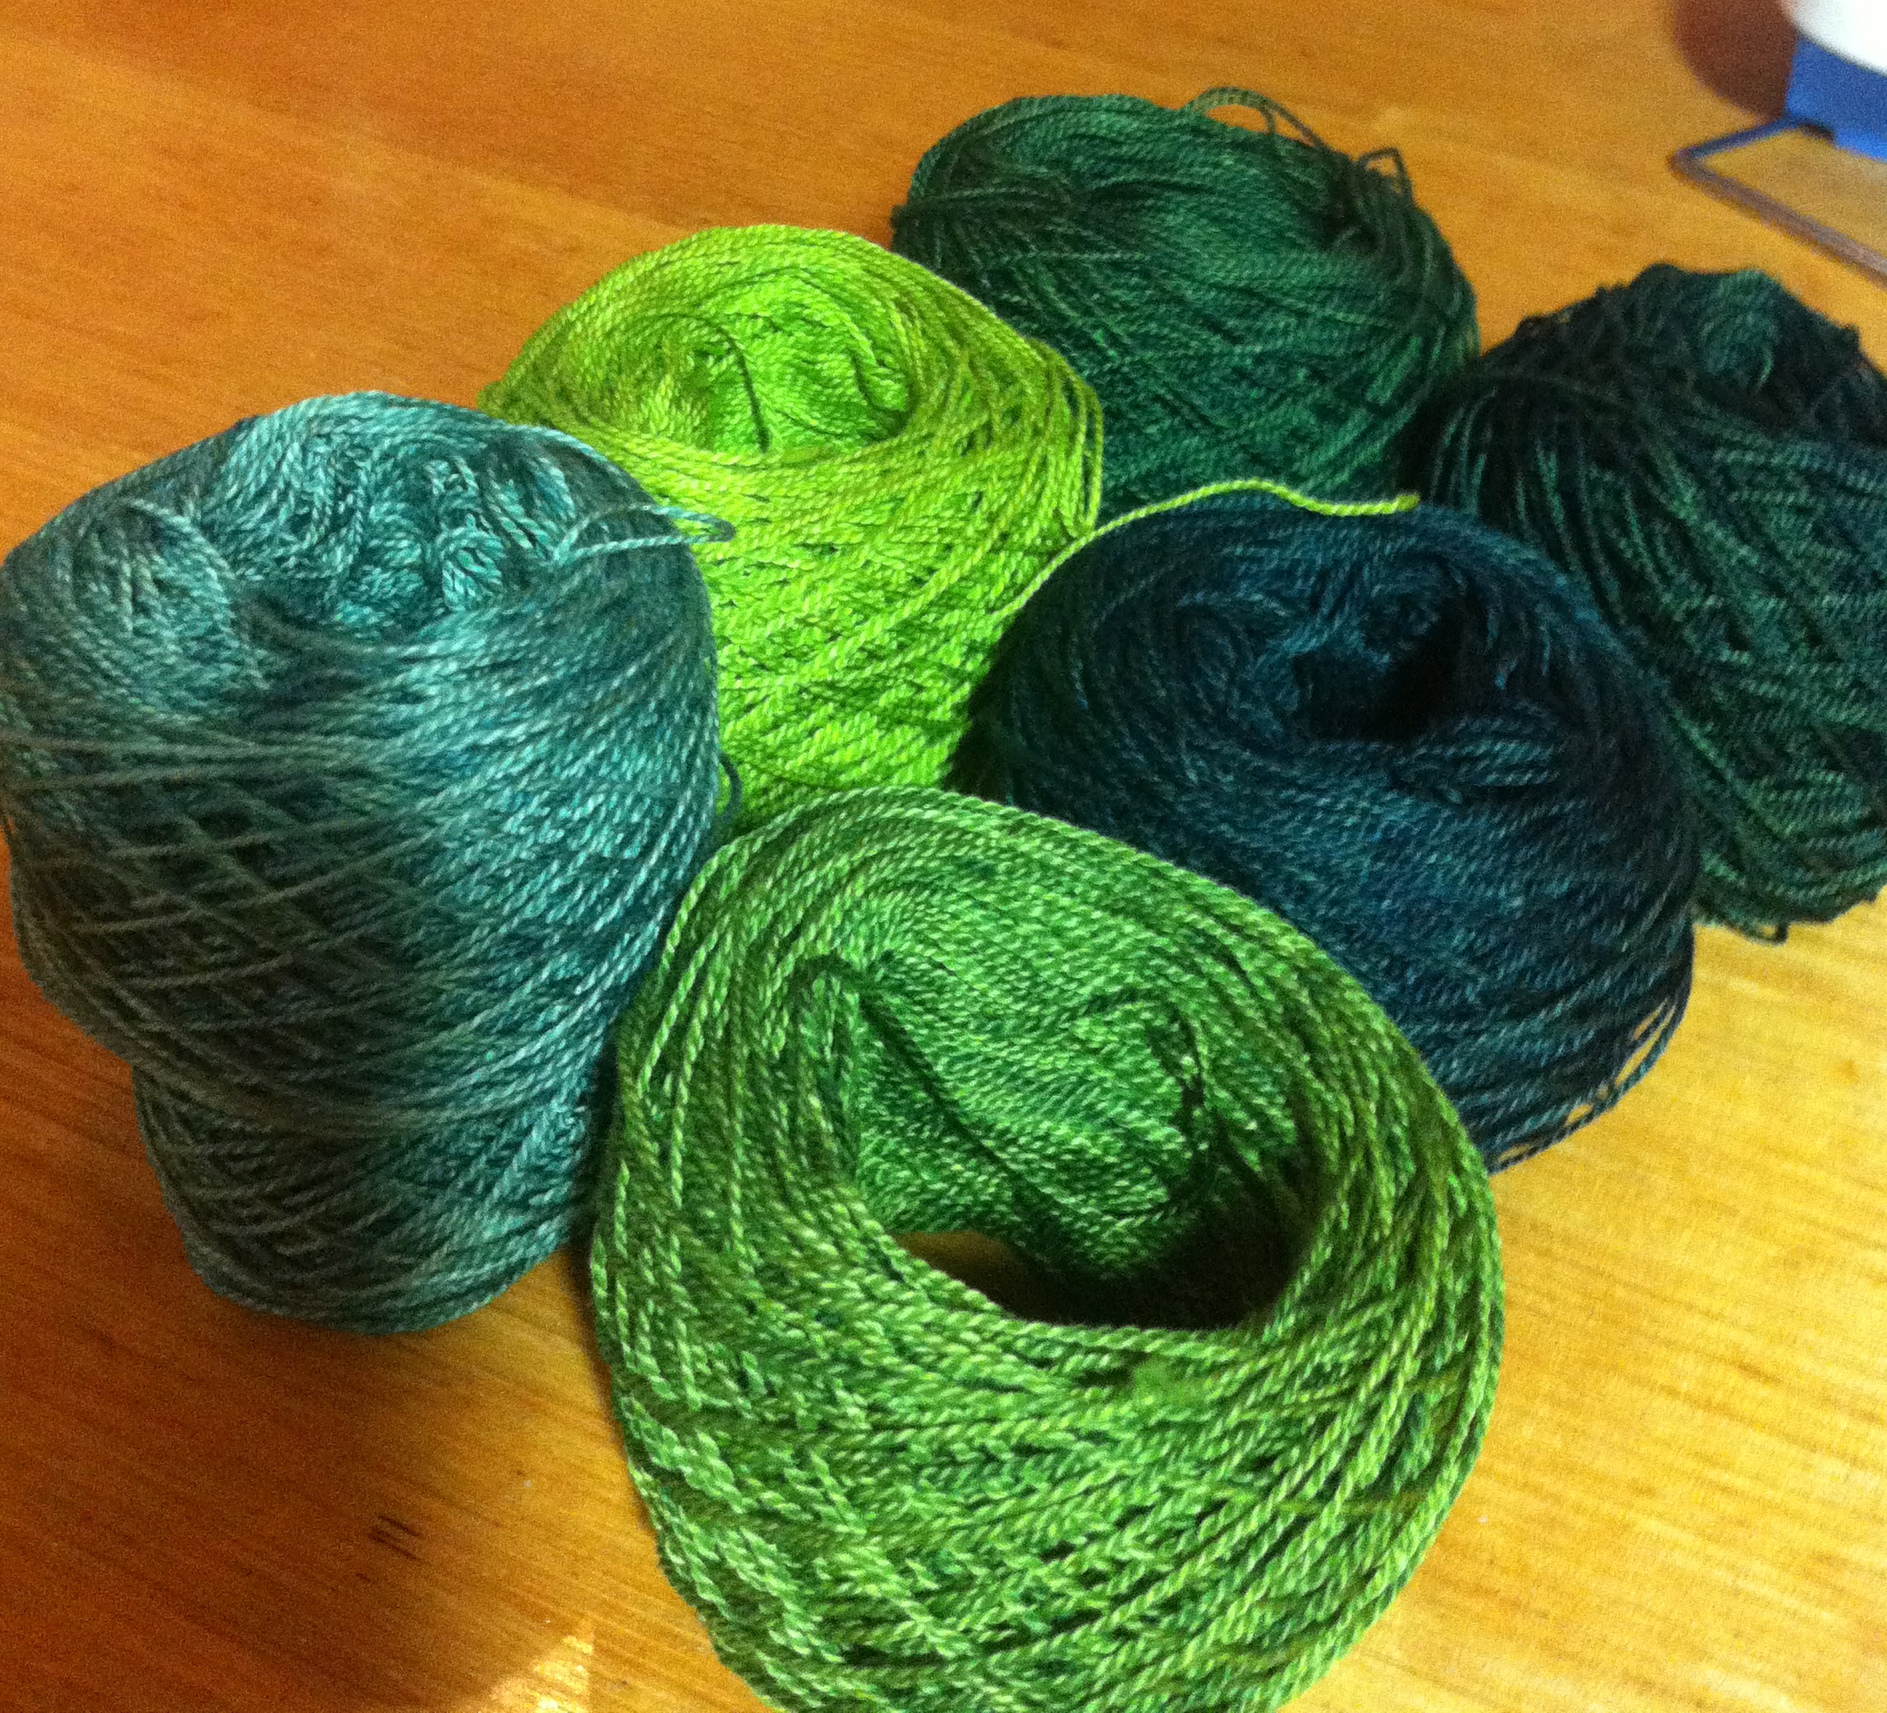
The skeins above after returning them to balls. The orange and slightly pink looking balls were produced with an orange mixture and a diluted brown mixture respectively to complement the greens.
BLACKENED YELLOW TO PRODUCE GREEN
Initially I elected to play with the effects of combining yellow (MX8G) with black (MX2RA) for a range of greens. As I added black I painted the results onto white paper.

I selected three shades from the chart above to use in dyeing a range of yarns. A slightly greenish yellow made from 1/4 cup yellow plus 1/2 tsp black; a mid-green made from 1/4 cup yellow plus 4 and 1/2 tsp black and a dark green from 1/4 cup yellow plus 9 tsp black.

Cotton dyed in blackened shades of yellow MX8G:
lightest is 1/4 cup yellow plus 1/2 tsp black. Mid one is 1/4 cup yellow plus 4 and a 1/2 tsp black. Darkest is 1/4 cup yellow plus 9 tsp black.

Sullivan’s brand white mercerised cotton dyed in 1/4 cup yellow and 1/2 tsp black.

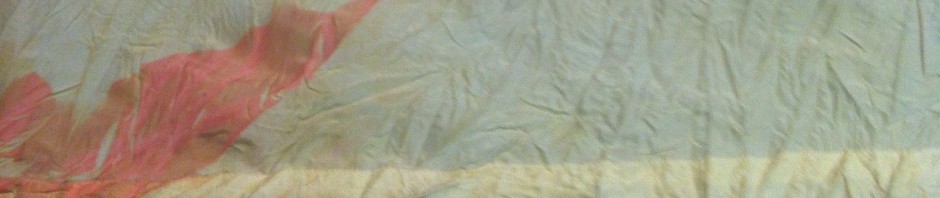
Dye bath with silk (left upper) and alpaca (right lower) in it. The silk takes the colour slightly better and doesn’t need heat fixing.

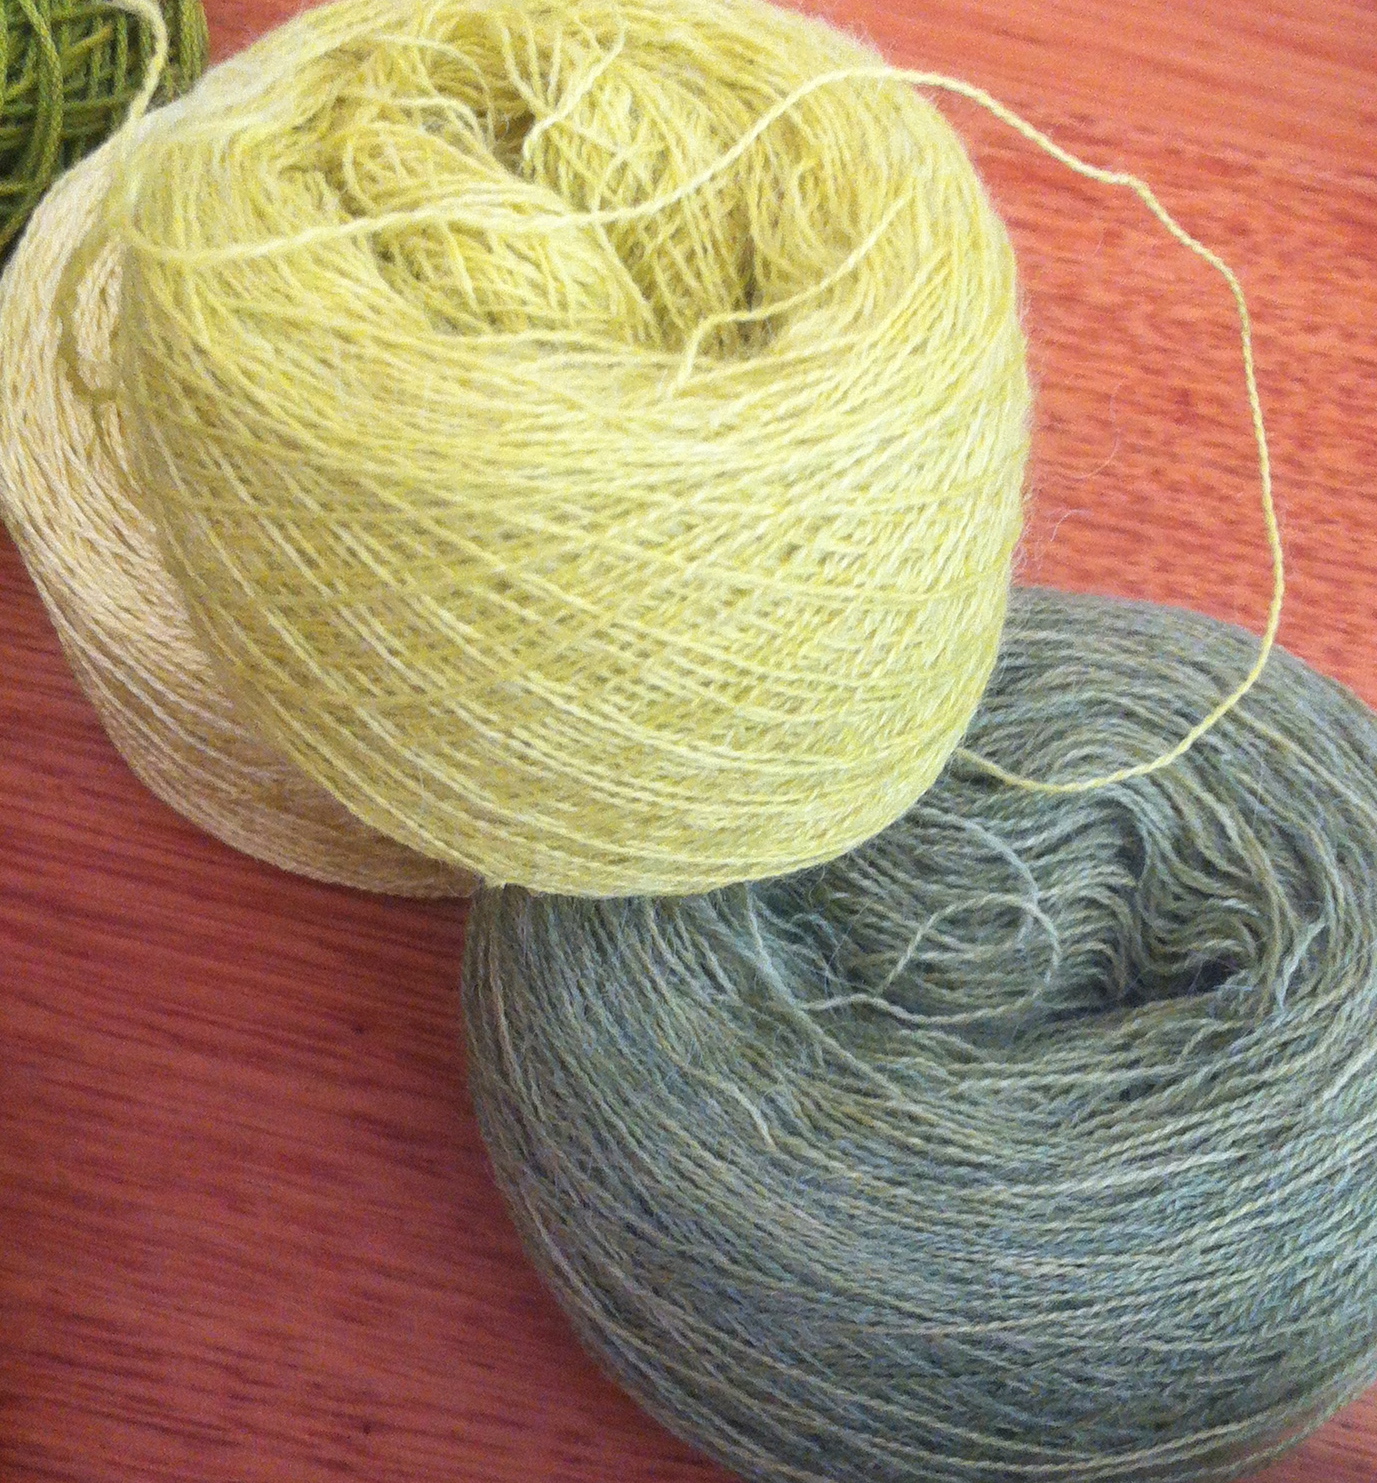
Alpaca and silk dyed in three shades of blackened yellow , each one diluted by the addition of 2 cups of water.
GREENS FROM MIXTURES OF YELLOW AND NAVY
Then I made a series of greens from mixing different amounts of yellow (MX8G made as 1.5 tsp to 1 cup water)) and navy (MX4RD made as 1tsp to 1 cup water).
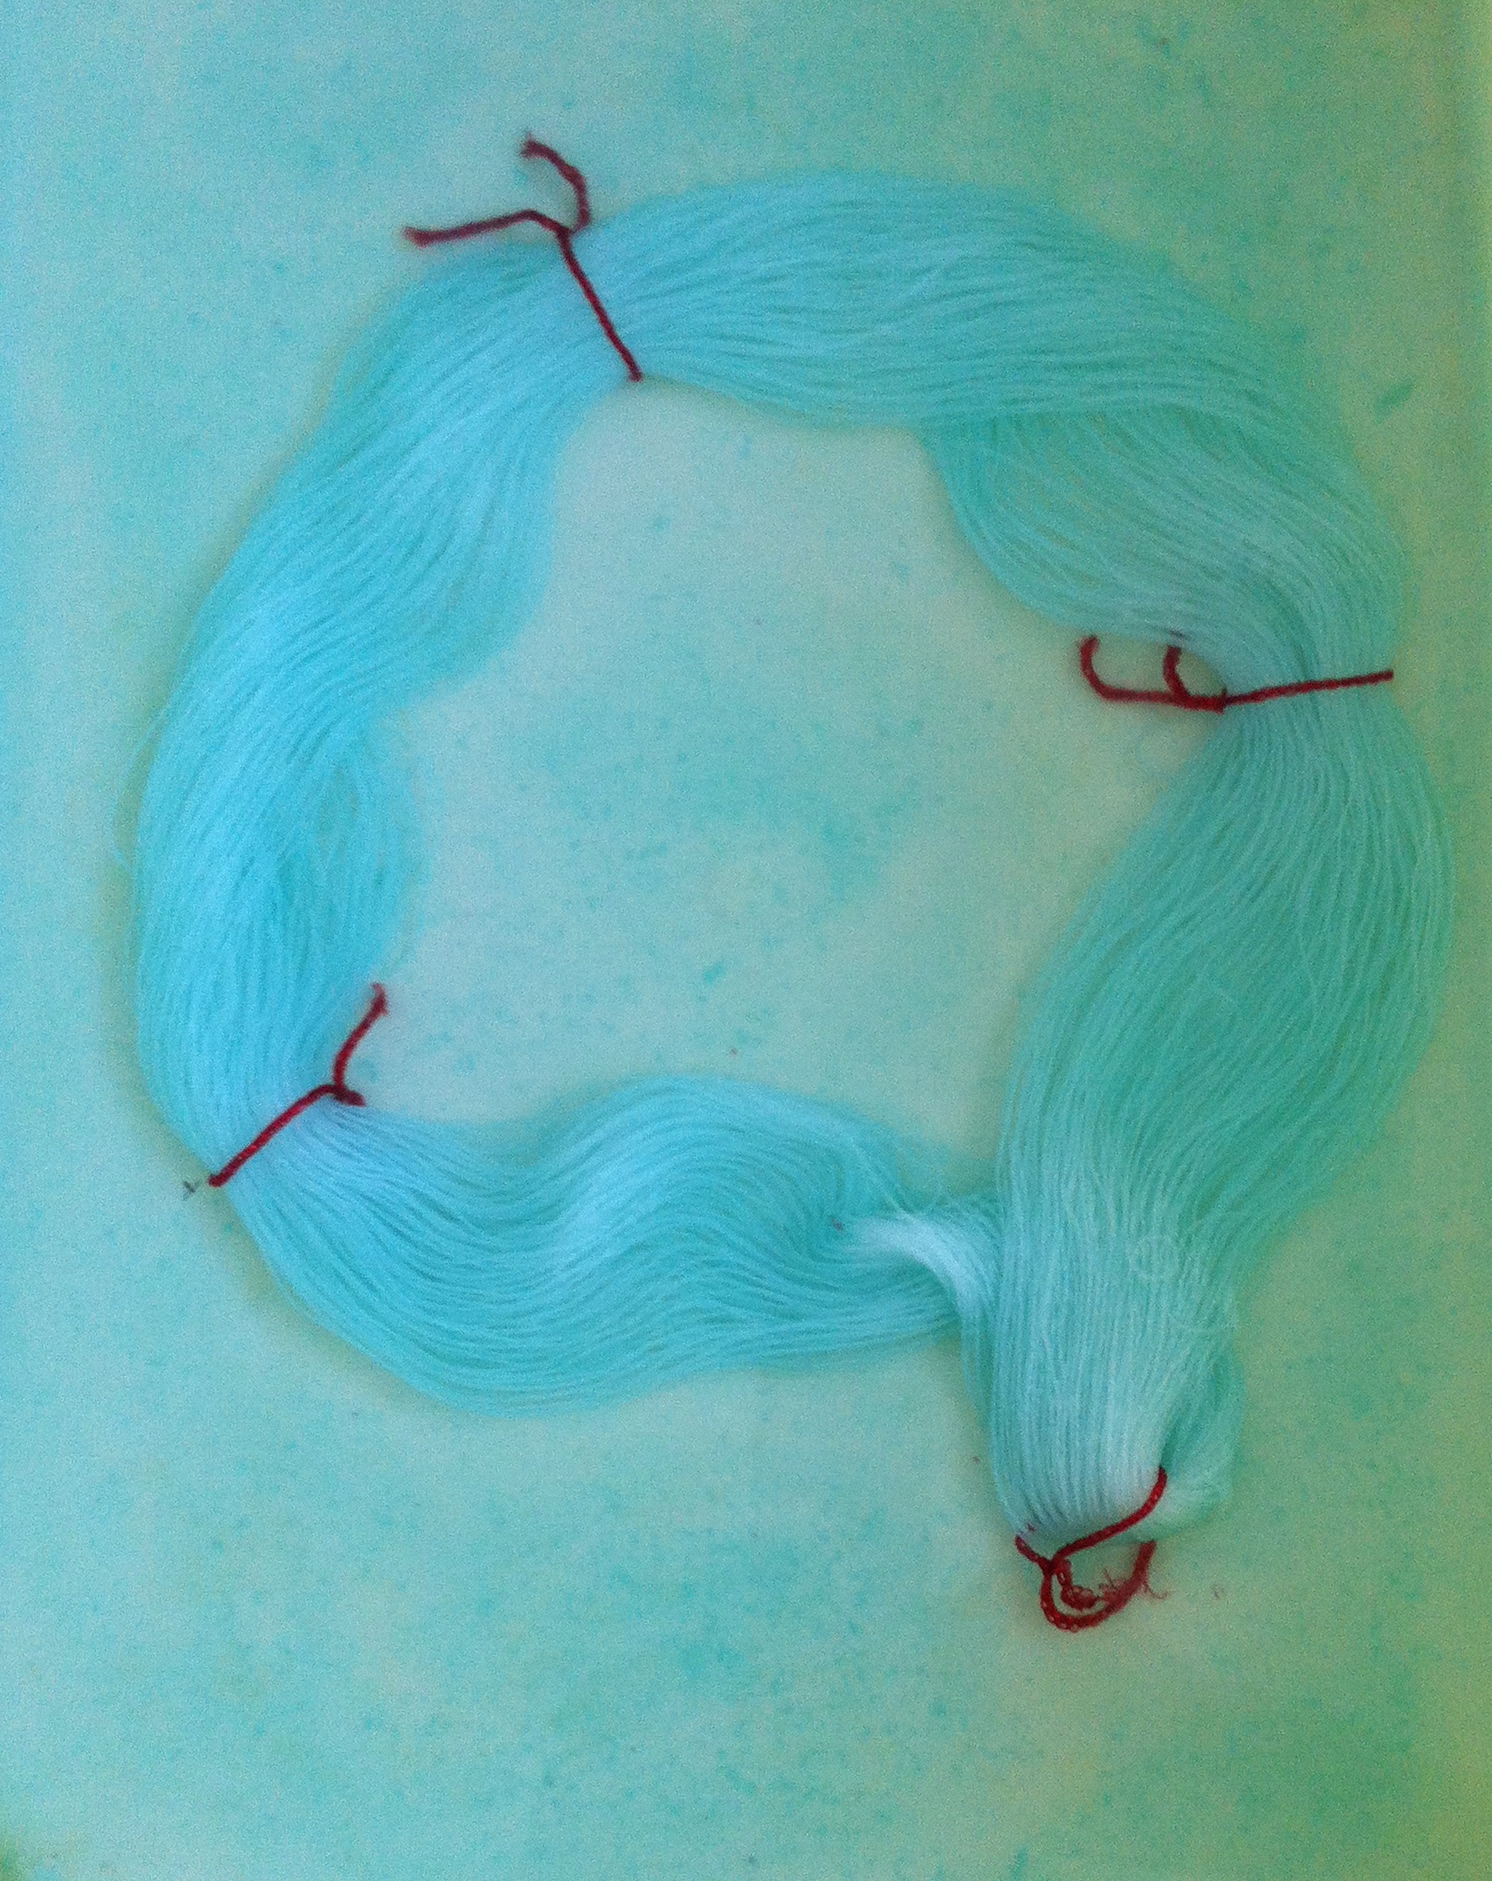
Five balls of white Perle No. 8 cotton thread were made into skeins and each one inserted into a cup containing a colour progression of the yellow and the navy. A sixth ball was dyed in a double dilution of a 50:50 mixture of the yellow and the navy.

Perle 8 cotton thread skeined and added to one of six dye baths of yellow and navy.

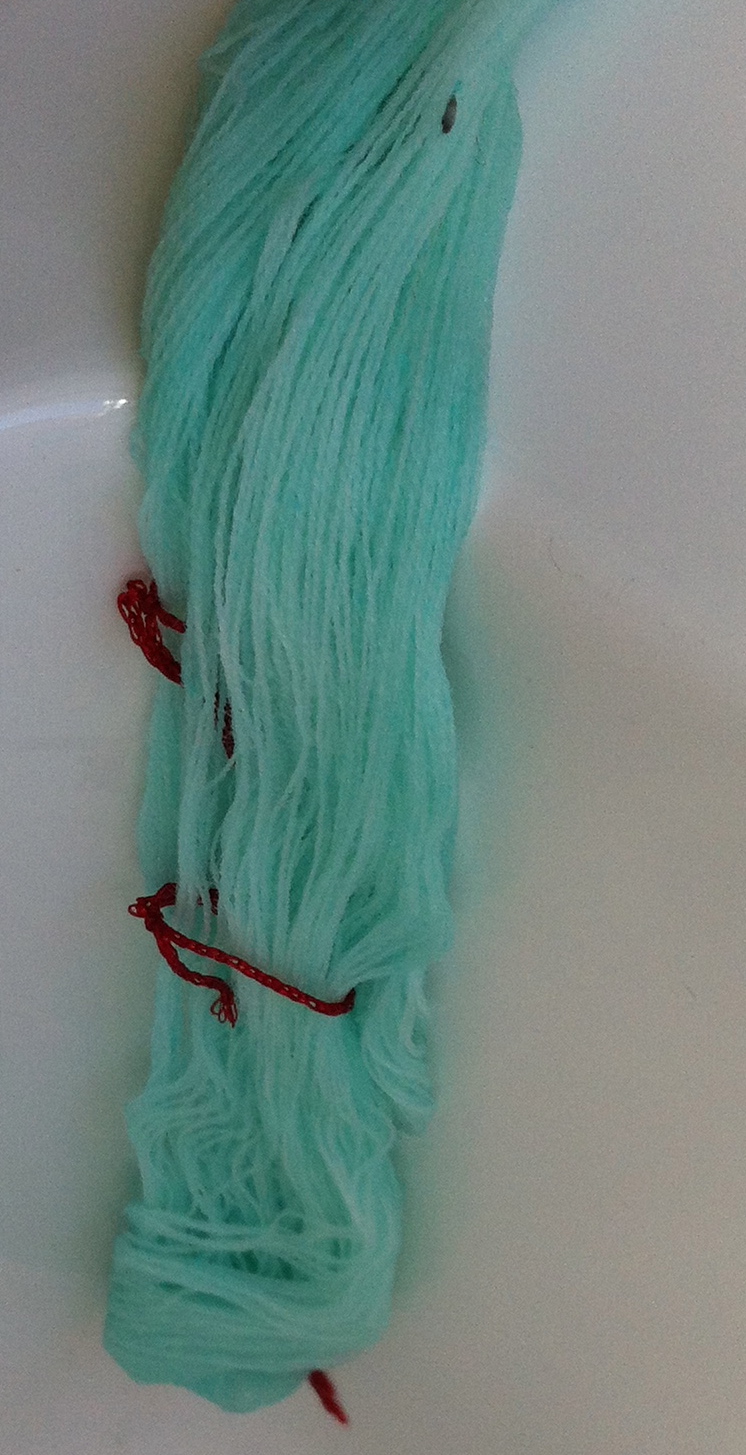
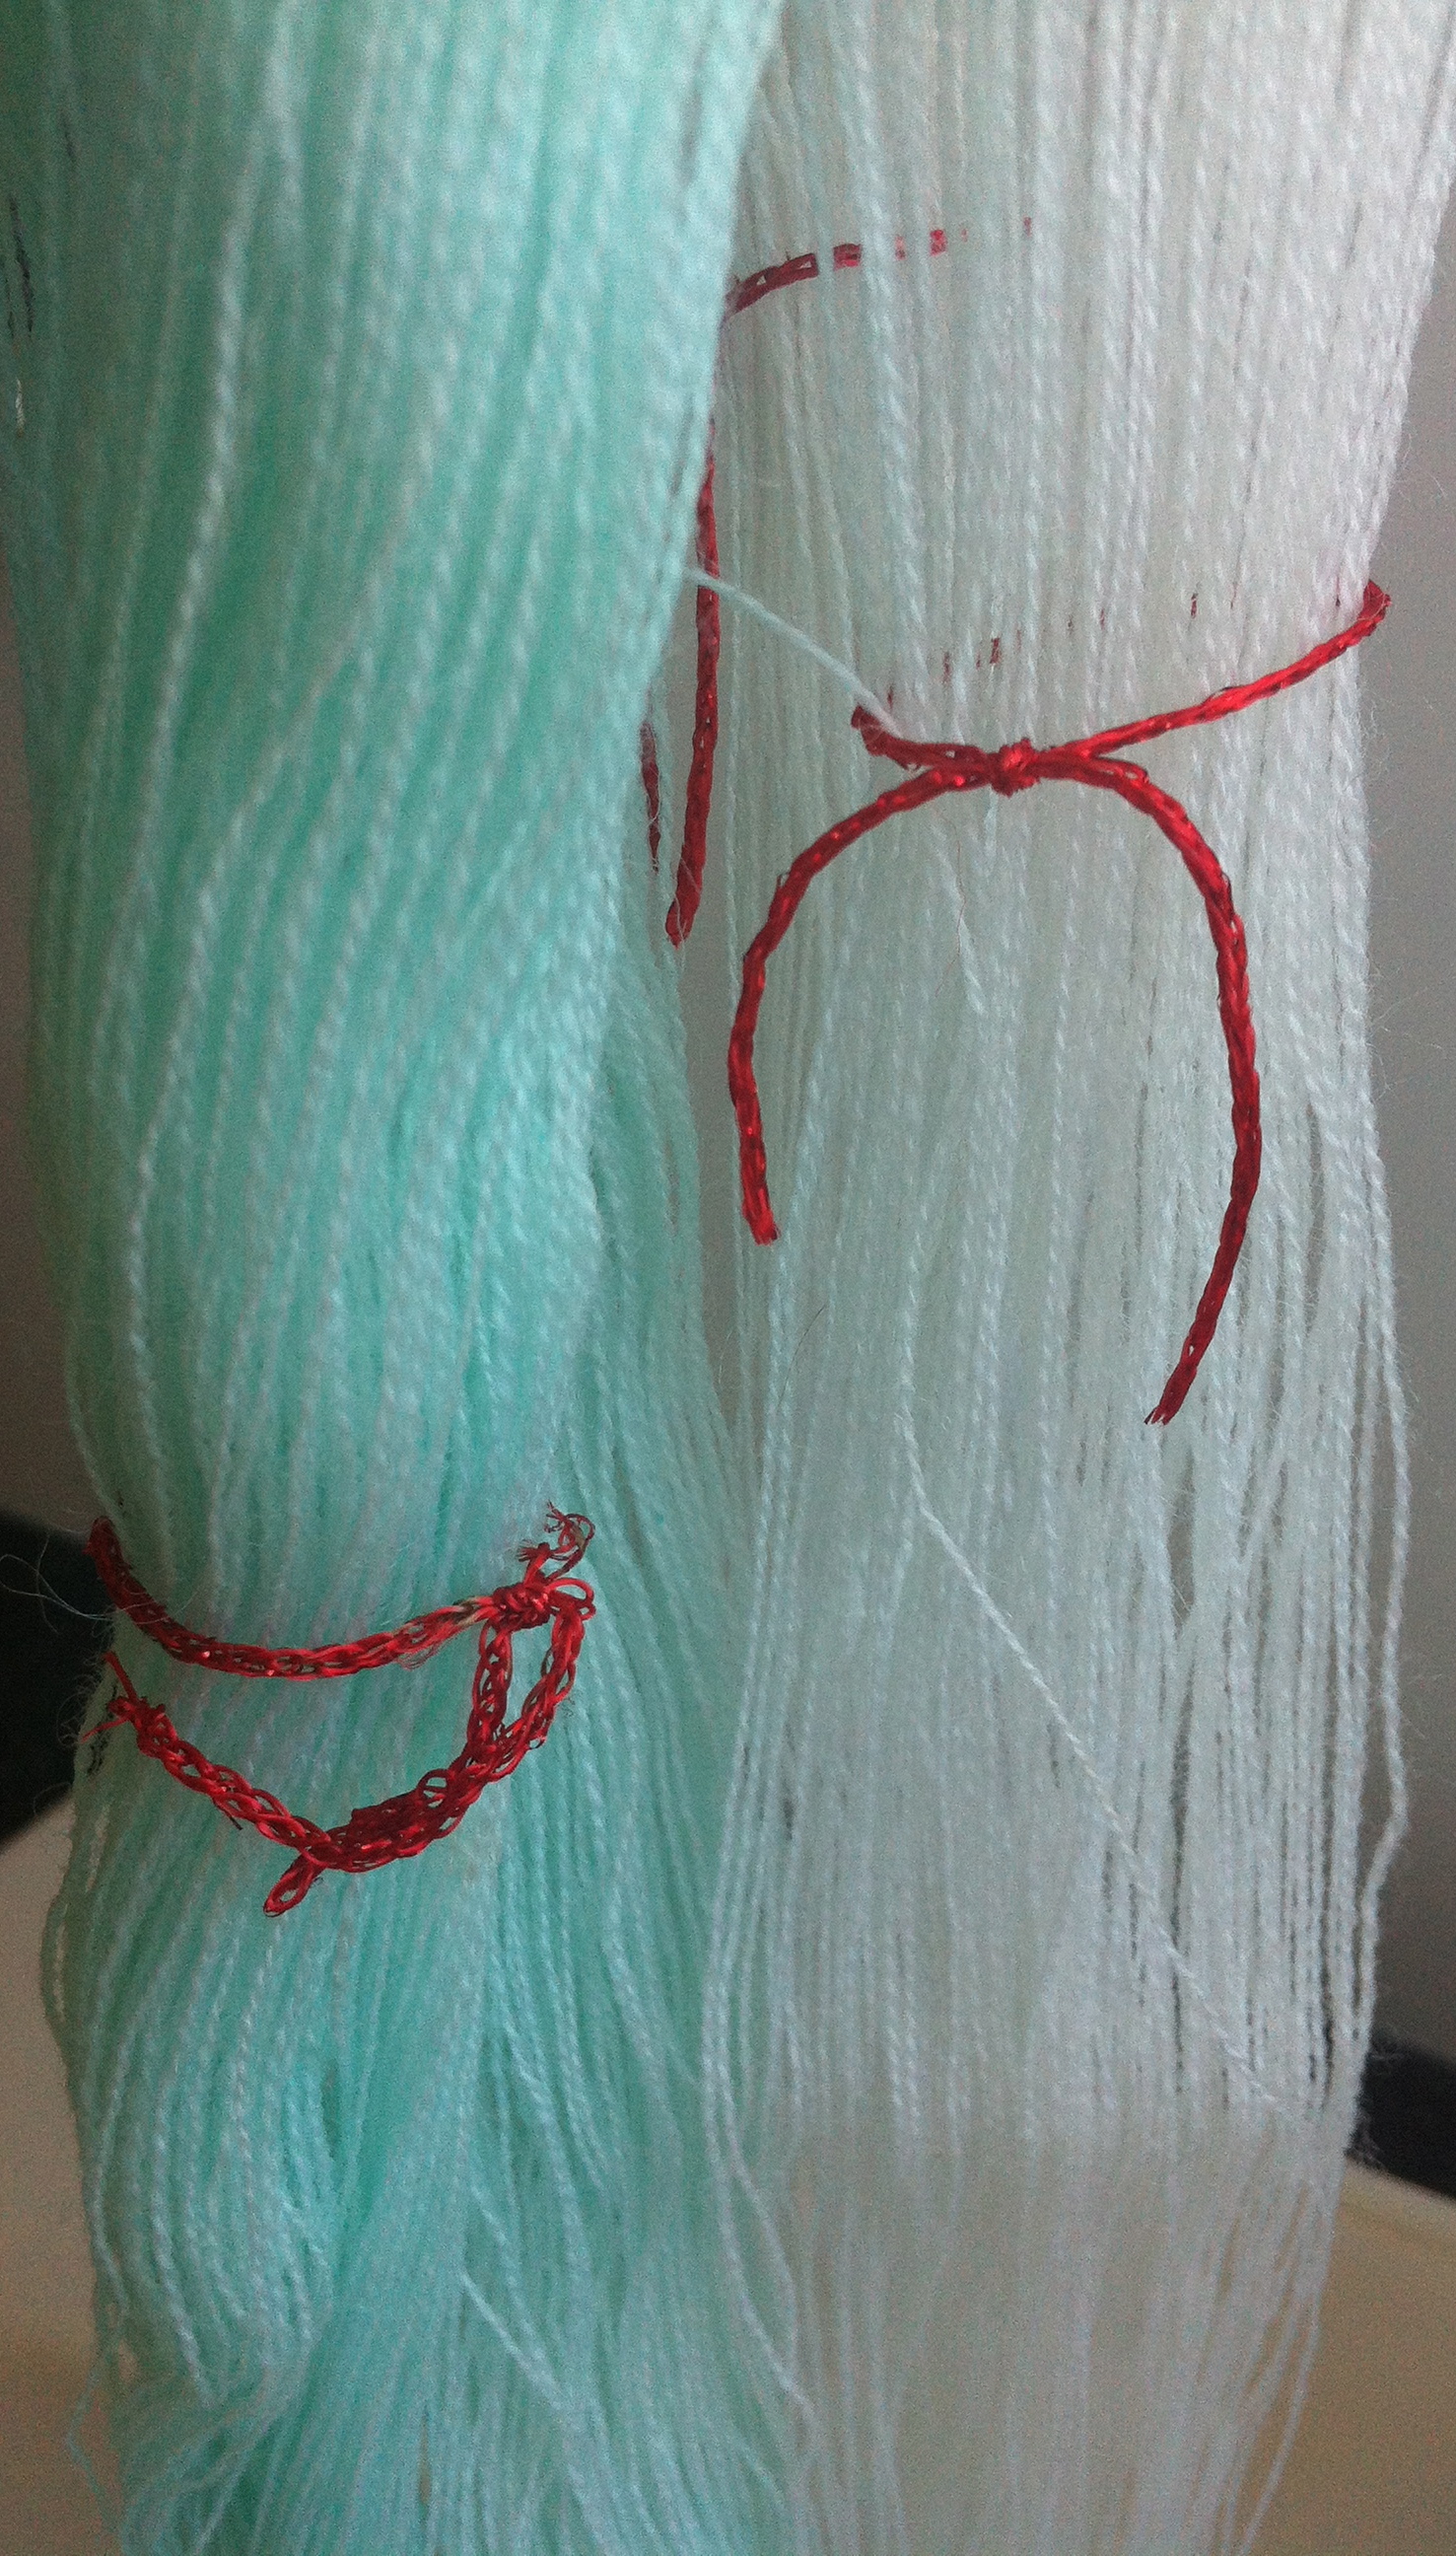
It’s always a joy to see dyed skeins hanging to dry!

The final skeins turned back into balls again and ready to use.
A further three balls of the white Perle 8 thread were laid on paper towels in a tray and “painted” with various of the yellow and navy mixtures, including one that was a large dilution .

Perle 8 balls of white cotton painted with mixtures of navy and yellow. The one on the right is a heavy dilution of the dye in the lightest bath; the yellow retreats before the navy does.
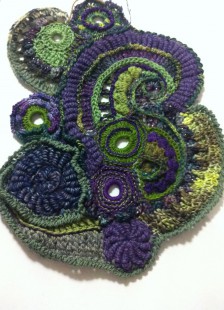
All these yarns, and more when my new orders are received, will be used in my briefs on spheres and leaves. See https://mnfblogdotcom1.wordpress.com/wp-admin/post.php?post=504&action=edit