In my quest for a non-toxic way of making more marks on my avocado pip dyed silk, I made a dye bath from the many neatly sliced avocado skins given to me by my fellow MELD member Liz. They’d also been frozen for months!
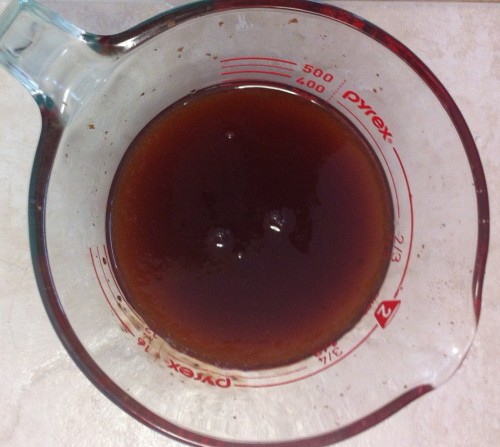
It’s quite a dark brown already and will possible get darker with more heating and resting.

Avocado skins after simmering in water and standing
I mixed a heaped dessertspoon of Manutex RS with a splash of methylated spirits until it resembled damp sand, as per the instructions. Then I mixed the “sand” with 450 mls of the avocado skin dye in which I’d already dissolved 50g of urea. There may be way too much Manutex (or way too little dye solution) as it thickened a lot immediately and will no doubt be even thicker later after it’s had its little sit.
Avocado skin dye thickened
Before I go further I should acknowledge that in all the workshops I’ve done on making print paste I’ve never used a natural dye solution so I don’t know if this will work. Moreover, the recipes I’ve been given for thickening have all been for fibre reactive dyes like Procion MX ones. They’ve also involved use of resist salt (sodium meta nitrobenzene sulphinate). Now, my research (in particular on a wonderfully comprehensive site maintained by Paula Birch: http://www.pburch.net/dyeing.shtml) tells me that the purpose of the resist salt is to retard the reduction of the dye solution. I’m thinking that this is more relevant to the Procion MX type dye solutions than to my solution of avocado skins. Also, apparently at room temperatures the chemical reduction activity is much slower. As I’m not going to be steaming my silk or microwaving it, I decided to omit the resist salt. I have plenty, however, and will use it next time if the result isn’t satisfactory.
The use of urea is also a moot point. It’s supposed to aid solubility (and I’m not dissolving dye powders so that’s not relevant) and to act as a humectant i.e. stopping the thickened dye from drying out before it’s been batched long enough. Since I will be painting on my silk and then batching it rolled in plastic this may well also not be relevant. However, I put some in anyway. Basically I followed the usual recipes for thickening dye except that I substituted my avocado skin dye for water and omitted the resist salt.
Back to the fabric. I wanted to paint some circles onto one (#1) of the pieces dyed with avocado pips. My thickened avocado skin dye looks too close in colour to the pip dyed fabric and, what’s more, it’s too thick. I (think) I solved both problems by stirring some old iron water (made from dissolving ferrous sulphate into water) into a quarter cup of the paste. The water is so old it’s gone orange.
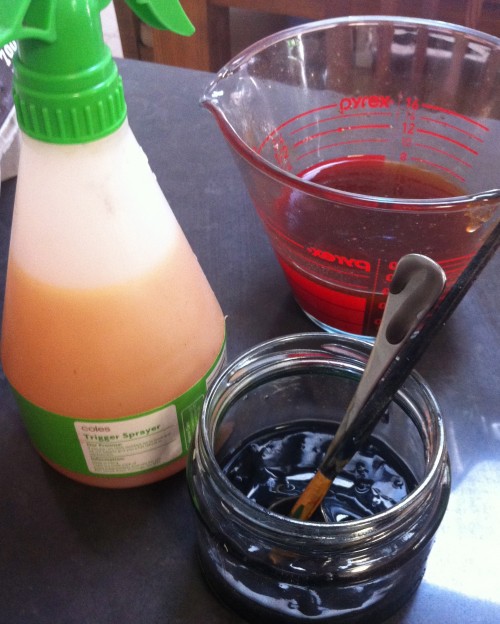
Avocado skin thickened solution in the measuring jug, old iron water in the spray bottle and darkened paste in the foreground jar.

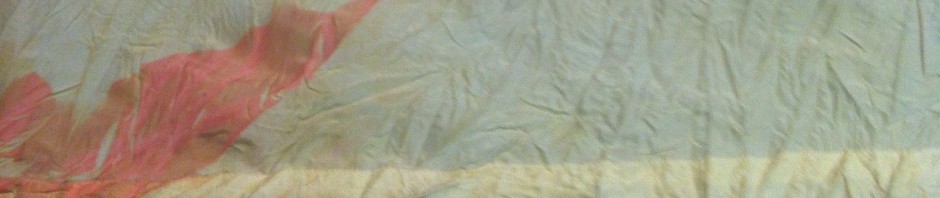
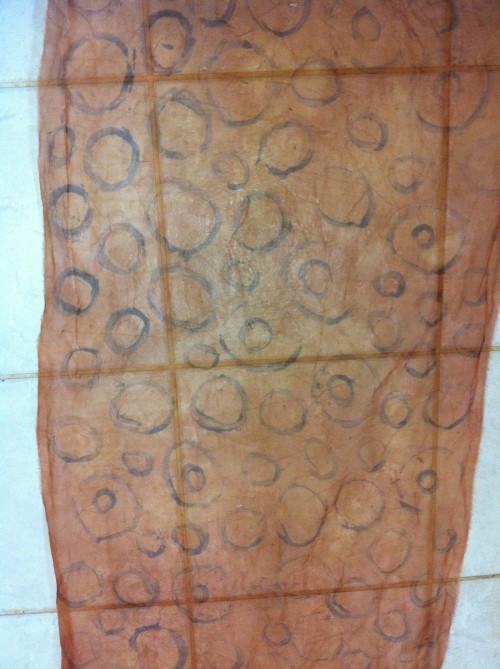
Silk dyed with avocado pips taped to flat surface and painted with darkened avocado skin dye paste.

Close up of the painted silk
Piece #1 wrapped in plastic for batching.
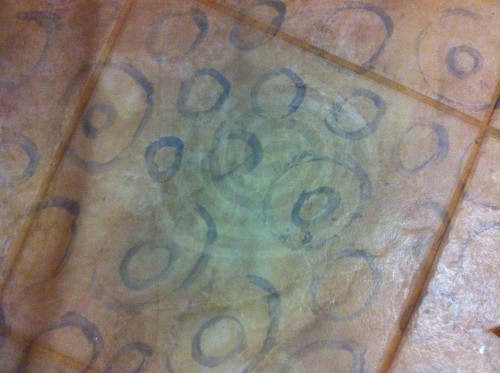
The painted transparent silk after washing drying and ironing on the kitchen floor
Next I used a stick on wall decal set given to me by Liz and some plain Decolorant to change the scale a bit. It made some difference but not much so I’ll be looking to print something else on with paint next.

Stick on decals used as a resist for Decolorant

Great work Margaret. Wish I was there doing it with you. Am off to the War Memeorial today in Canberra, so should be interesting.
Hi Margaret… Here I go again at leaving a message… See if I can navigate the hoops… Iove your description of the process.. esp the chemistry! I agree with Julie, would love to be hanging out with you messing with dye!
Your dark circles look great!
Have you considered doing some test pieces before the large fabric as it’s quite labour intensive?
Test pieces – what are they Linda? 🙂 Fabric looks fabulous Margaret.
Howdy! Someone inn mmy Myspce gtoup shared this site
with us soo I came to check itt out. I’m definitely enjjoying the information. I’m book-marking andd wll bbe tweetinjg this to my followers!
Outstanding bkog andd amazing design and style.