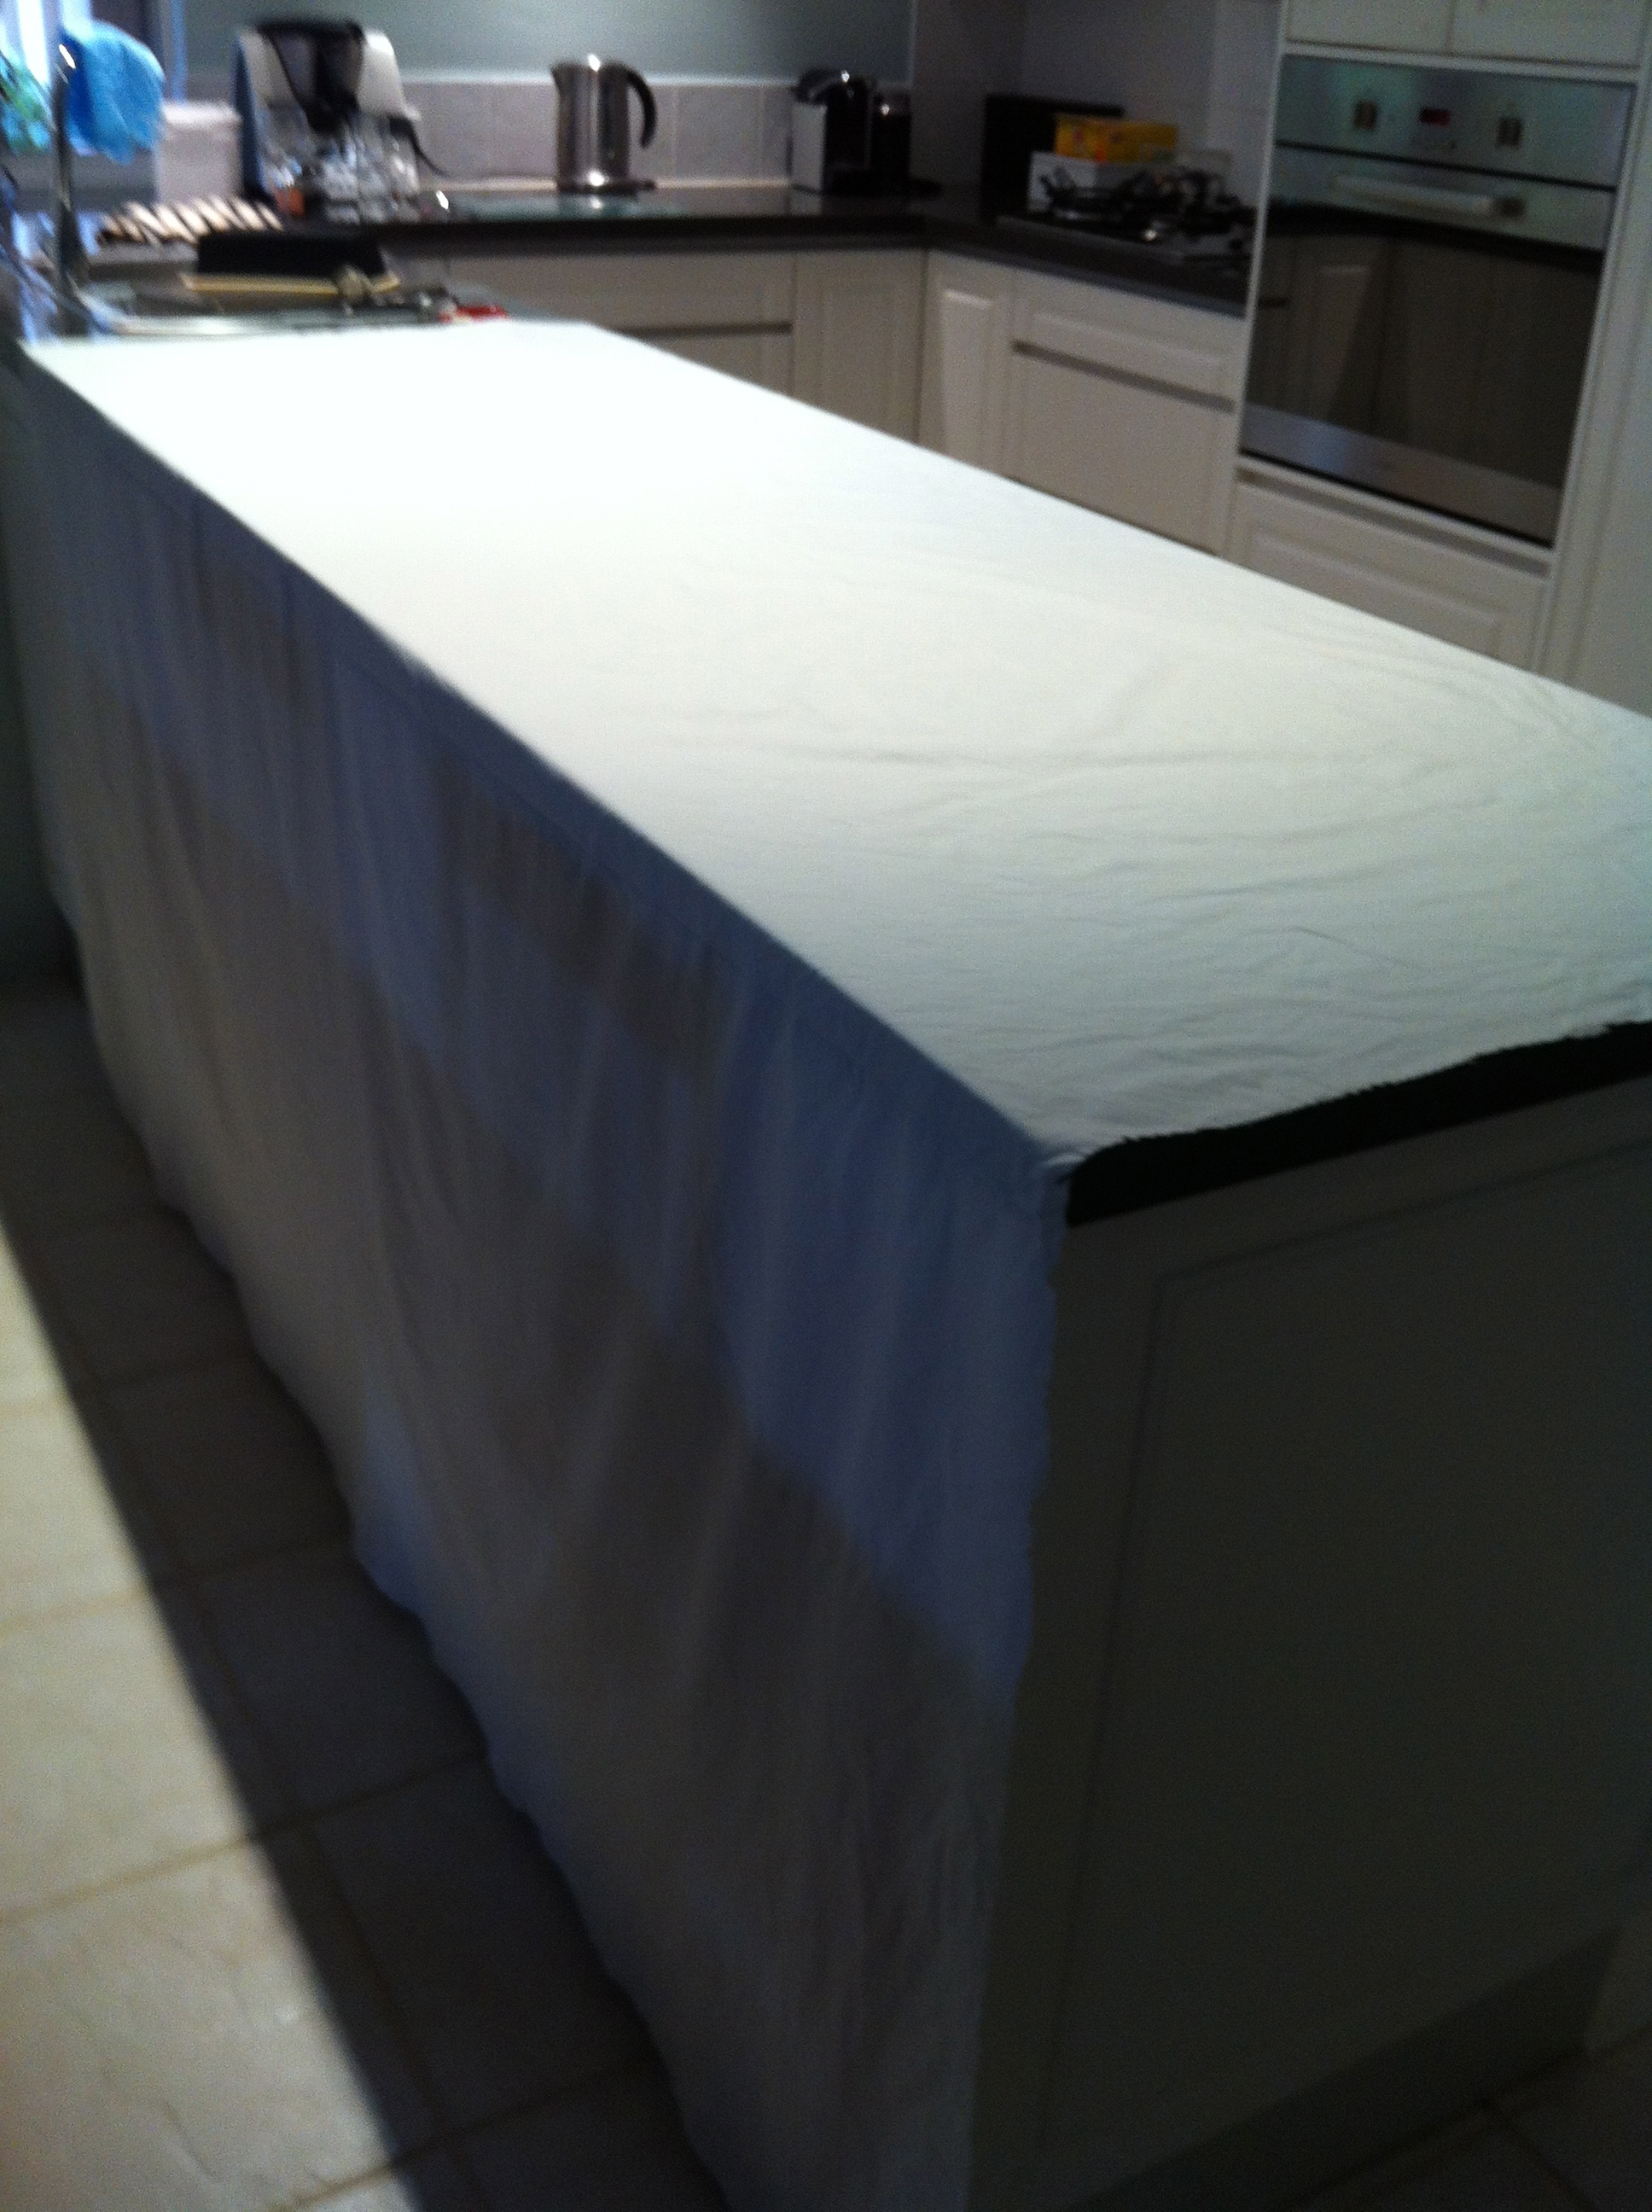
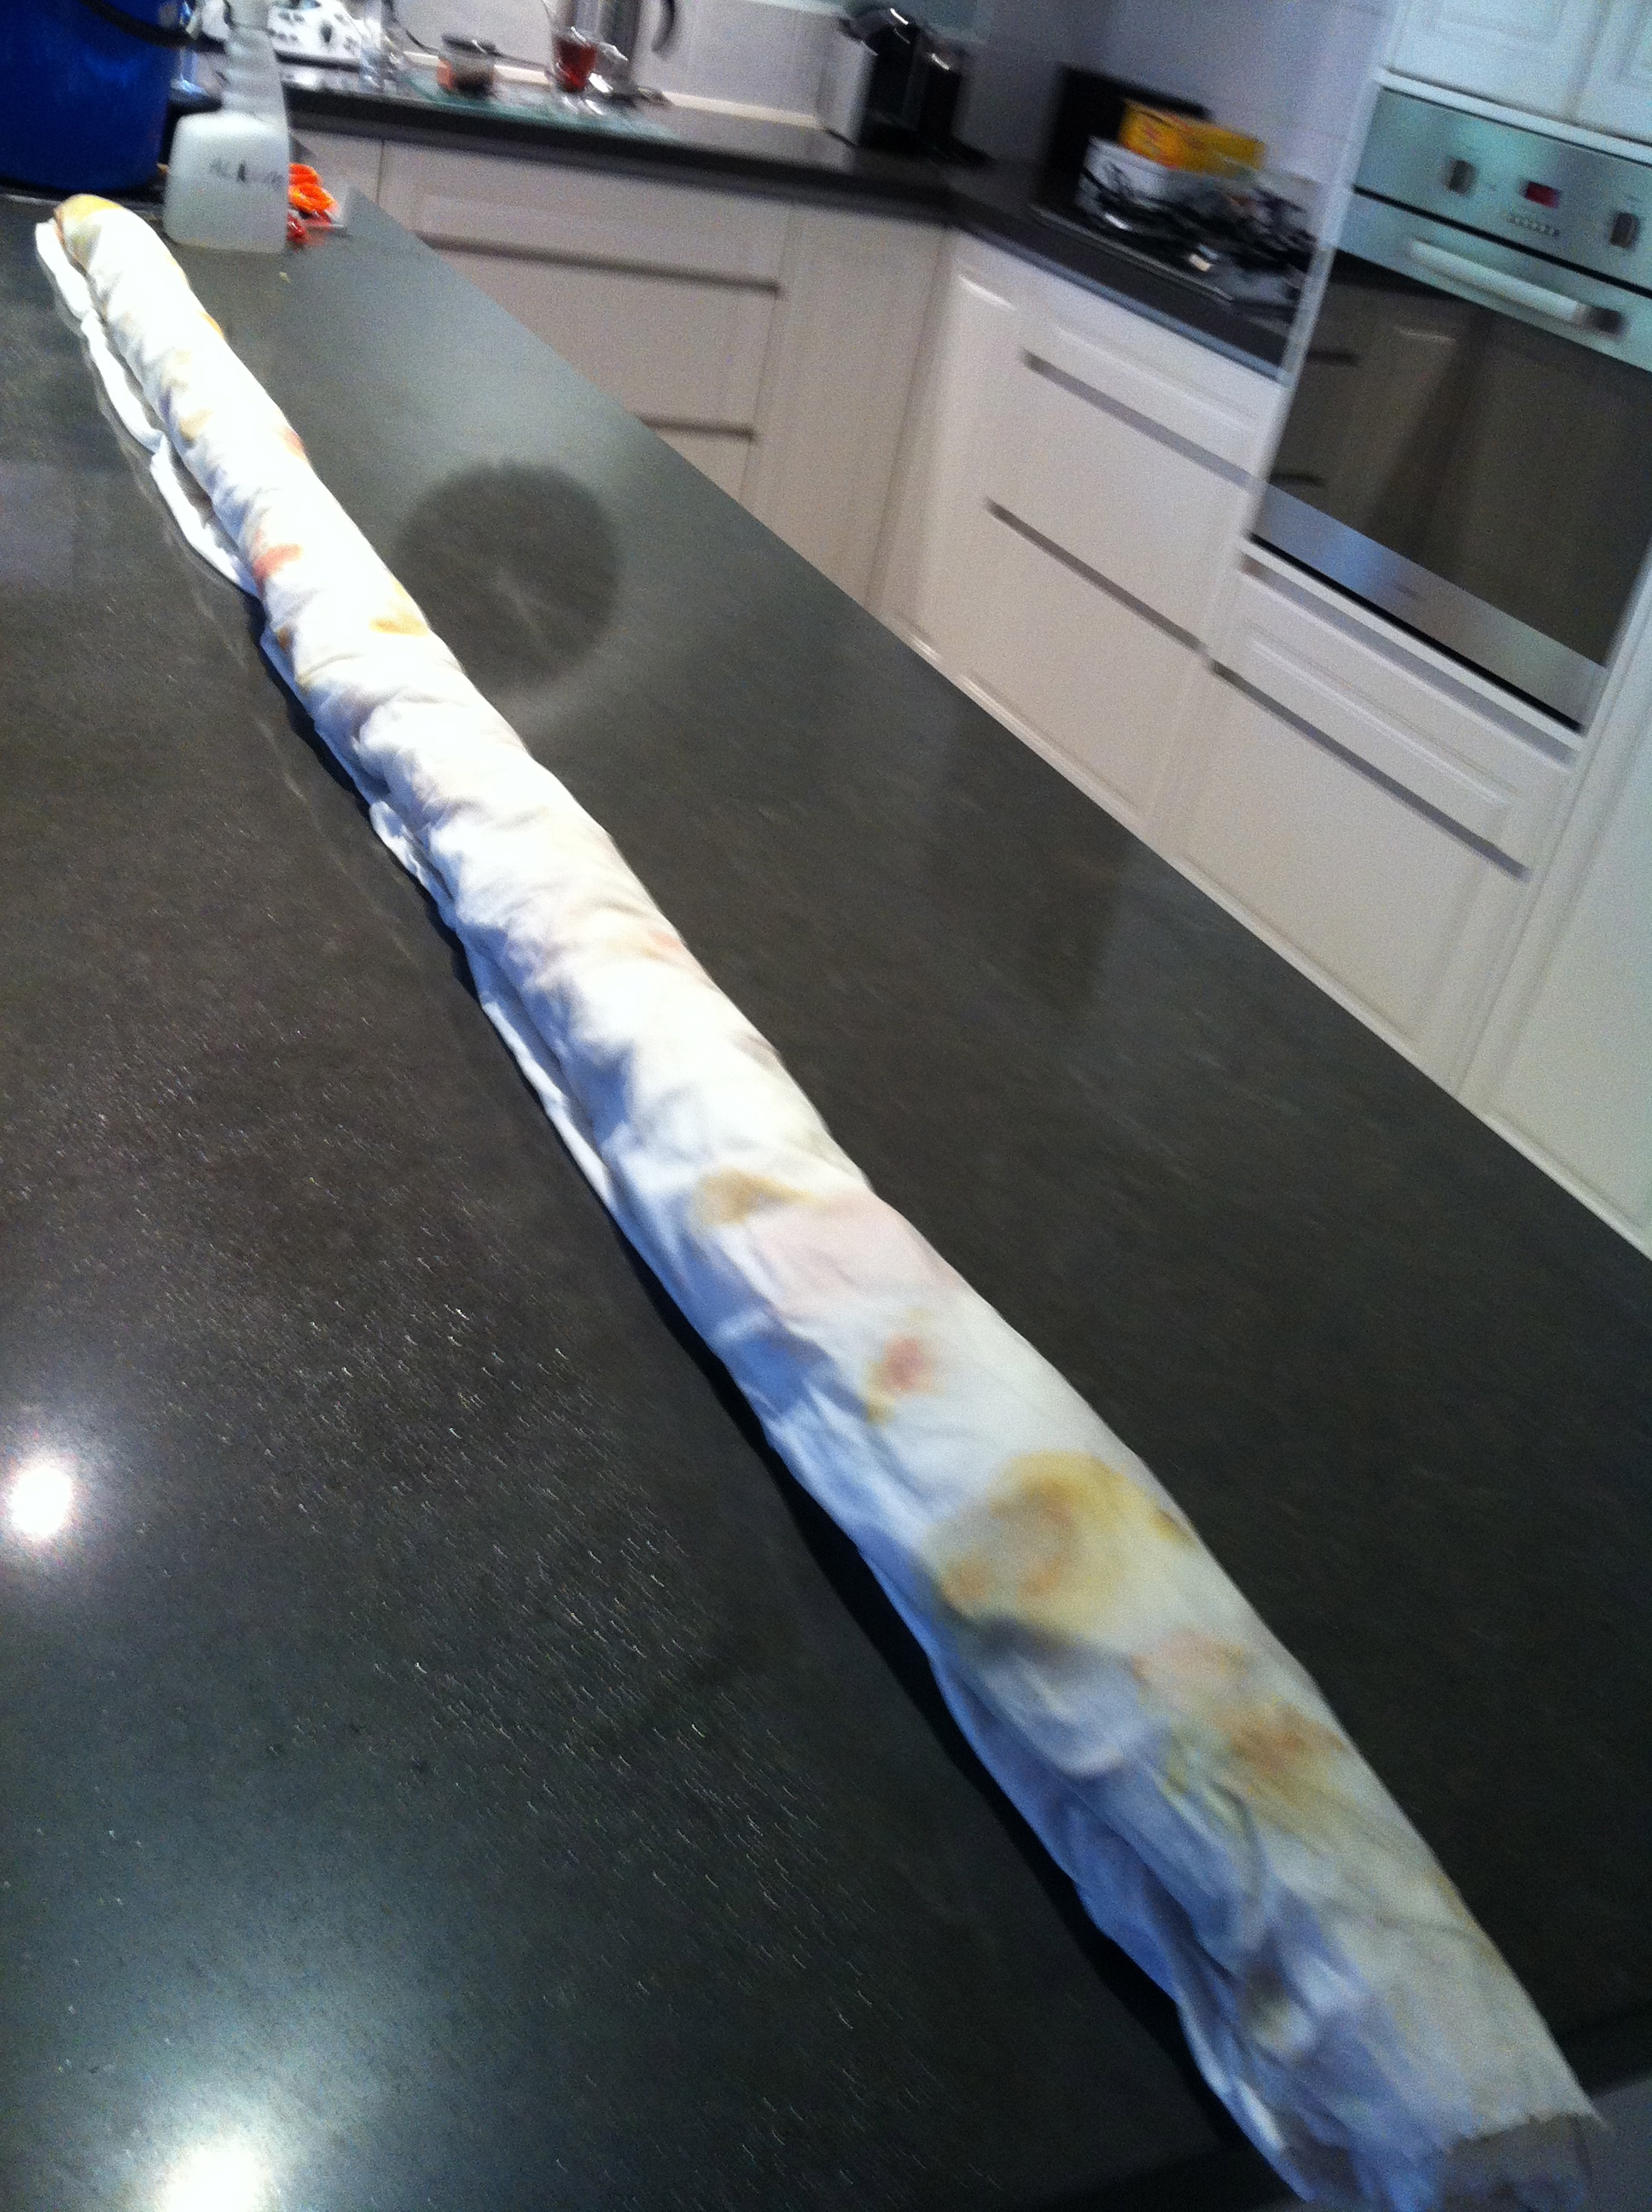
1.Old 100% cotton sheet with half across the bench and the other half hanging down. Sprayed all over with alum.
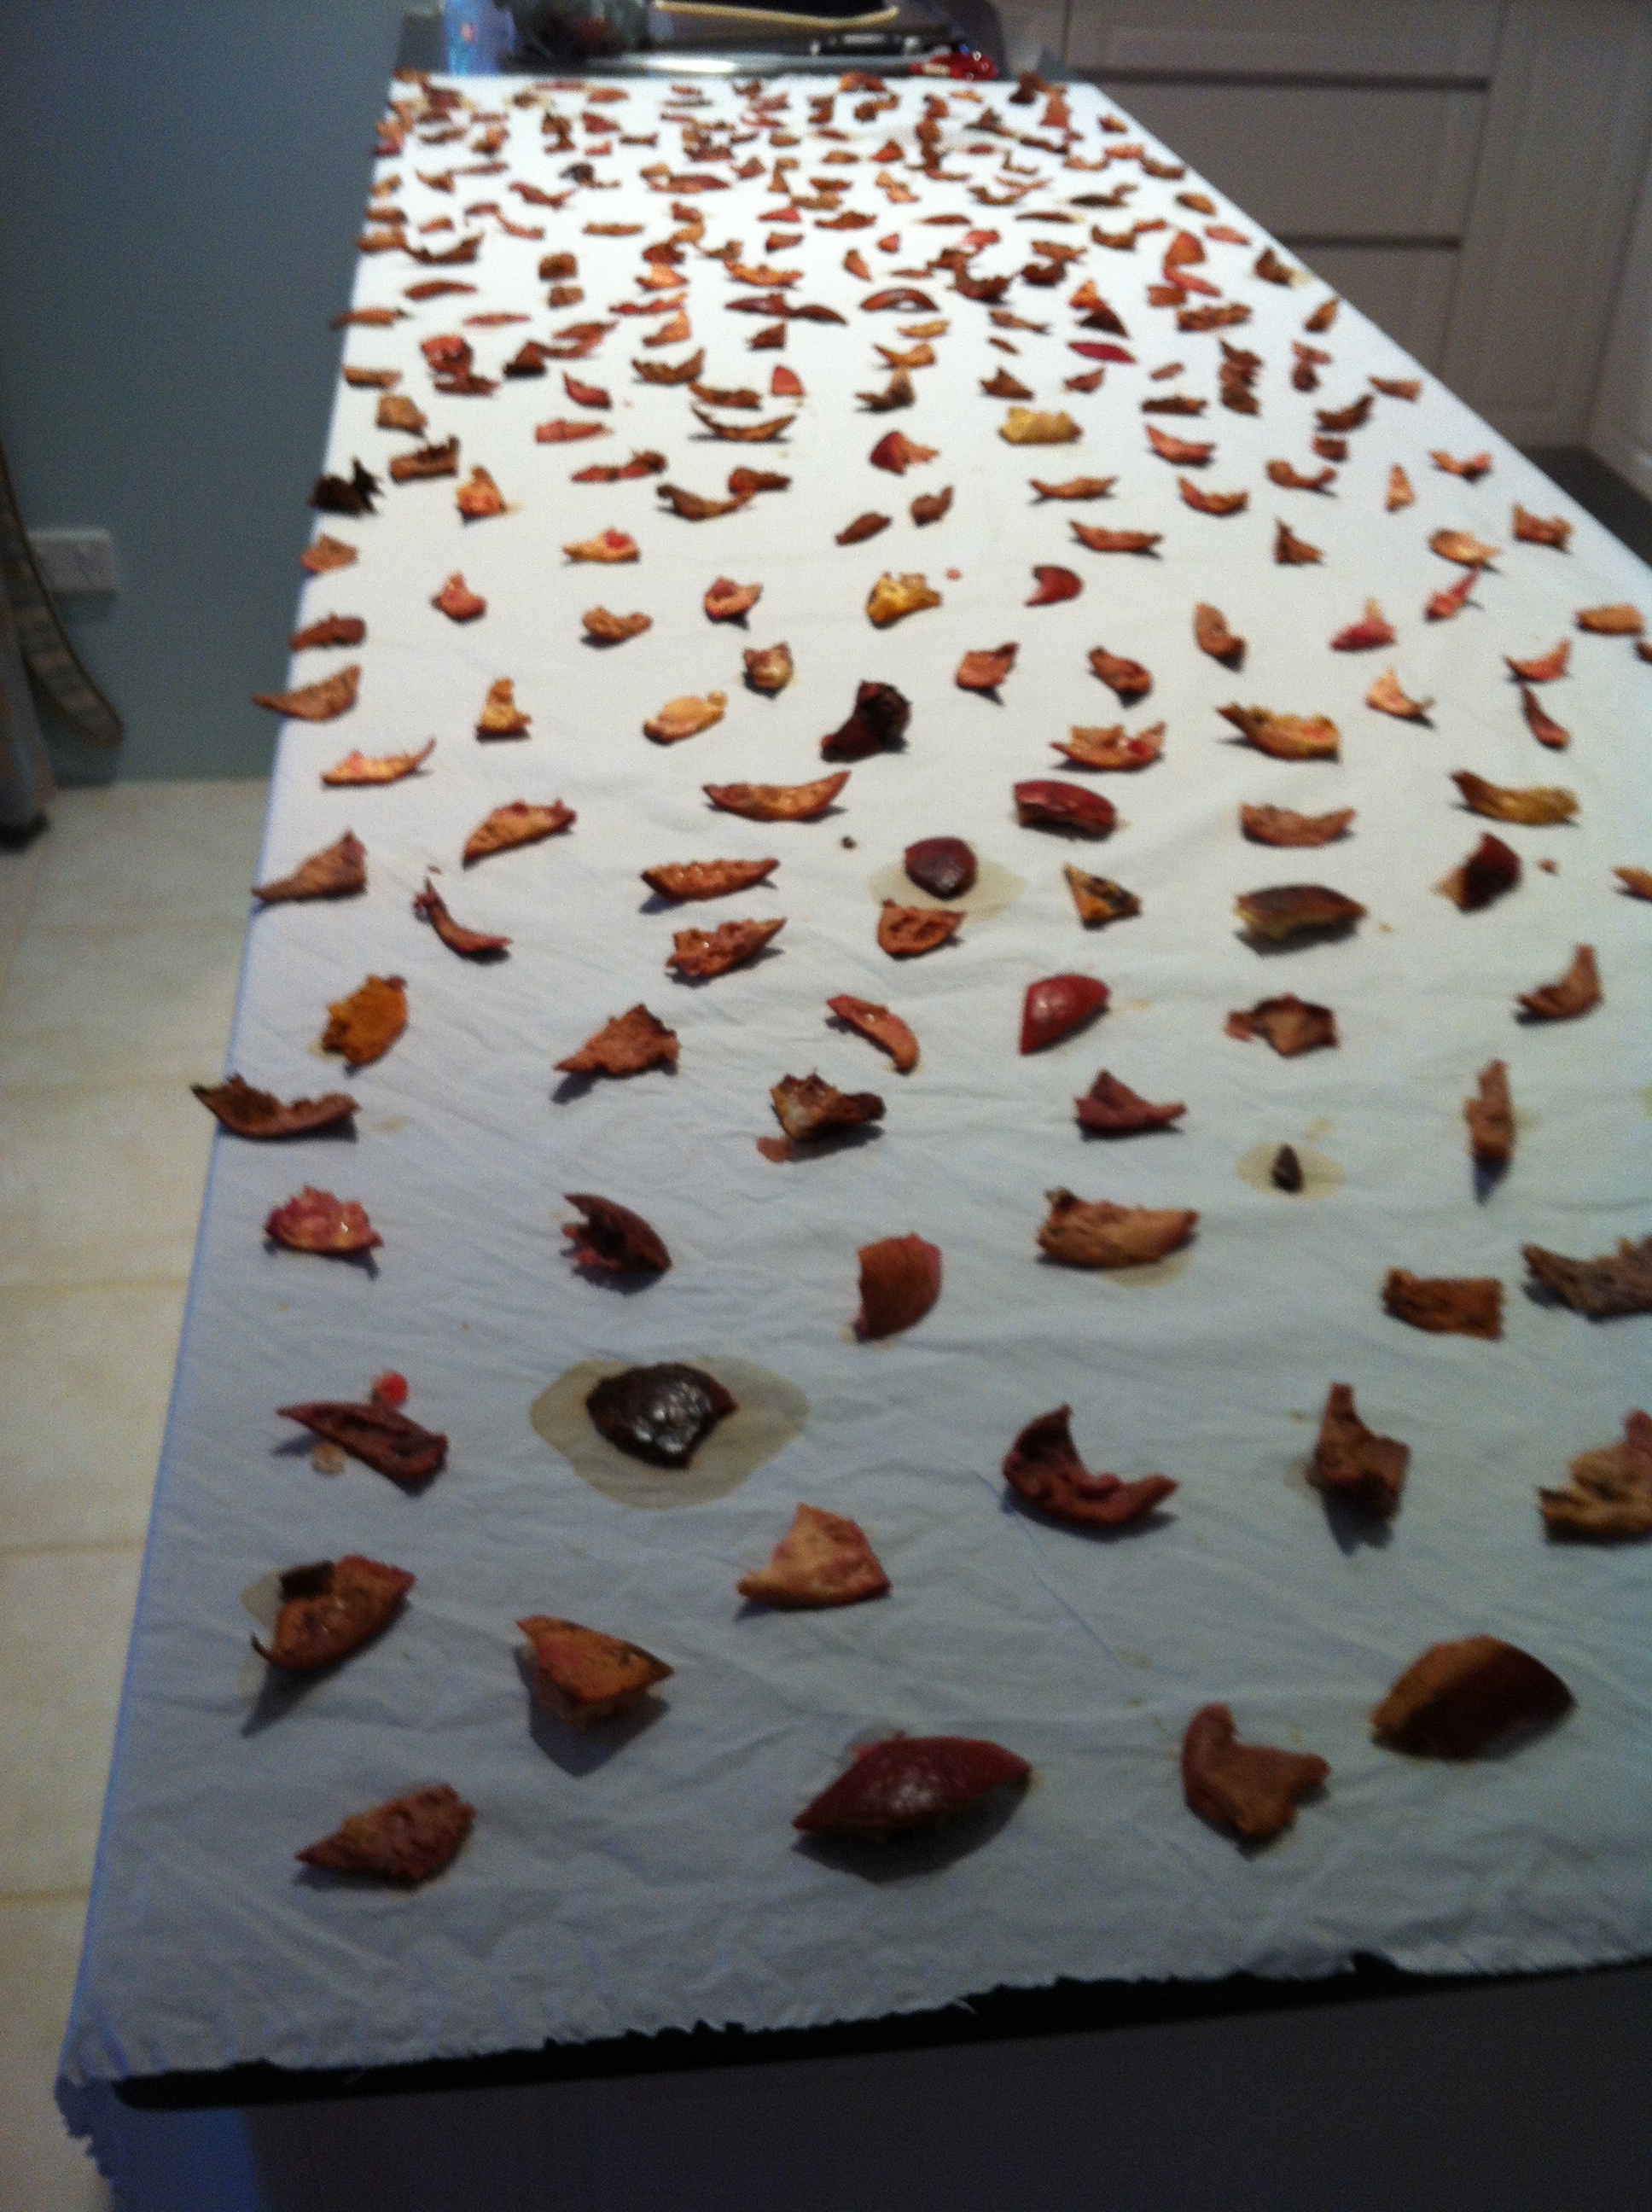
2.Cleaned and cut up pomegranate skins laid over half the sheet
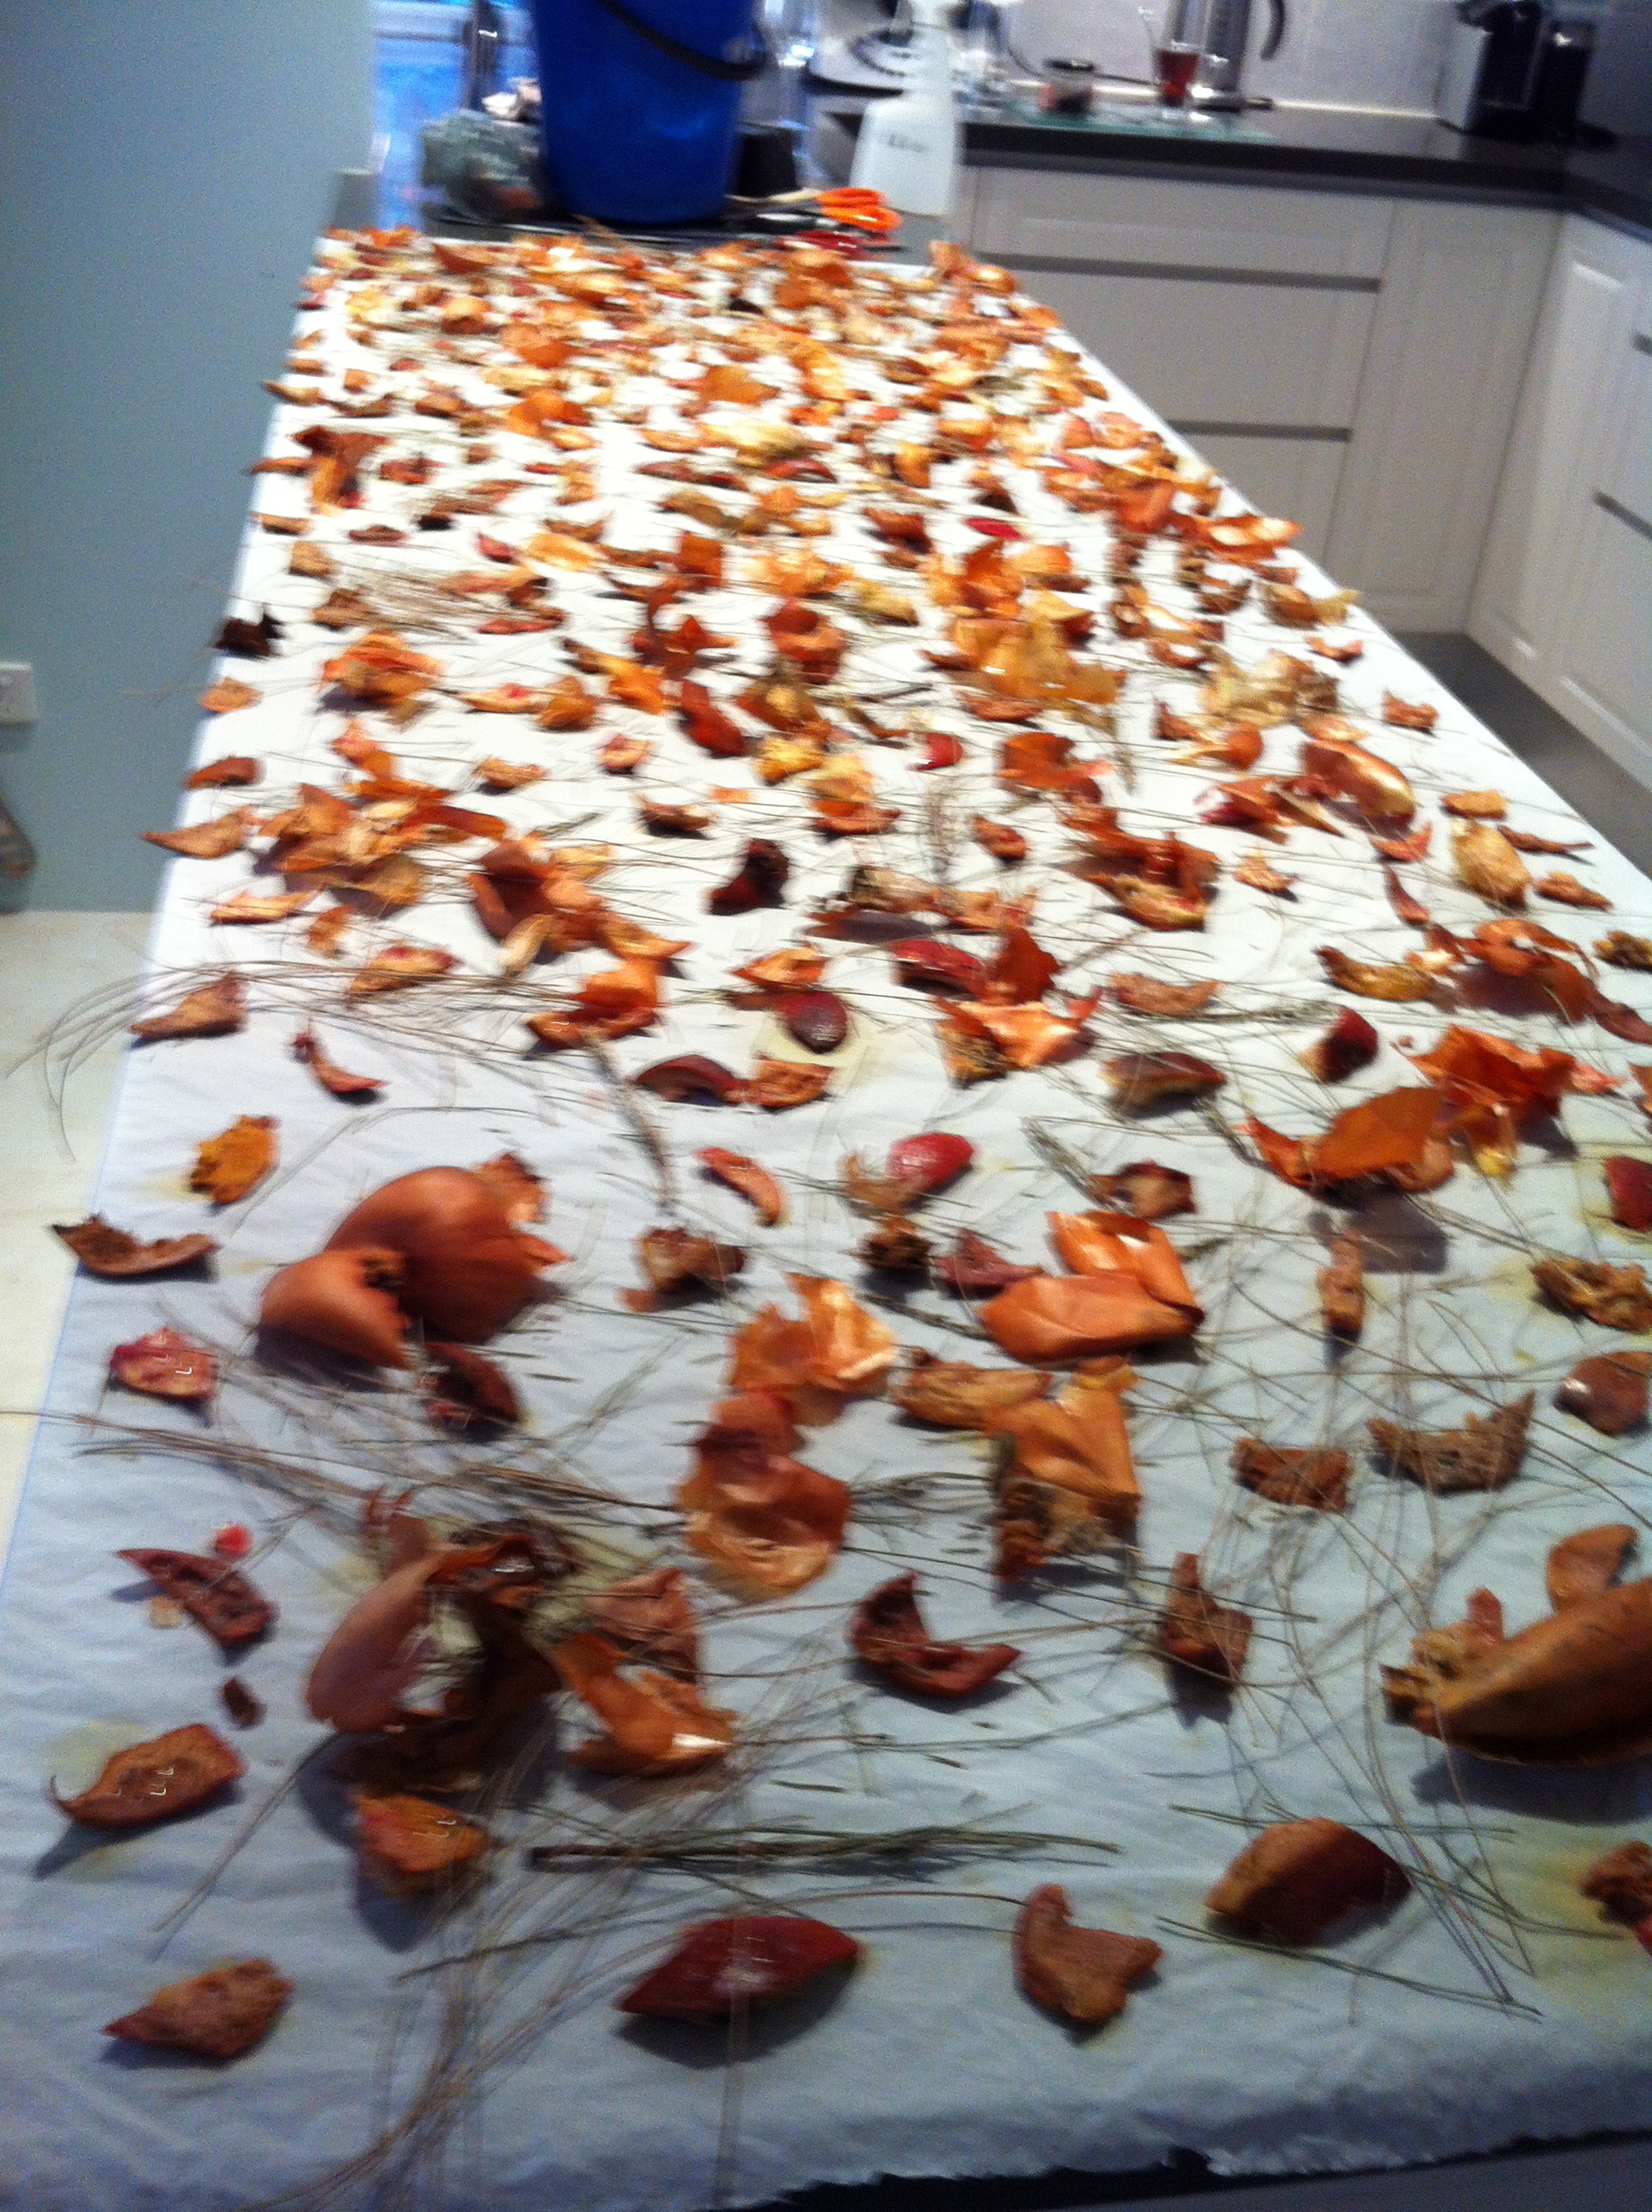
3.Layers 2&3: casuarina needles and dried brown onion skins
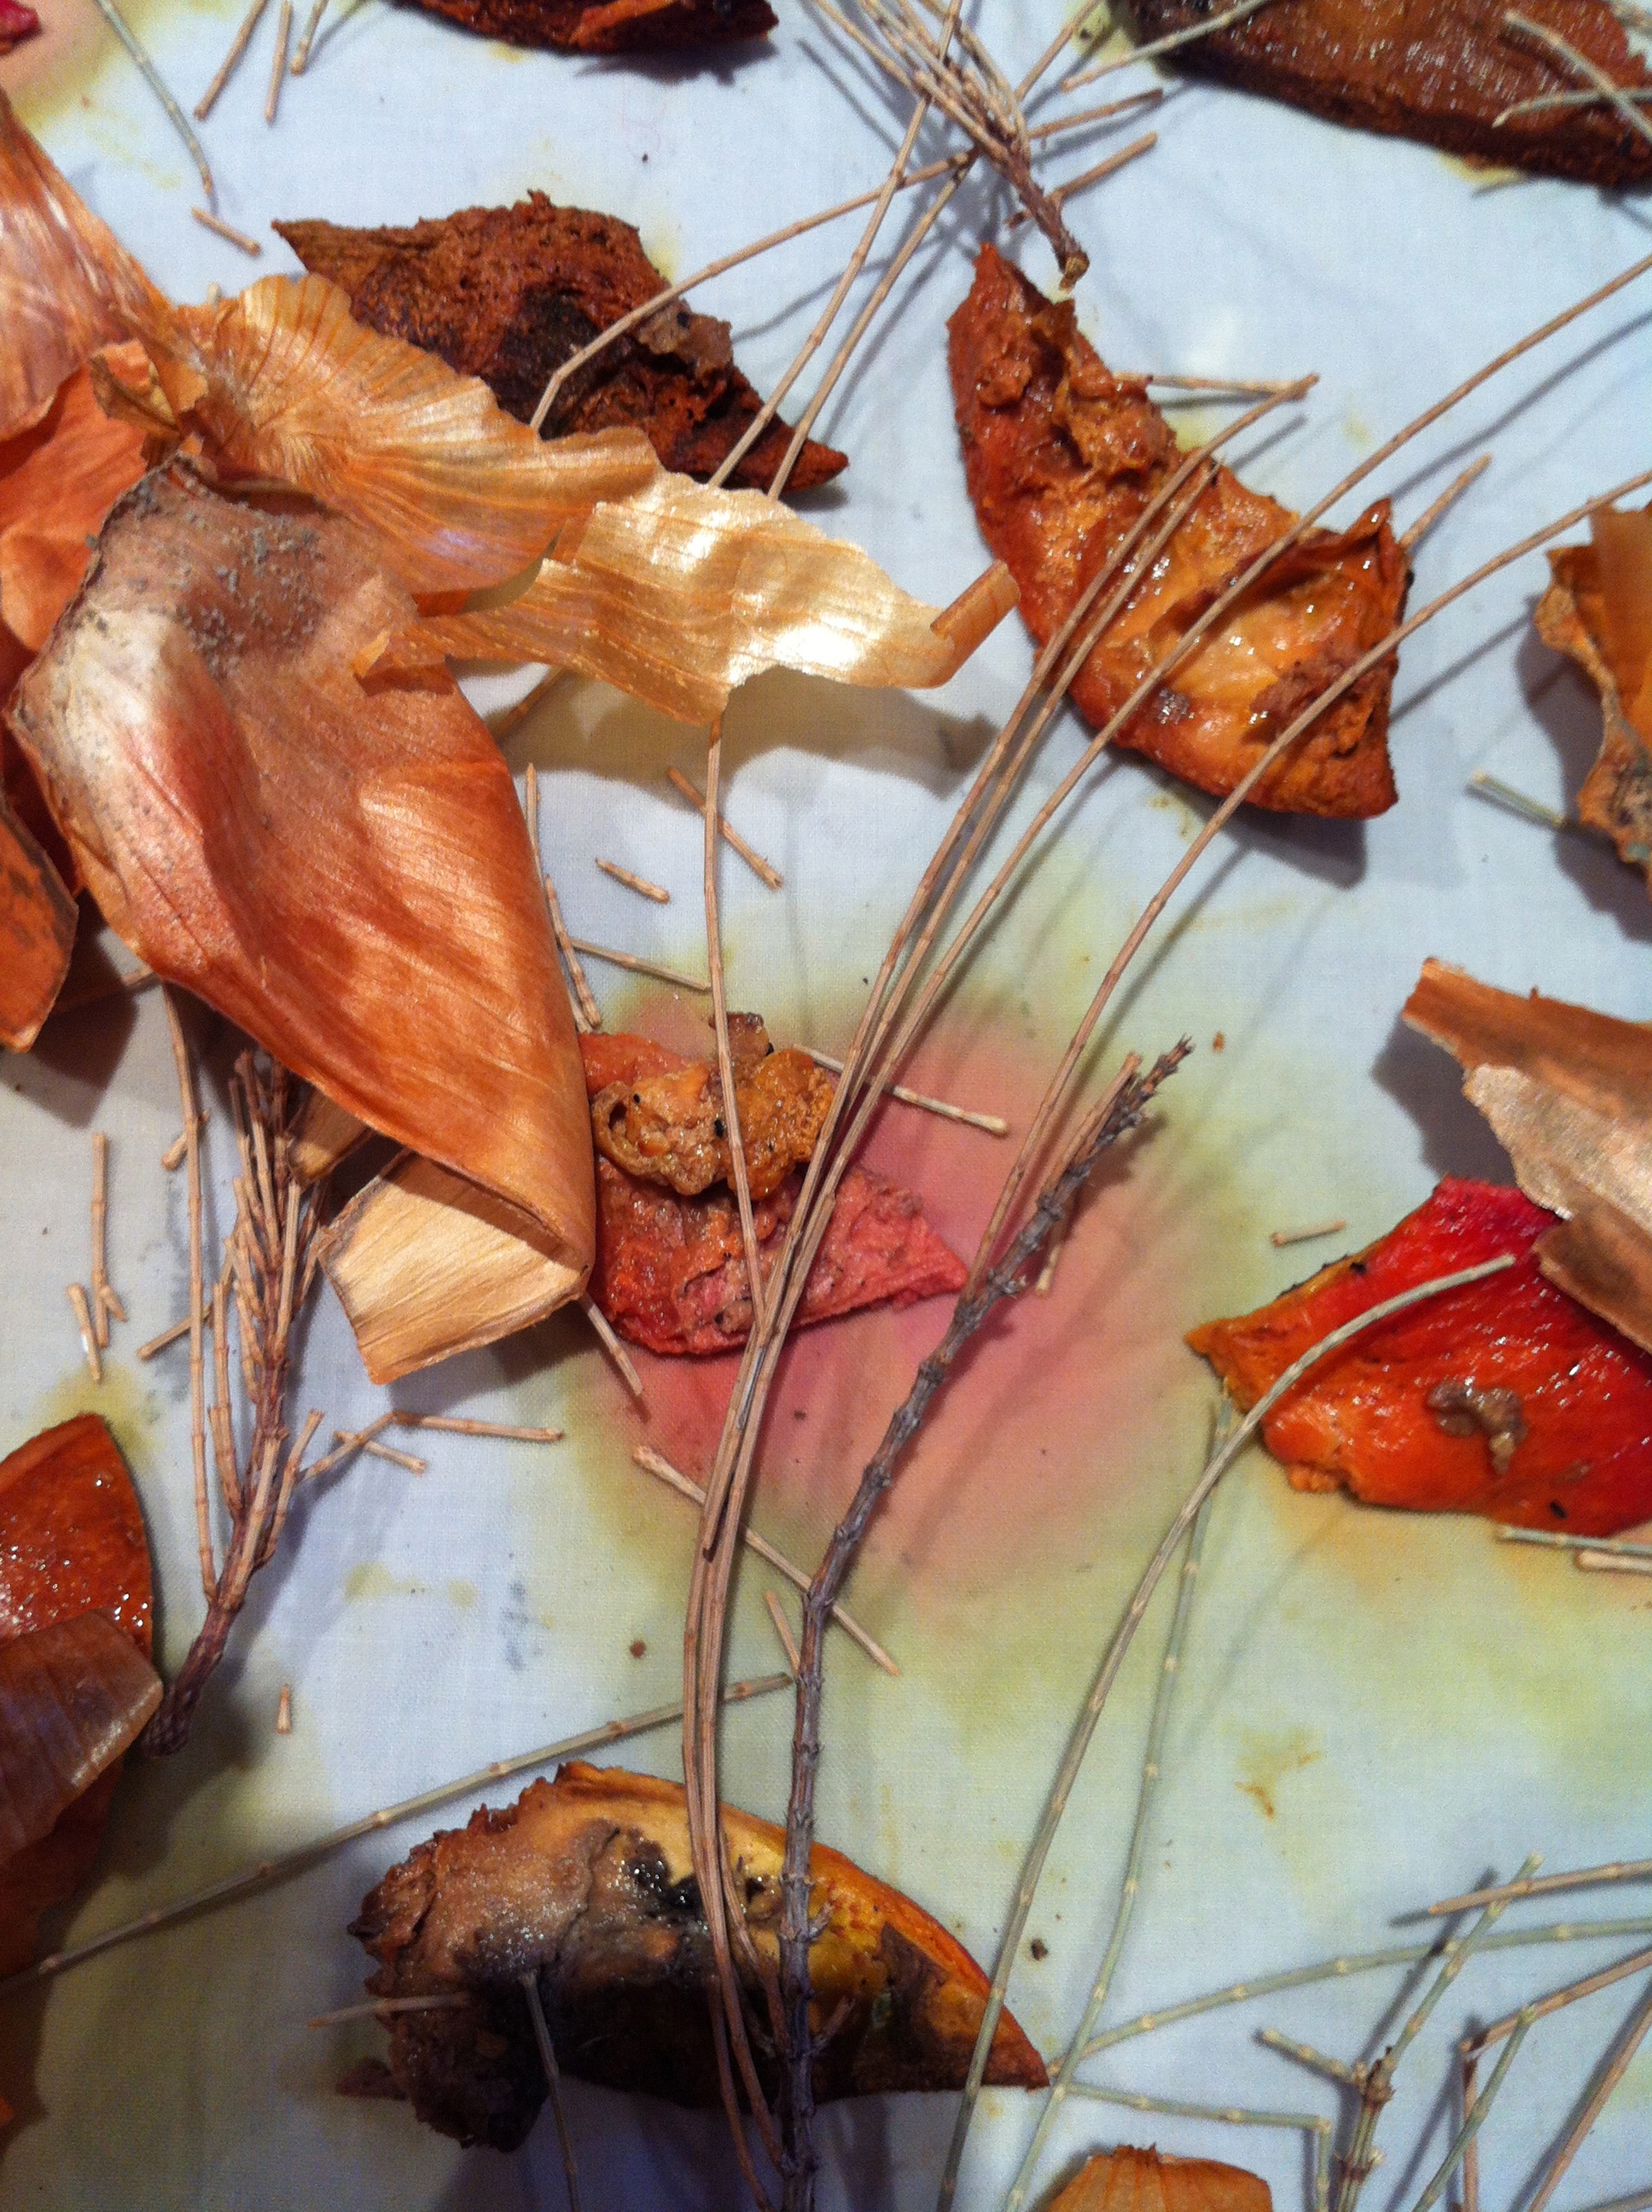
4.Close-up of Layers 2&3 showing colour leaching from the pomegranate already.
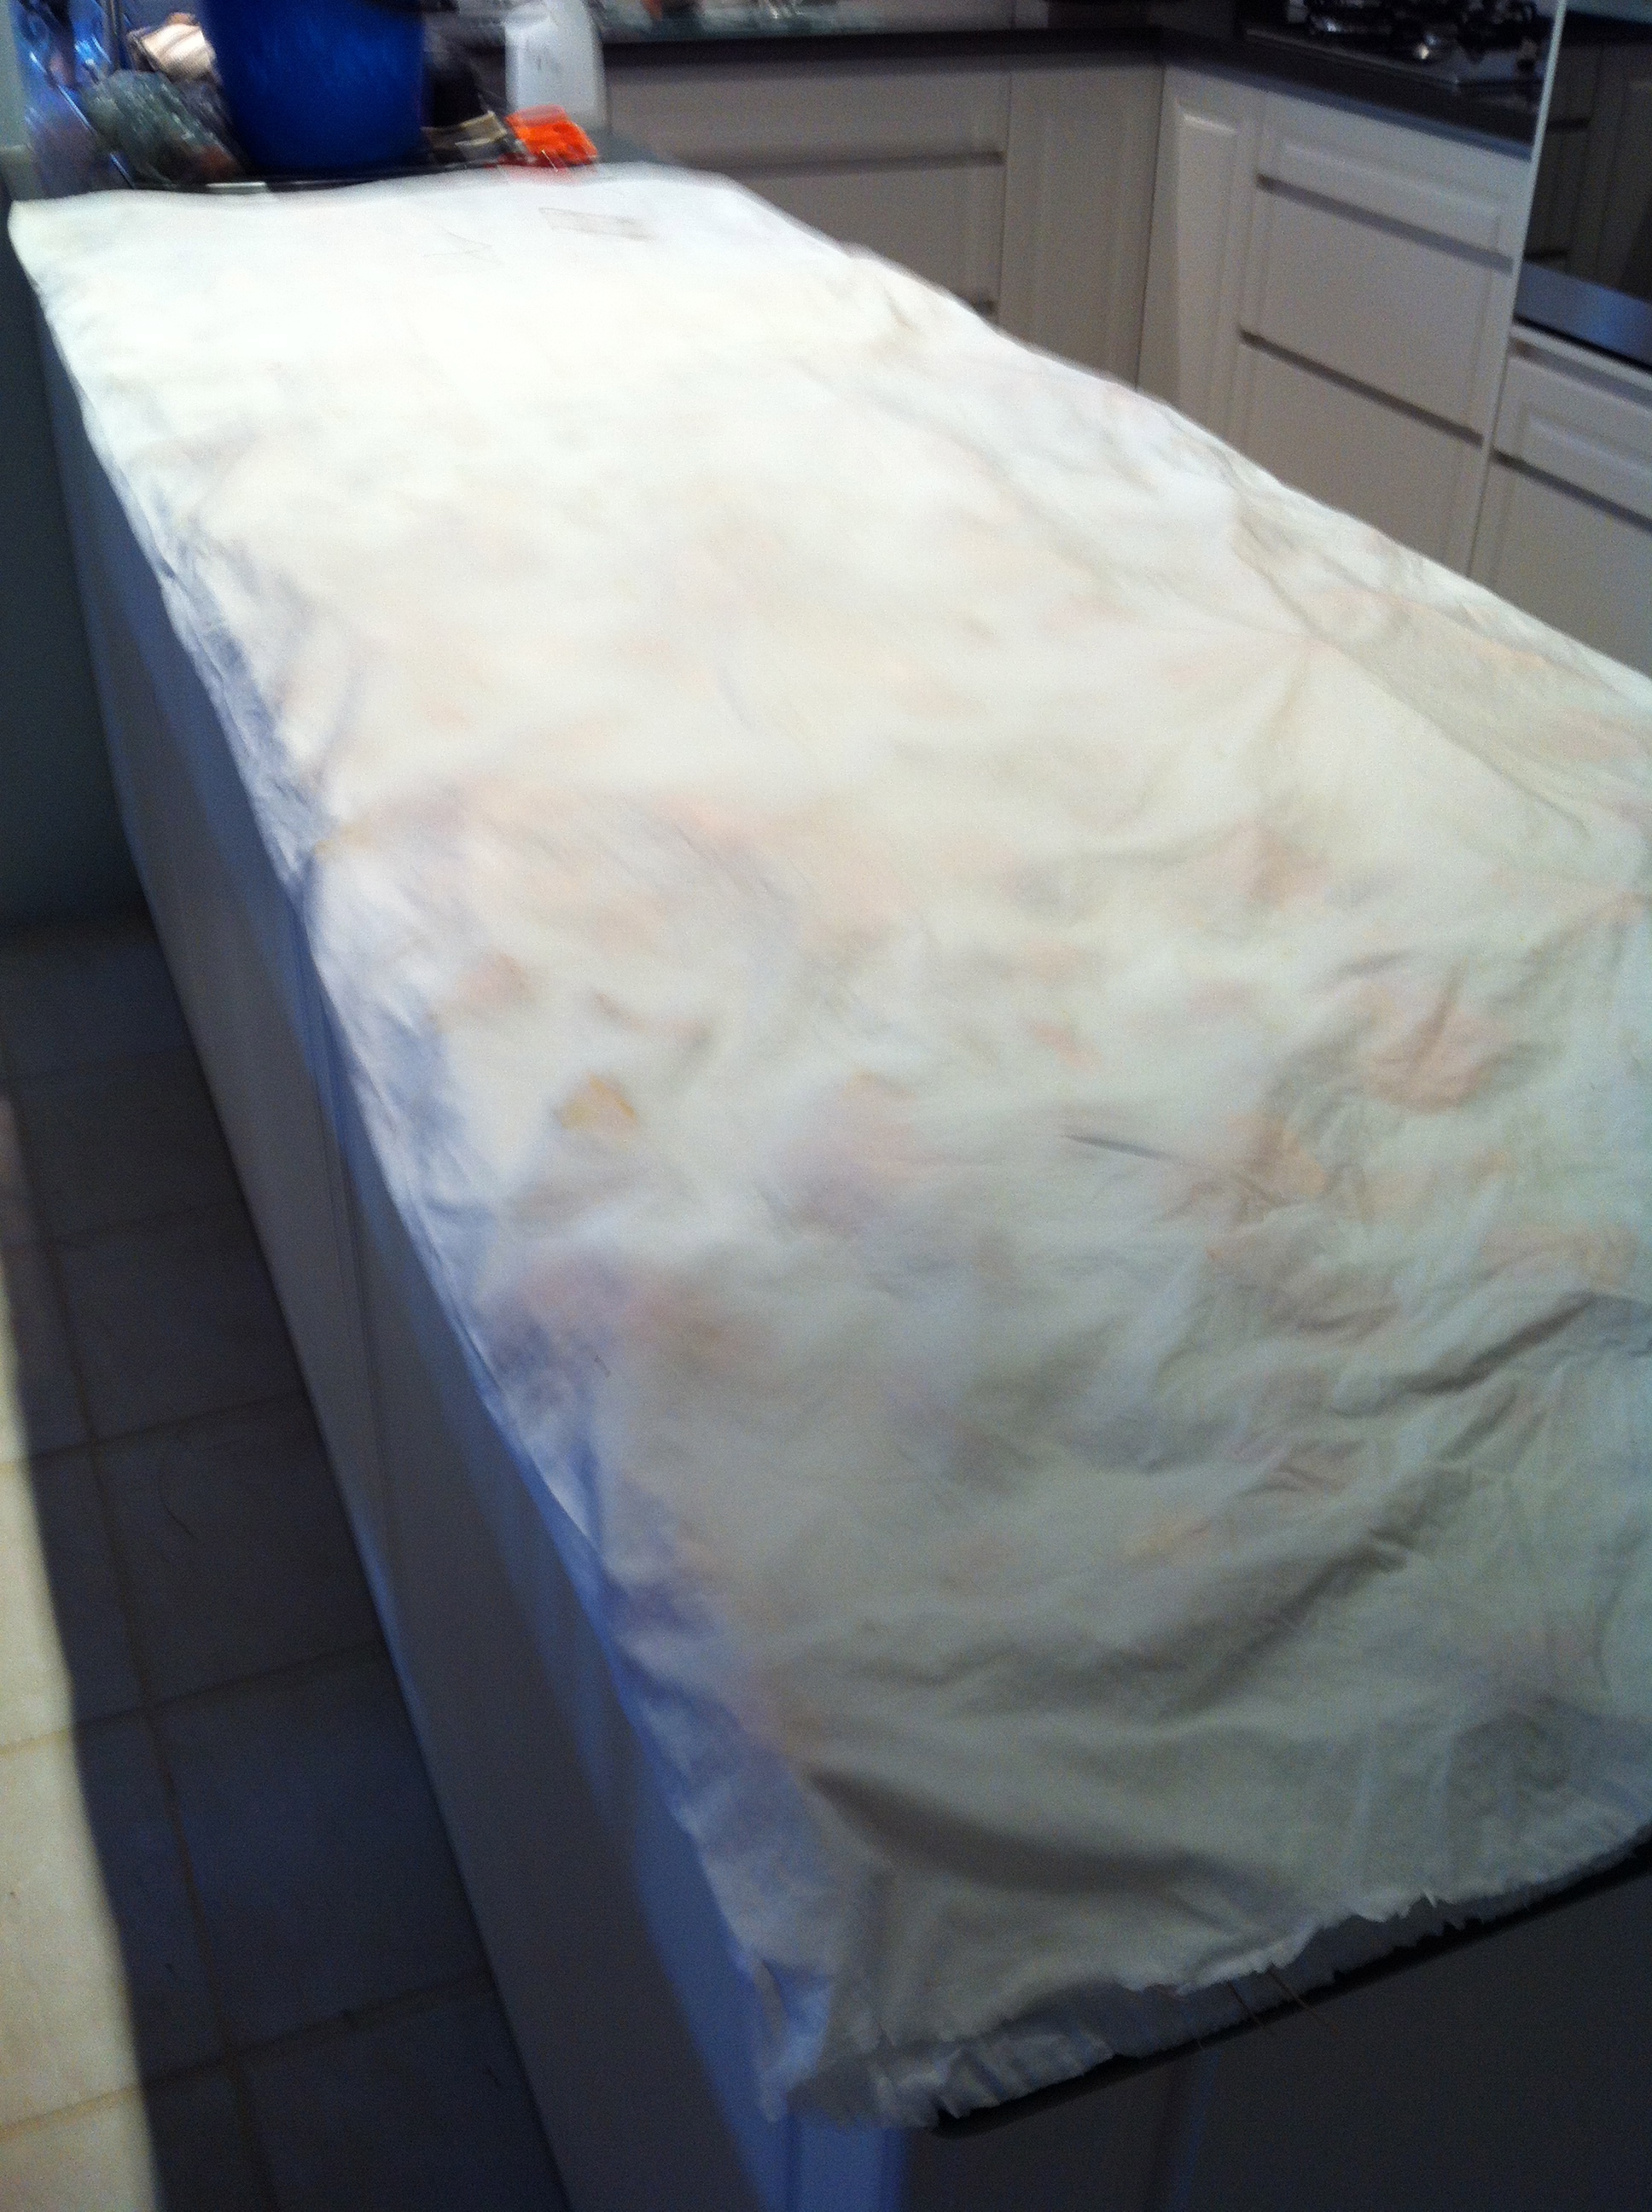
5.The other half of the sheet folded carefully over the plant material
6.Close-up of folded sheet after spraying this side with alum
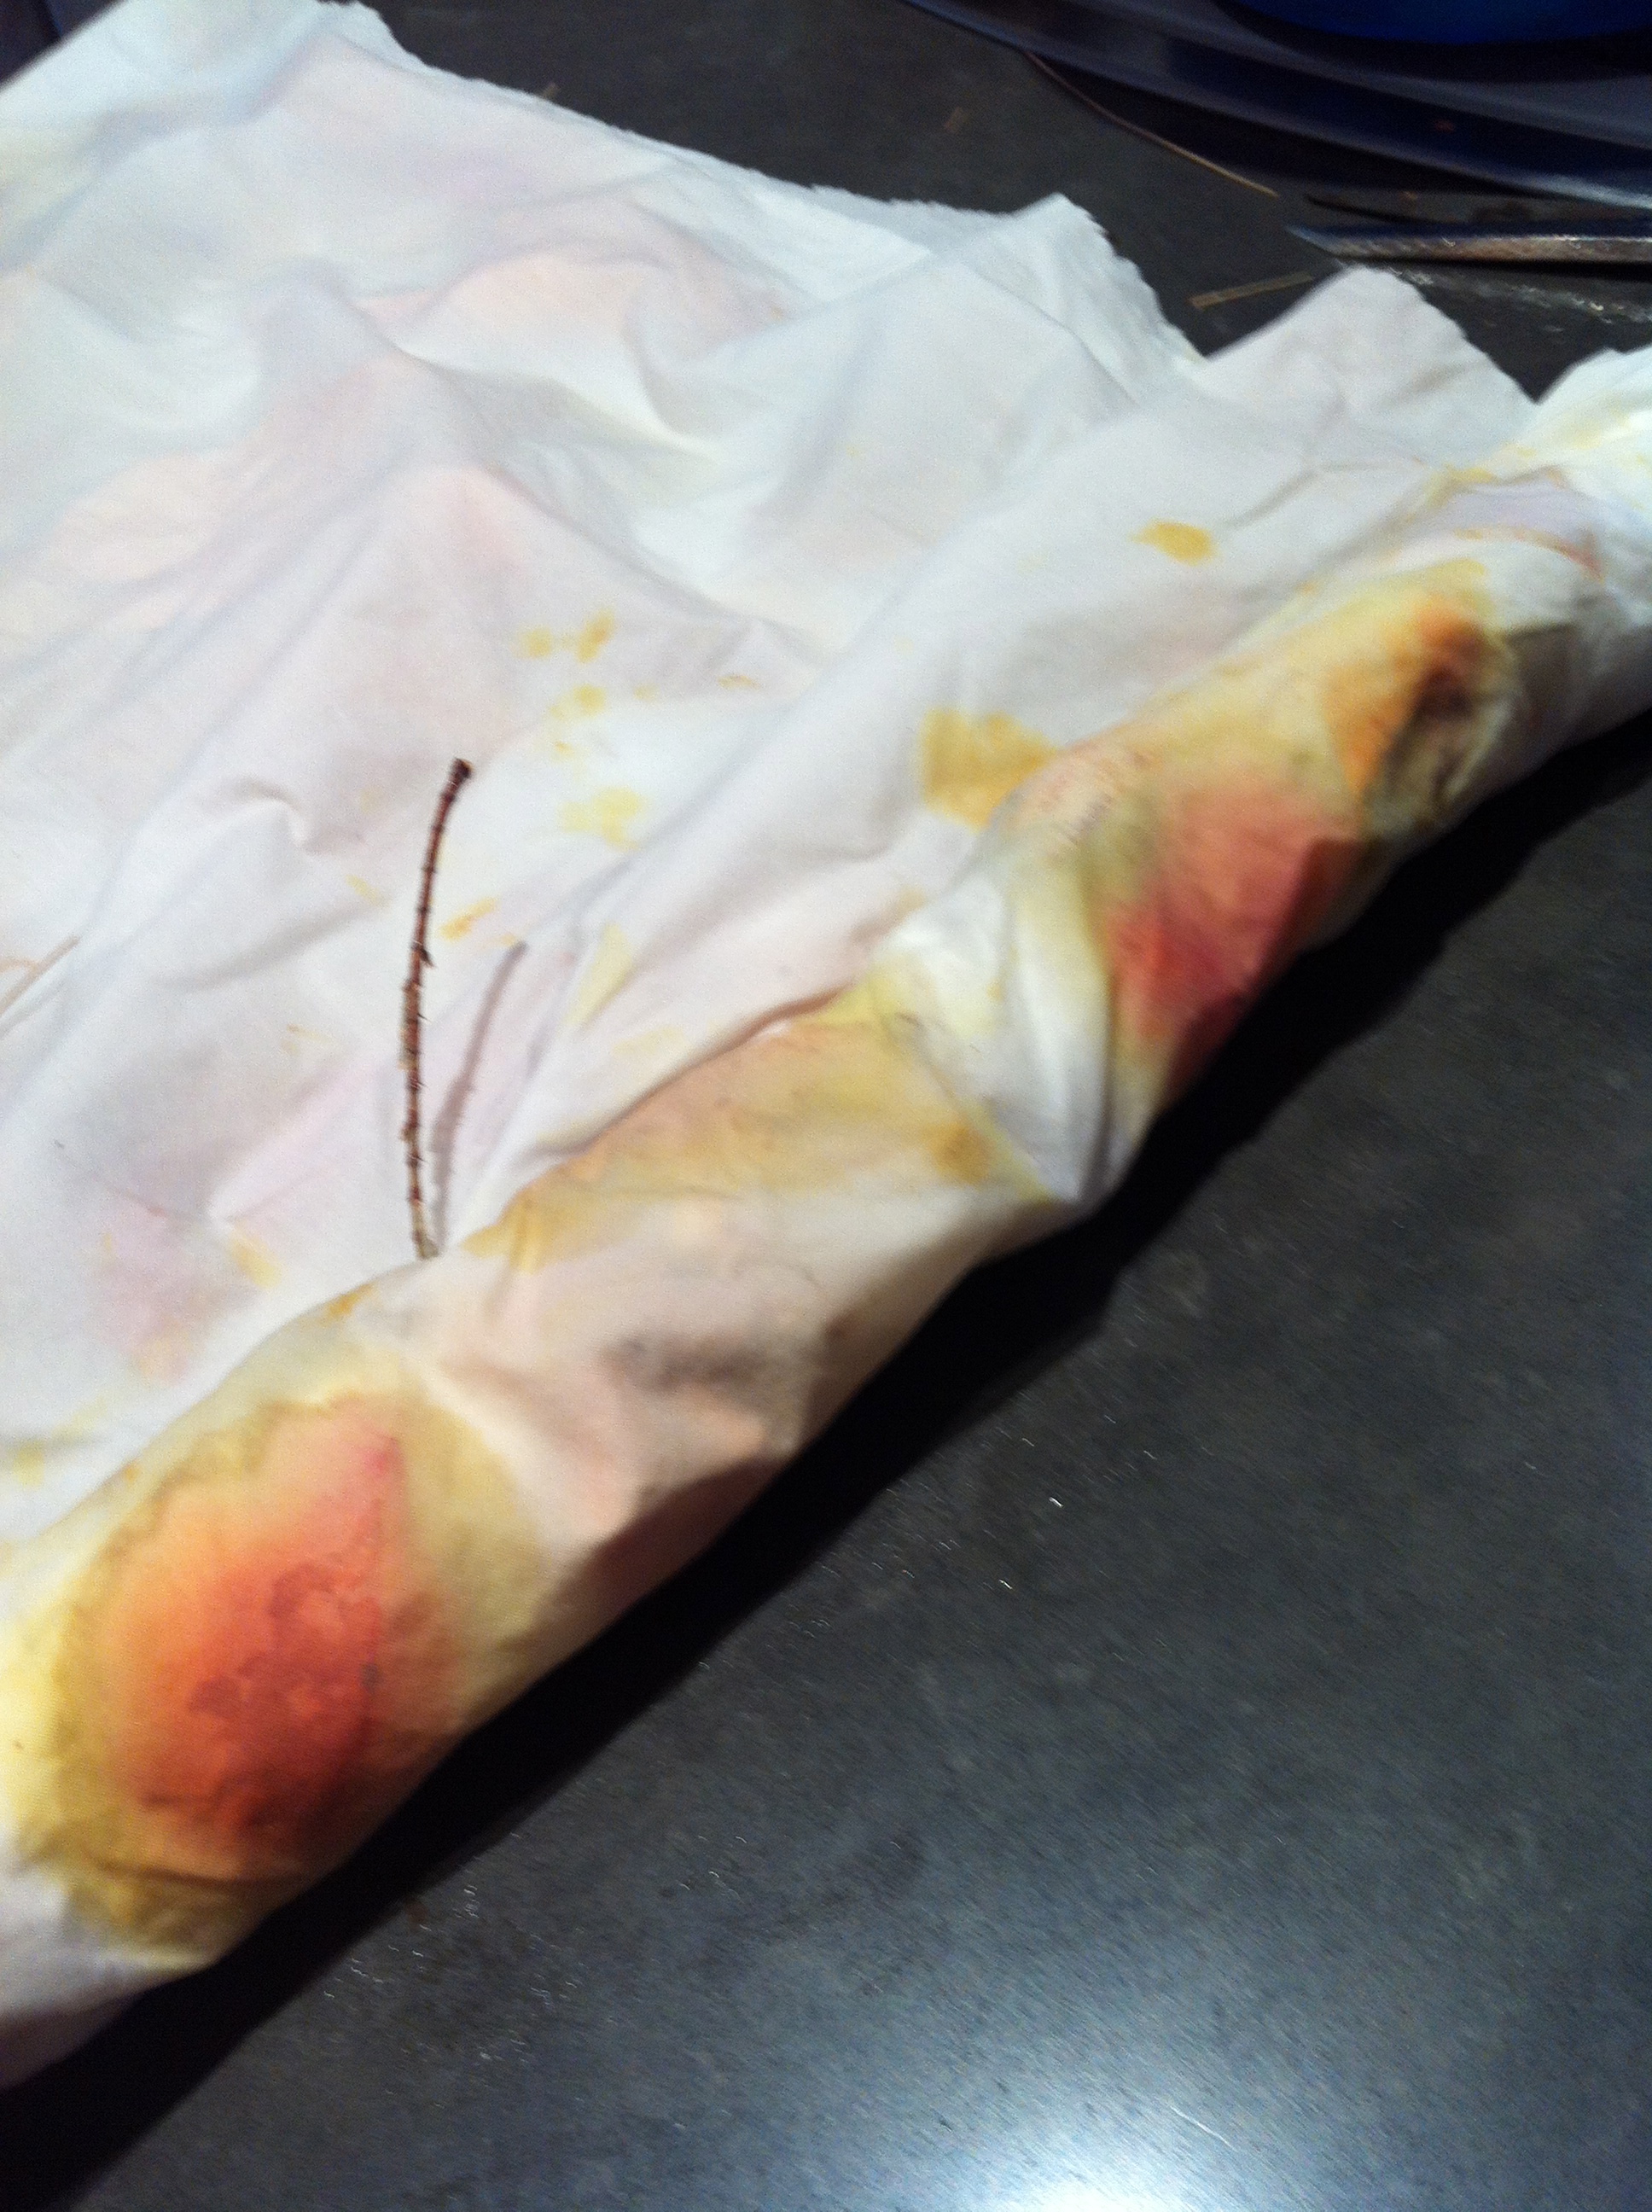
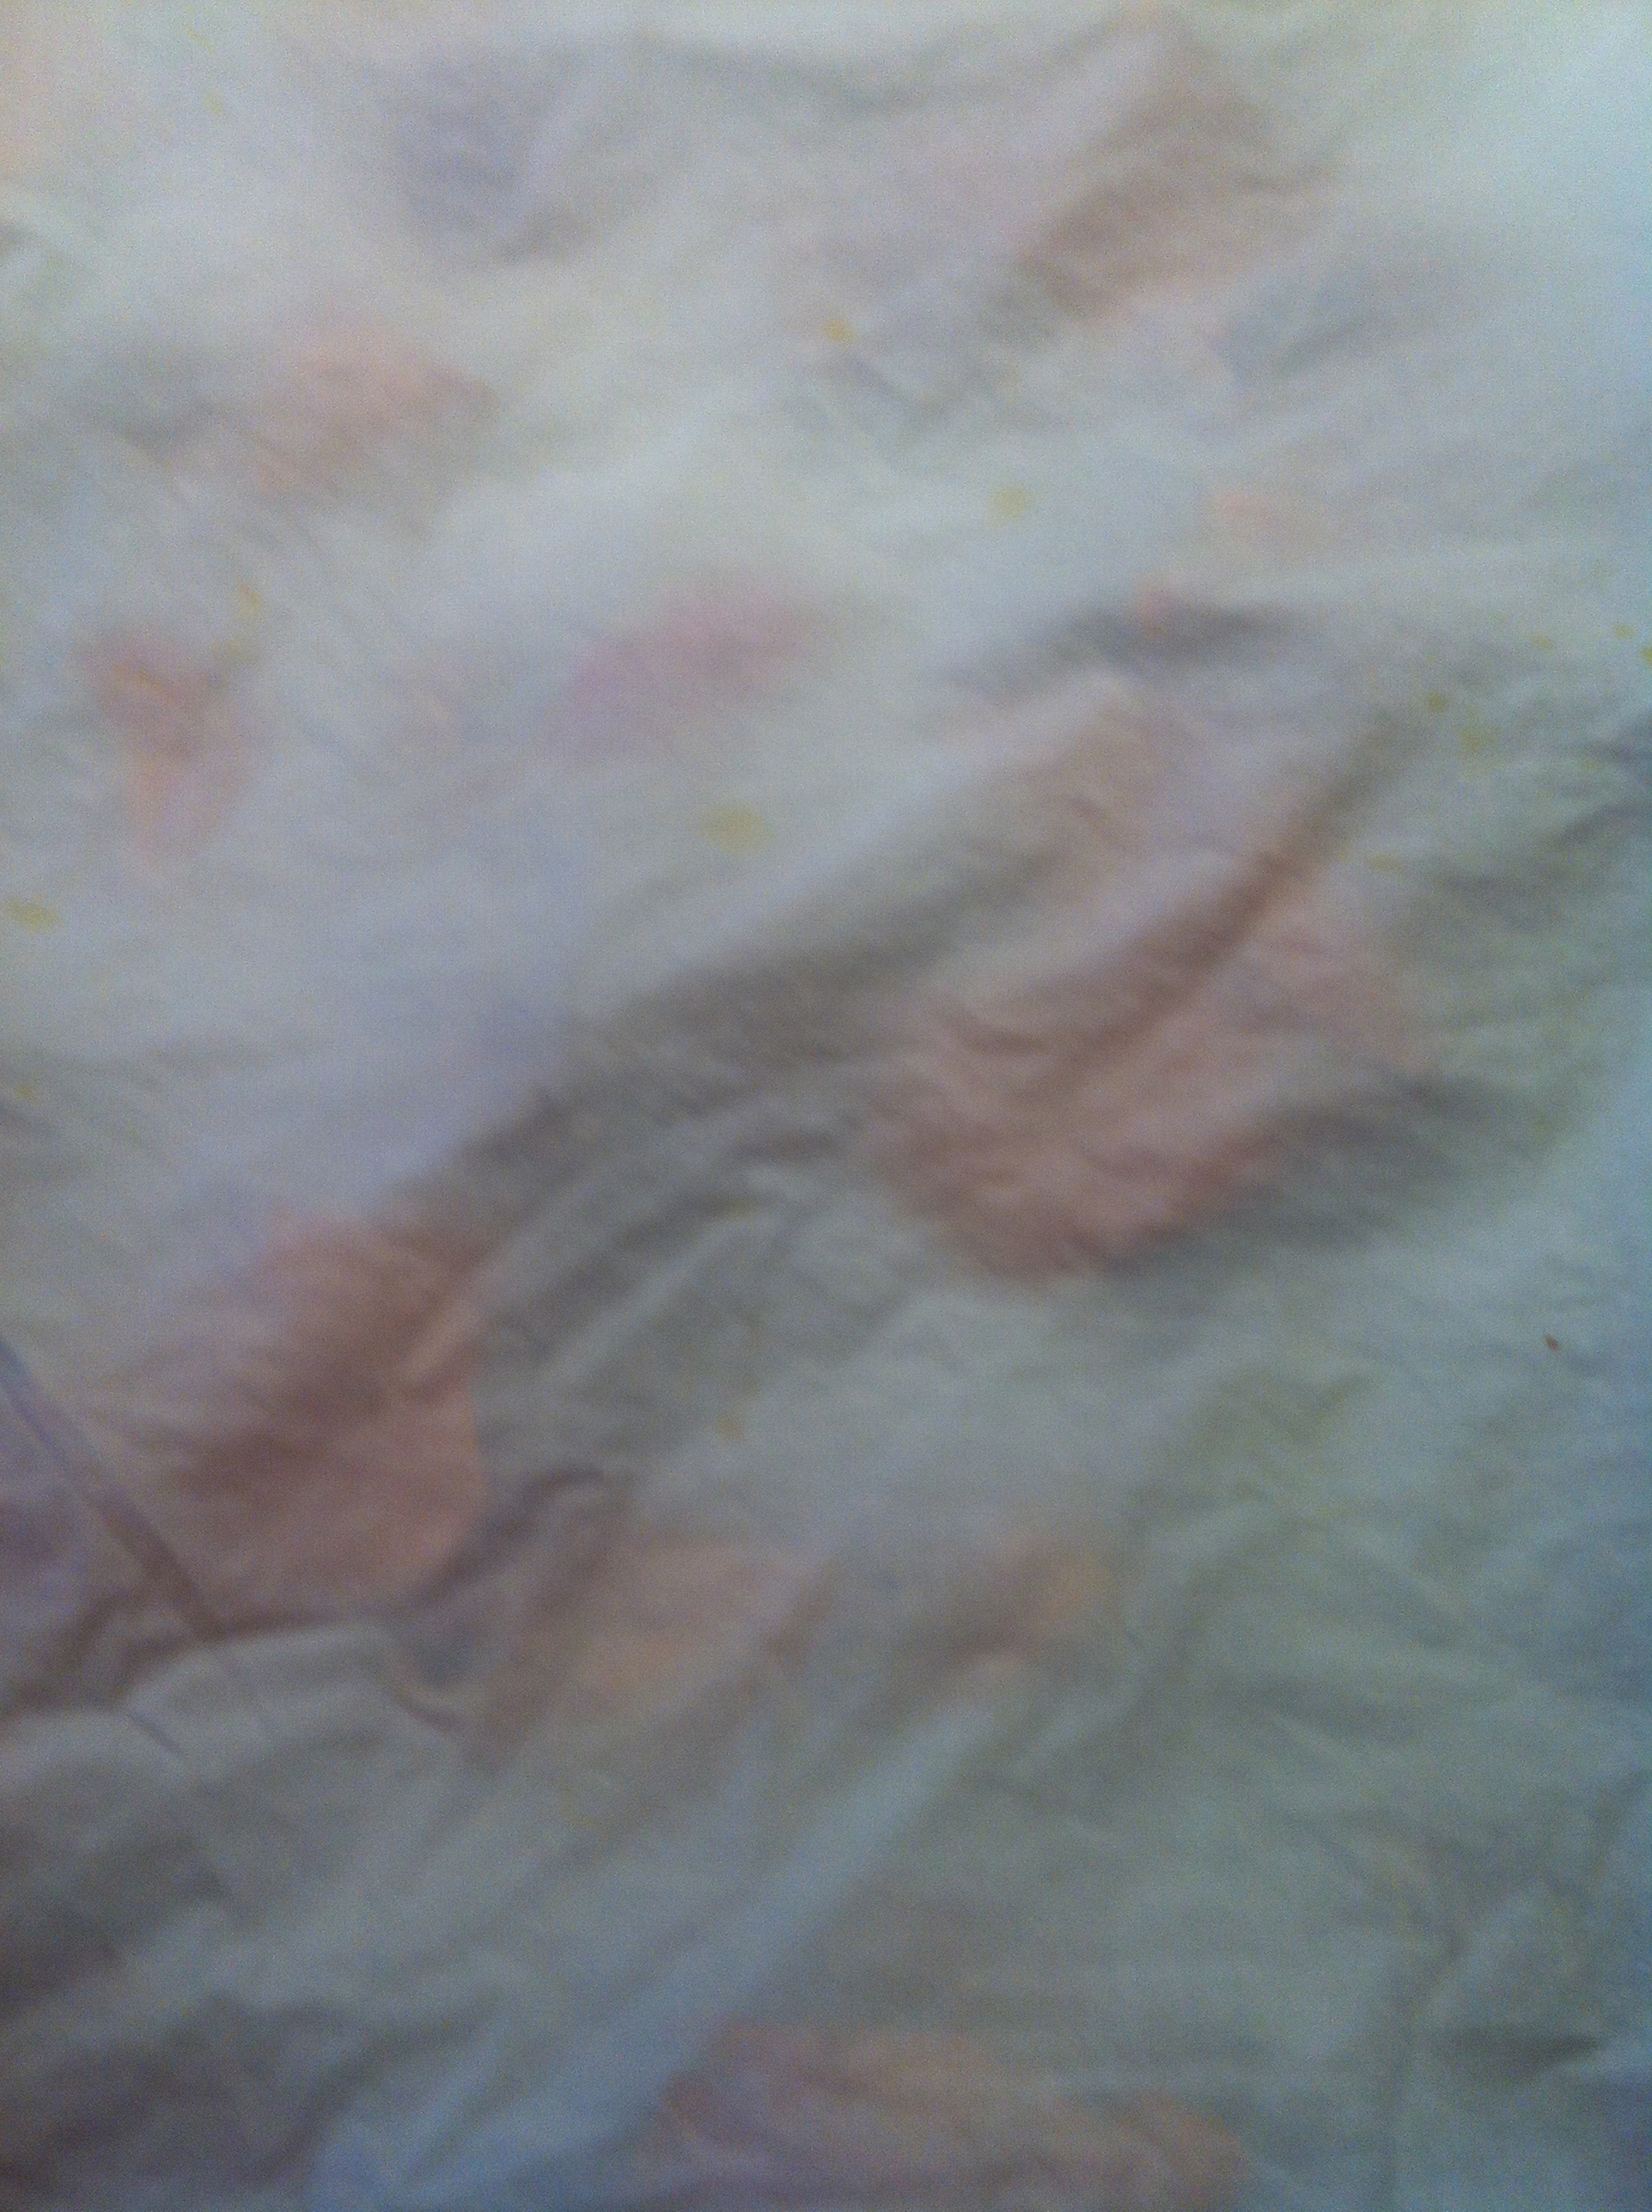
7.Starting to roll along the long length from the open edges. This allows the fold to be filled with material as it shifts under pressure, meaning no empty strip down the centre! Note colour emerging more now.
8.The whole sheet rolled up.
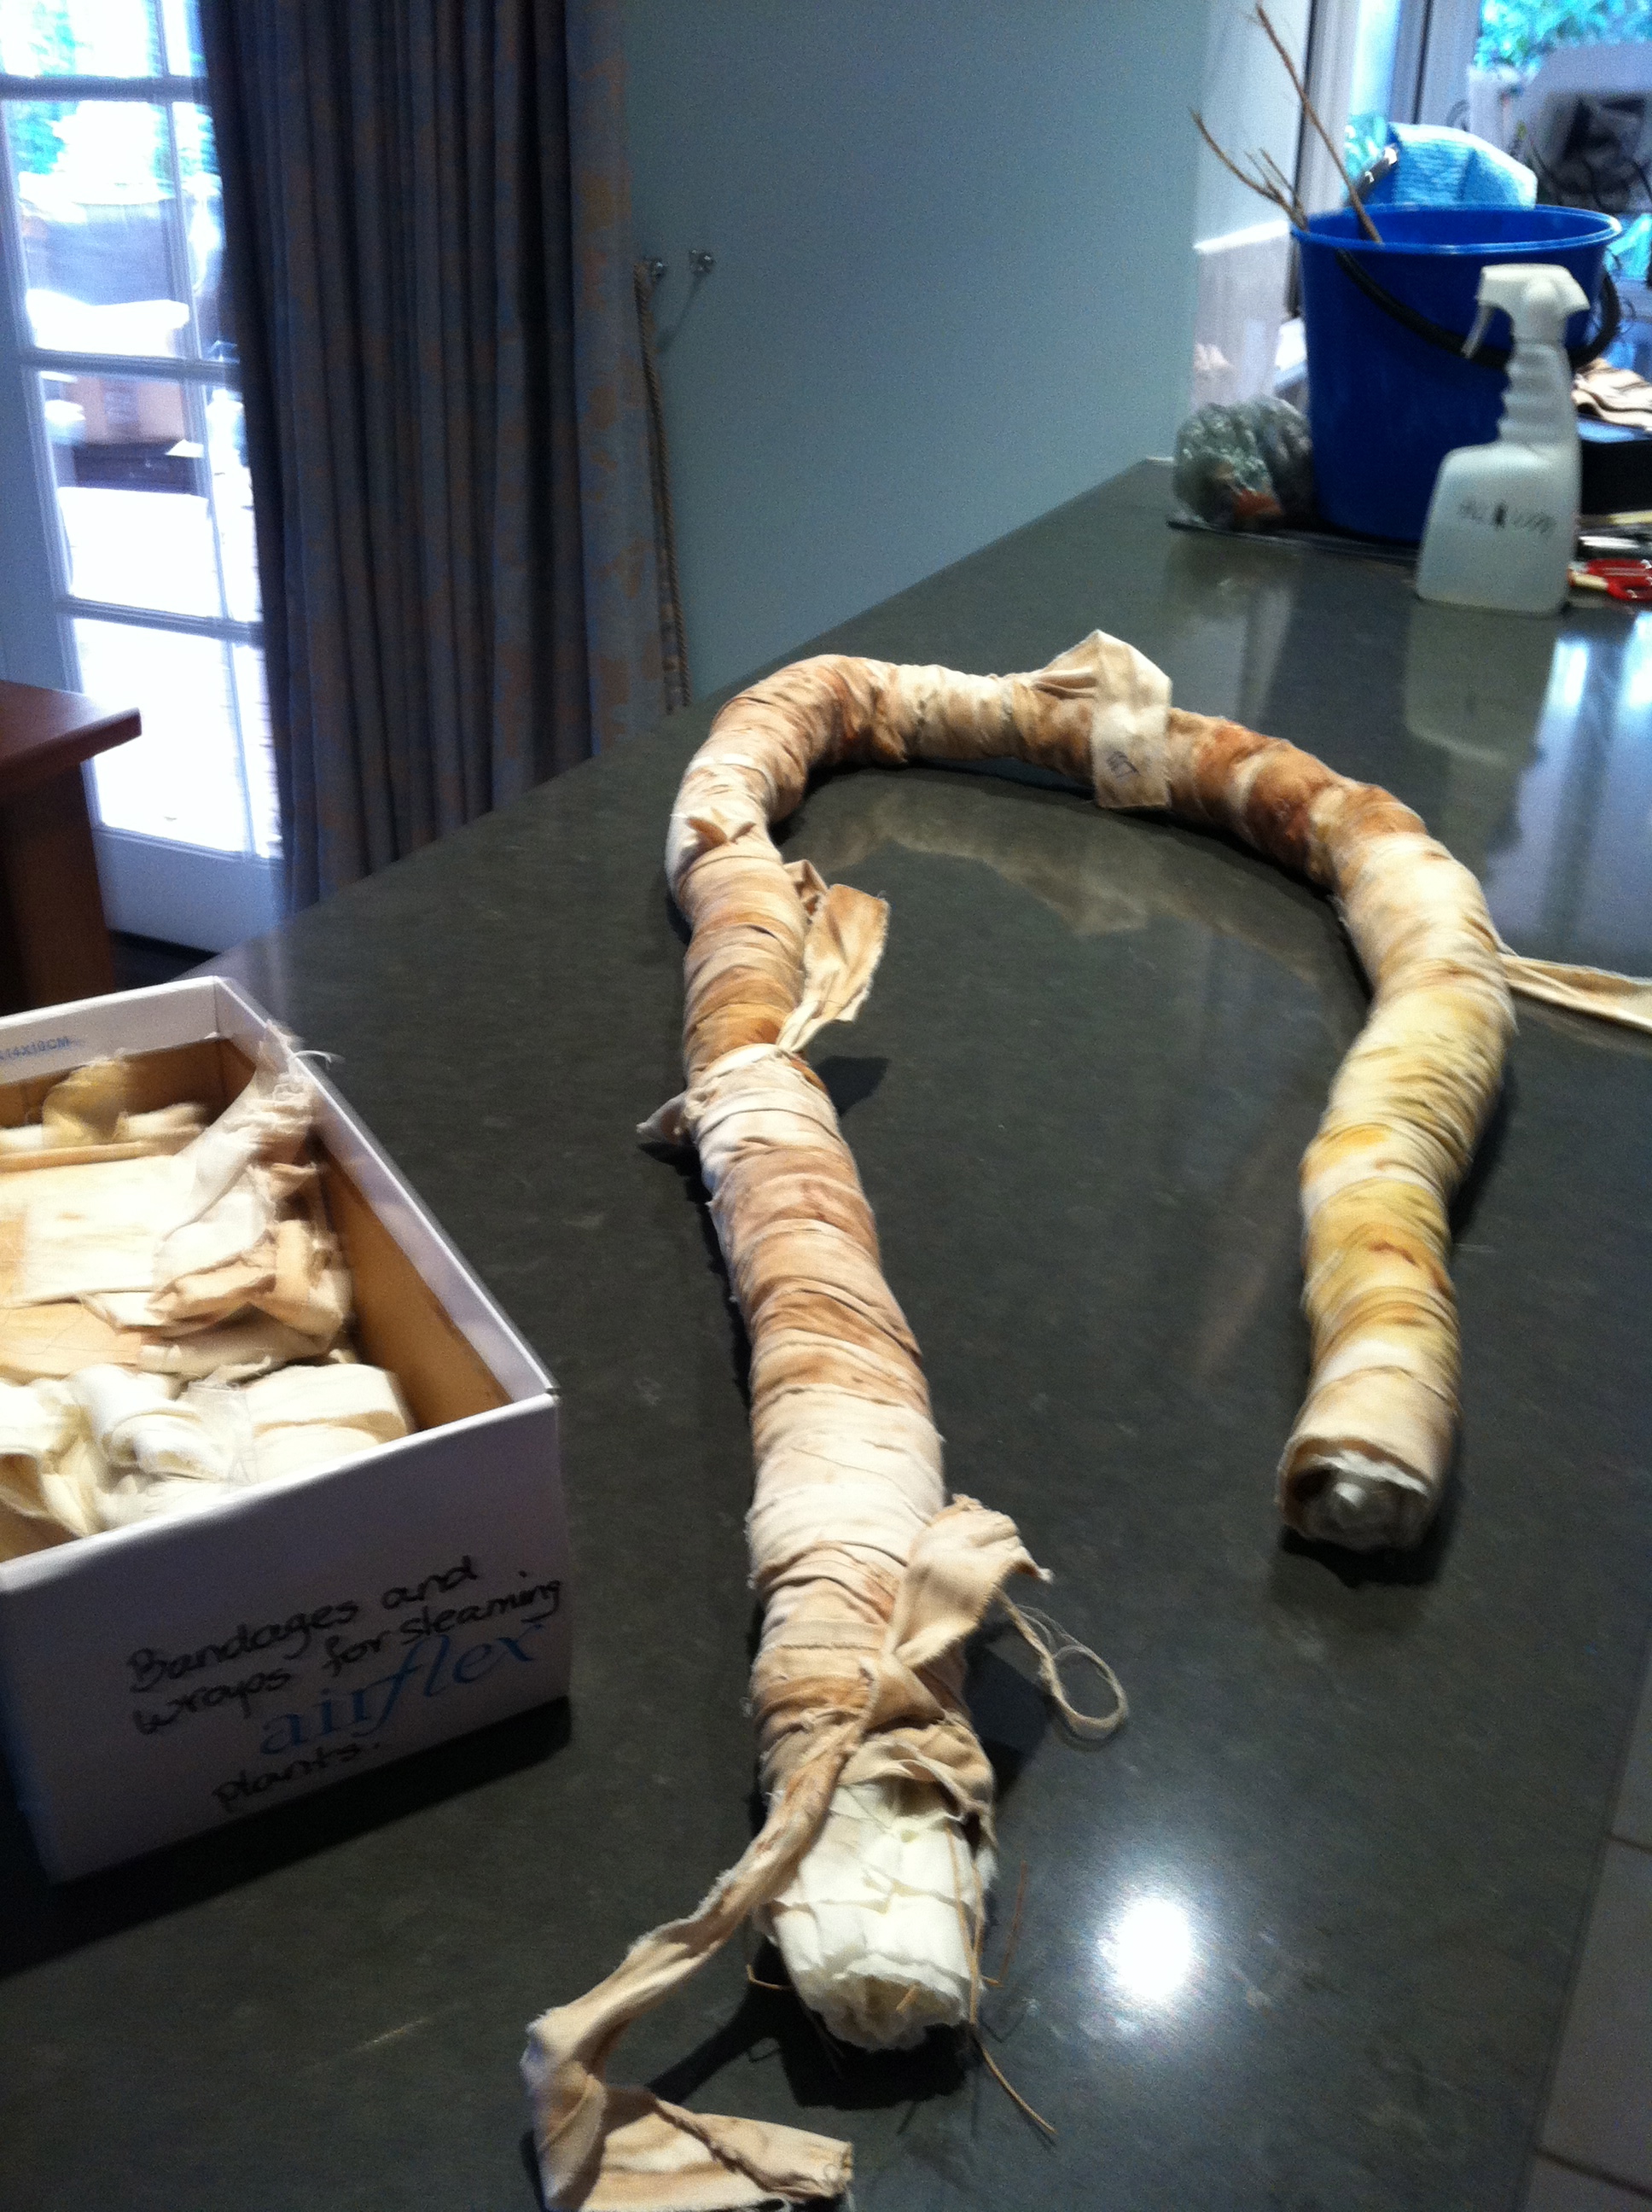
9.The whole sheeet is now tied as tightly as possible with “bandages” of cotton strips which have been used in this way before, hence their gorgeous colours!
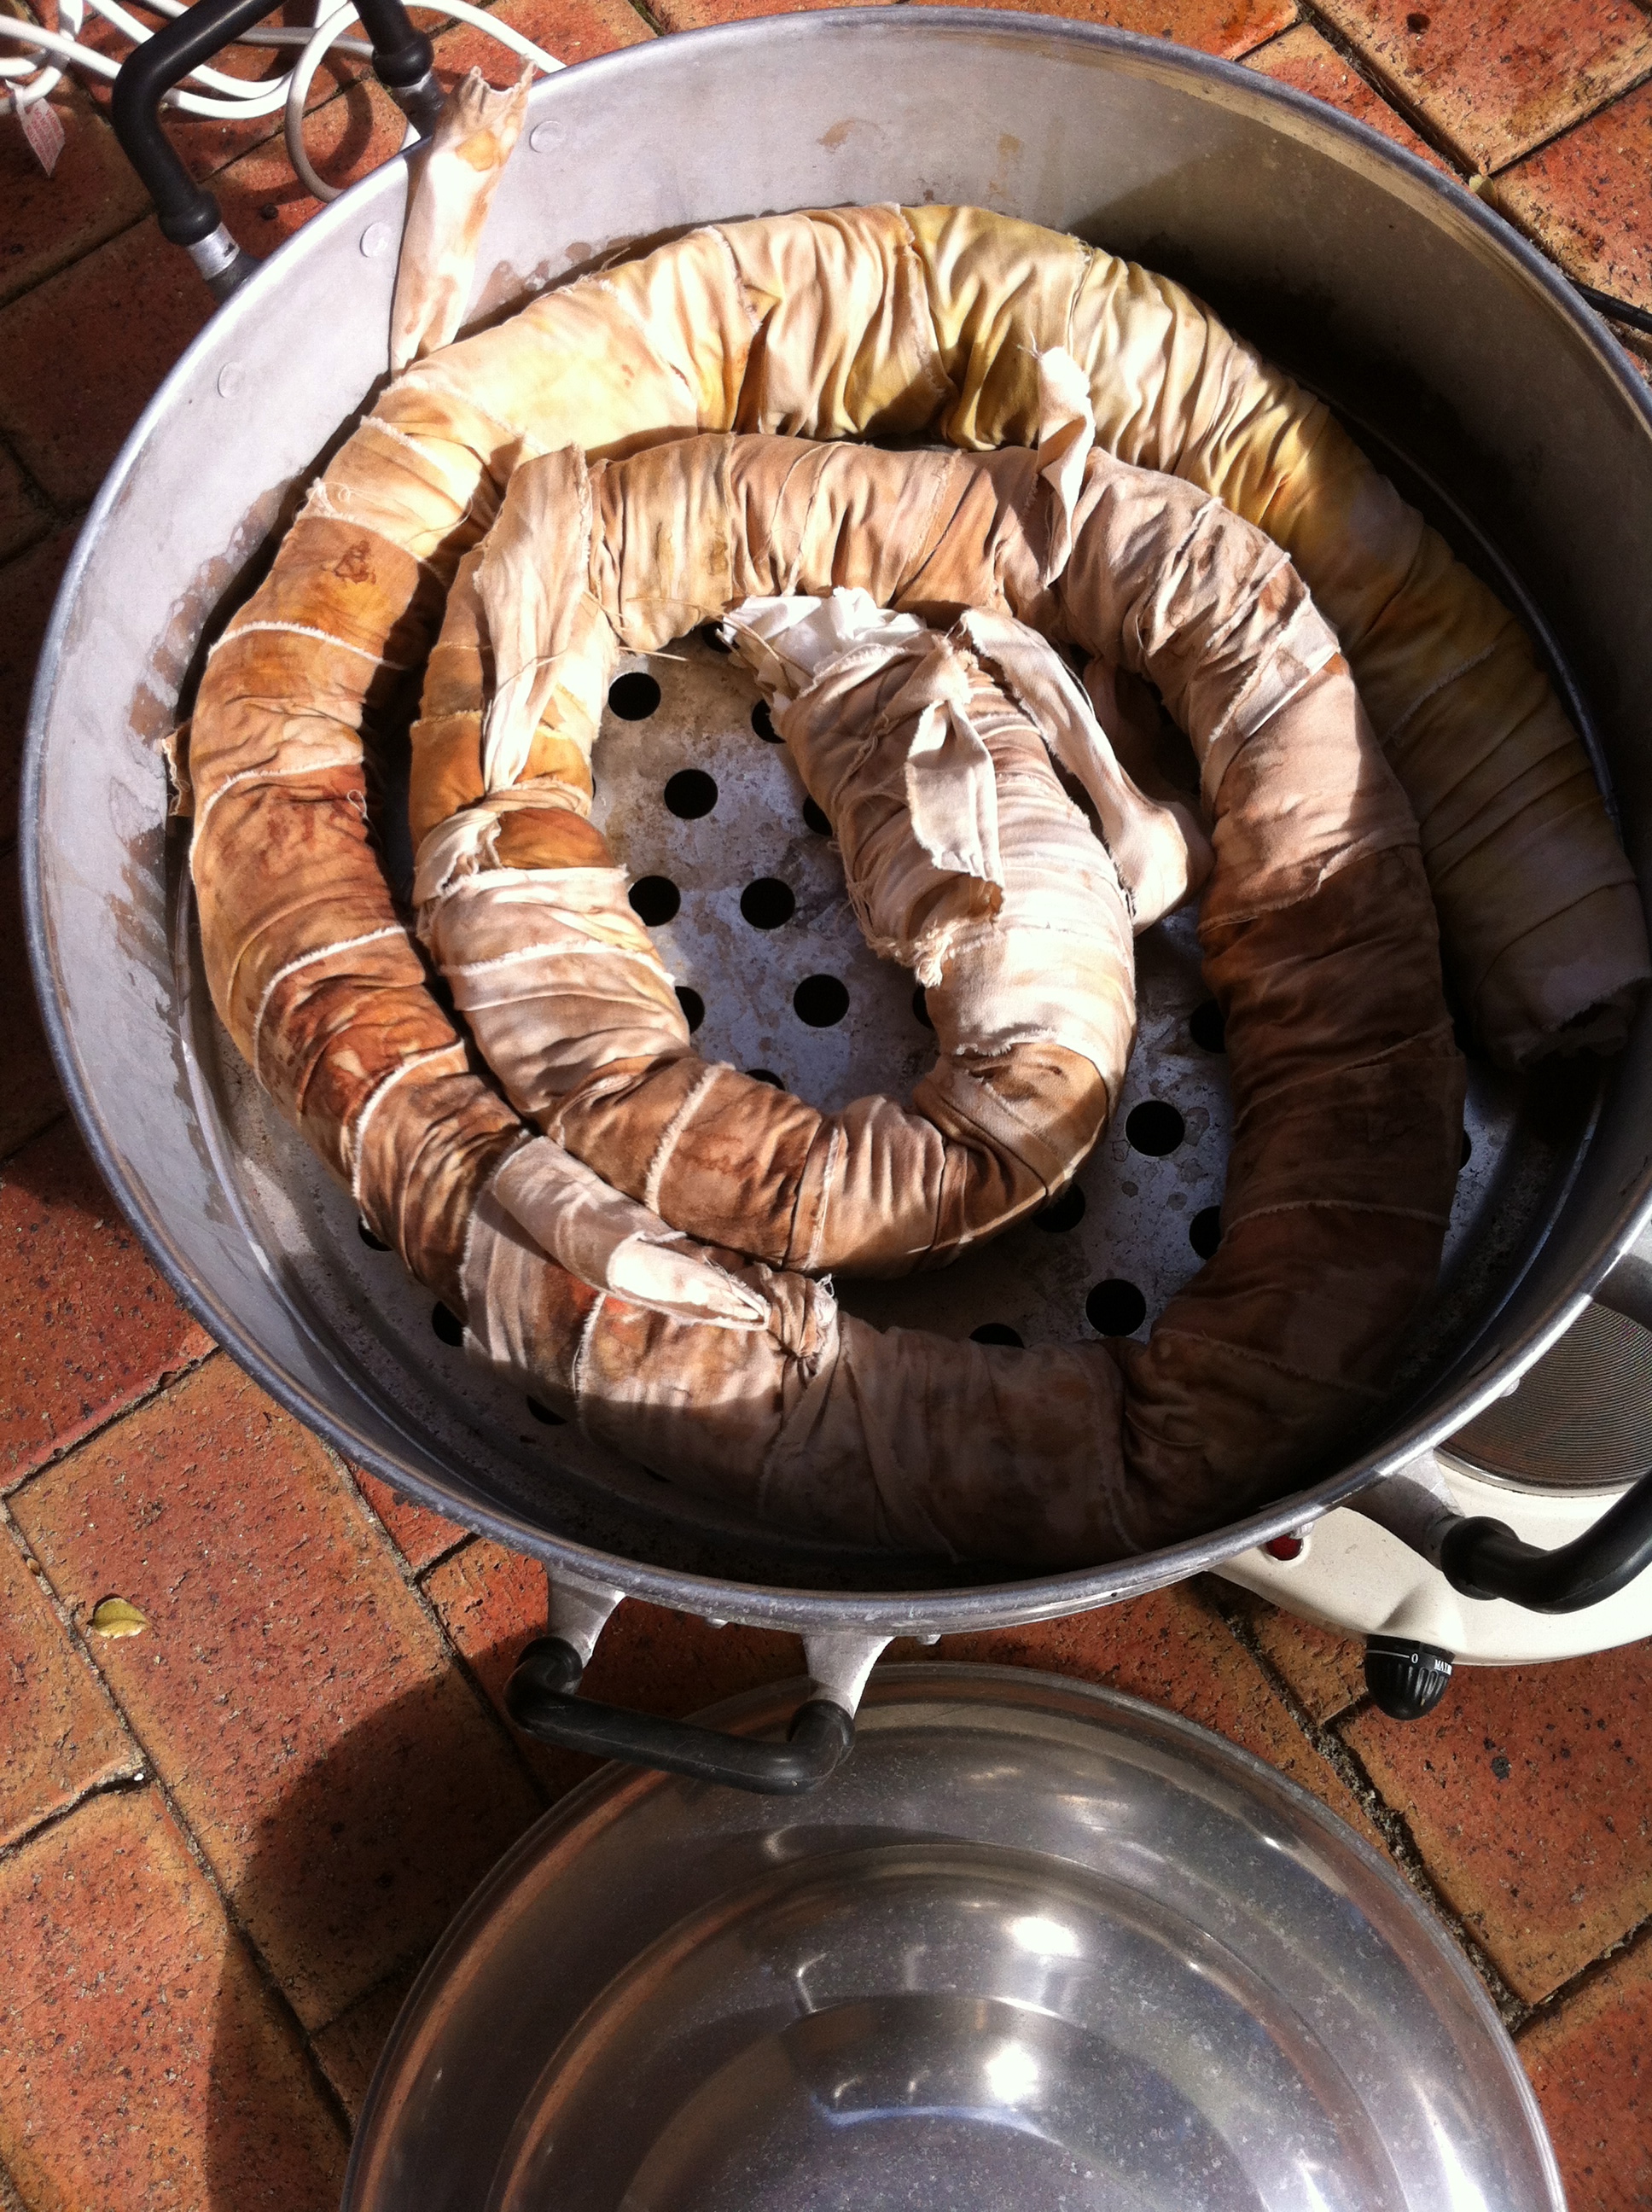
10.The coiled and bandaged sheet is put into the steamer over a hotplate for several hours (with the lid on of course).
I’ve just put a large piece of cotton sheeting into the steamer to cook.
I’ve done it because I need a backing for my Mysterium piece. Here are the progress shots as I set it all up. You’ll have to wait until the next post to see if it works!
So glad I’ve got a biggish stone kitchen bench!

You must post the final piece once it has finished steaming!