
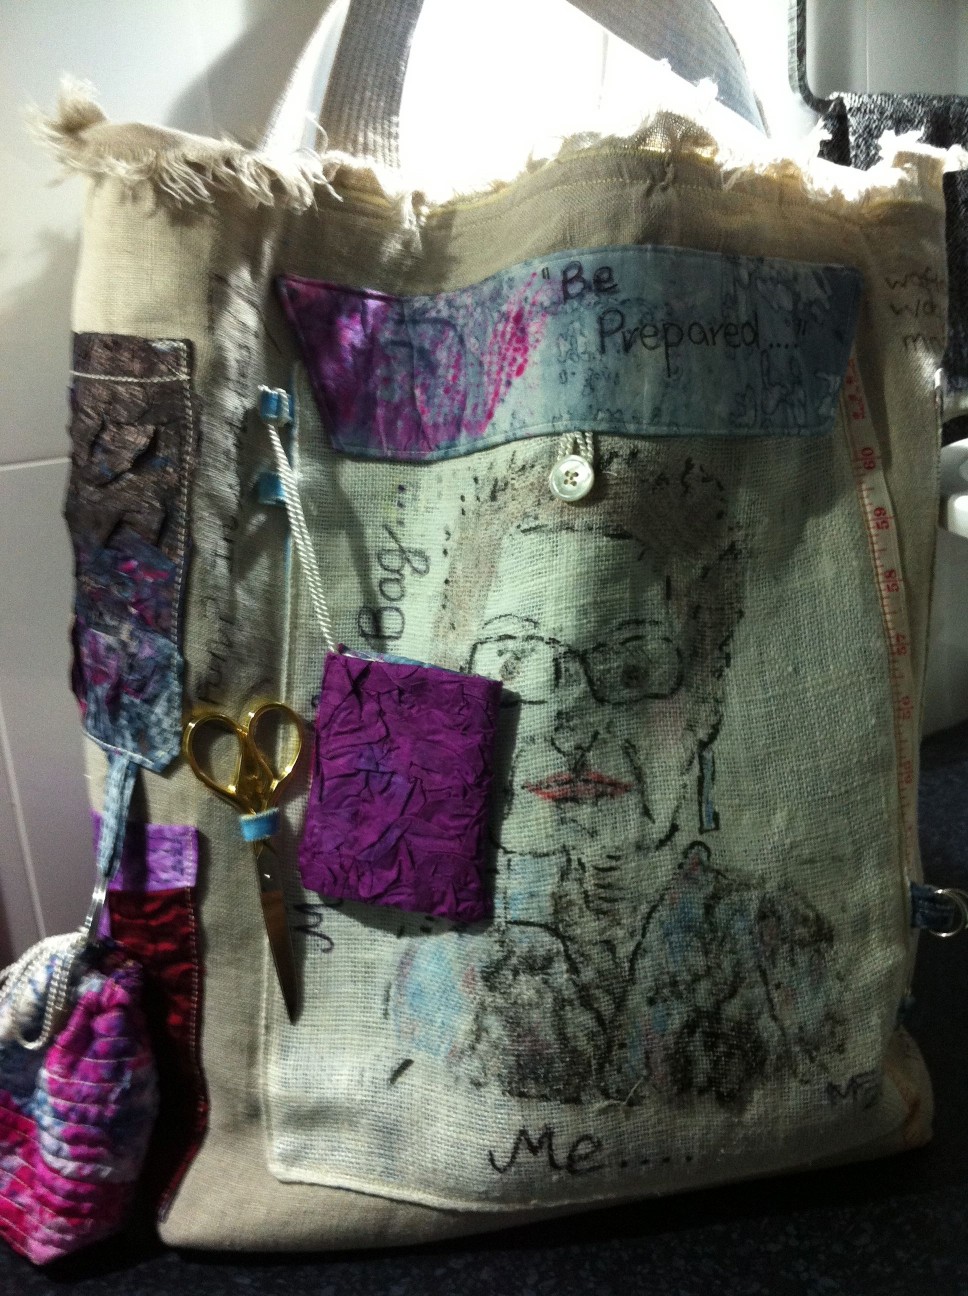
Front showing self portrait, large pocket and small bags and attachment places.
I seem always to be packing for a workshop from a large “requirements list” that includes staple supplies like sewing thread, knitting needles, bobbins and scissors as well as more specific resources like ribbon, organza, specialty yarns and carbon paper.
In my “bag-making ” mode for the May 2013 Perth Craft and Quilt Show bag display by WAFTA, I decided to try a design for a “project bag”. This would be large and I wanted to use all my scraps of canvas and silk that had been printed using deconstructed screen printing techniques. I also wanted to use various fabric manipulation techniques so that the bag would offer me a ready reference for these as I designed a new project.
Because I like text, I thought it would be good to write instructions for every day tasks on it. So i added the formula for drafting half square triangles and the instructions for shaping a crocheted leaf. The conversion table for the weight of silk to mommes was also a “must”.
The bag was to have specific places for specific tools (like a tape measure, knitting needles, ruler and scissors. It also needed some more general pockets for the plethora of other things we take to workshops, like unpicker, pins, machine and hand needles, rulers, carbon paper, patterns, buttons, embroidery thread, heat gun, glue gun, soldering iron, etc. On the inside, one needs a place for lunch, purse, mobile phone, keys to the building (I seem to b e the key holder a lot), etc.
The end result is a bag with a vast interior for actual fabrics and interfacings (including soluble fabrics), paper etc, plus lots of pockets and bags in which to put notebooks, buttons, trims, bobbins, threads, crochet hooks, thimbles, measuring tapes, beads, stencils, ink bottles, crayons and pencils, etc.
Here is the final:
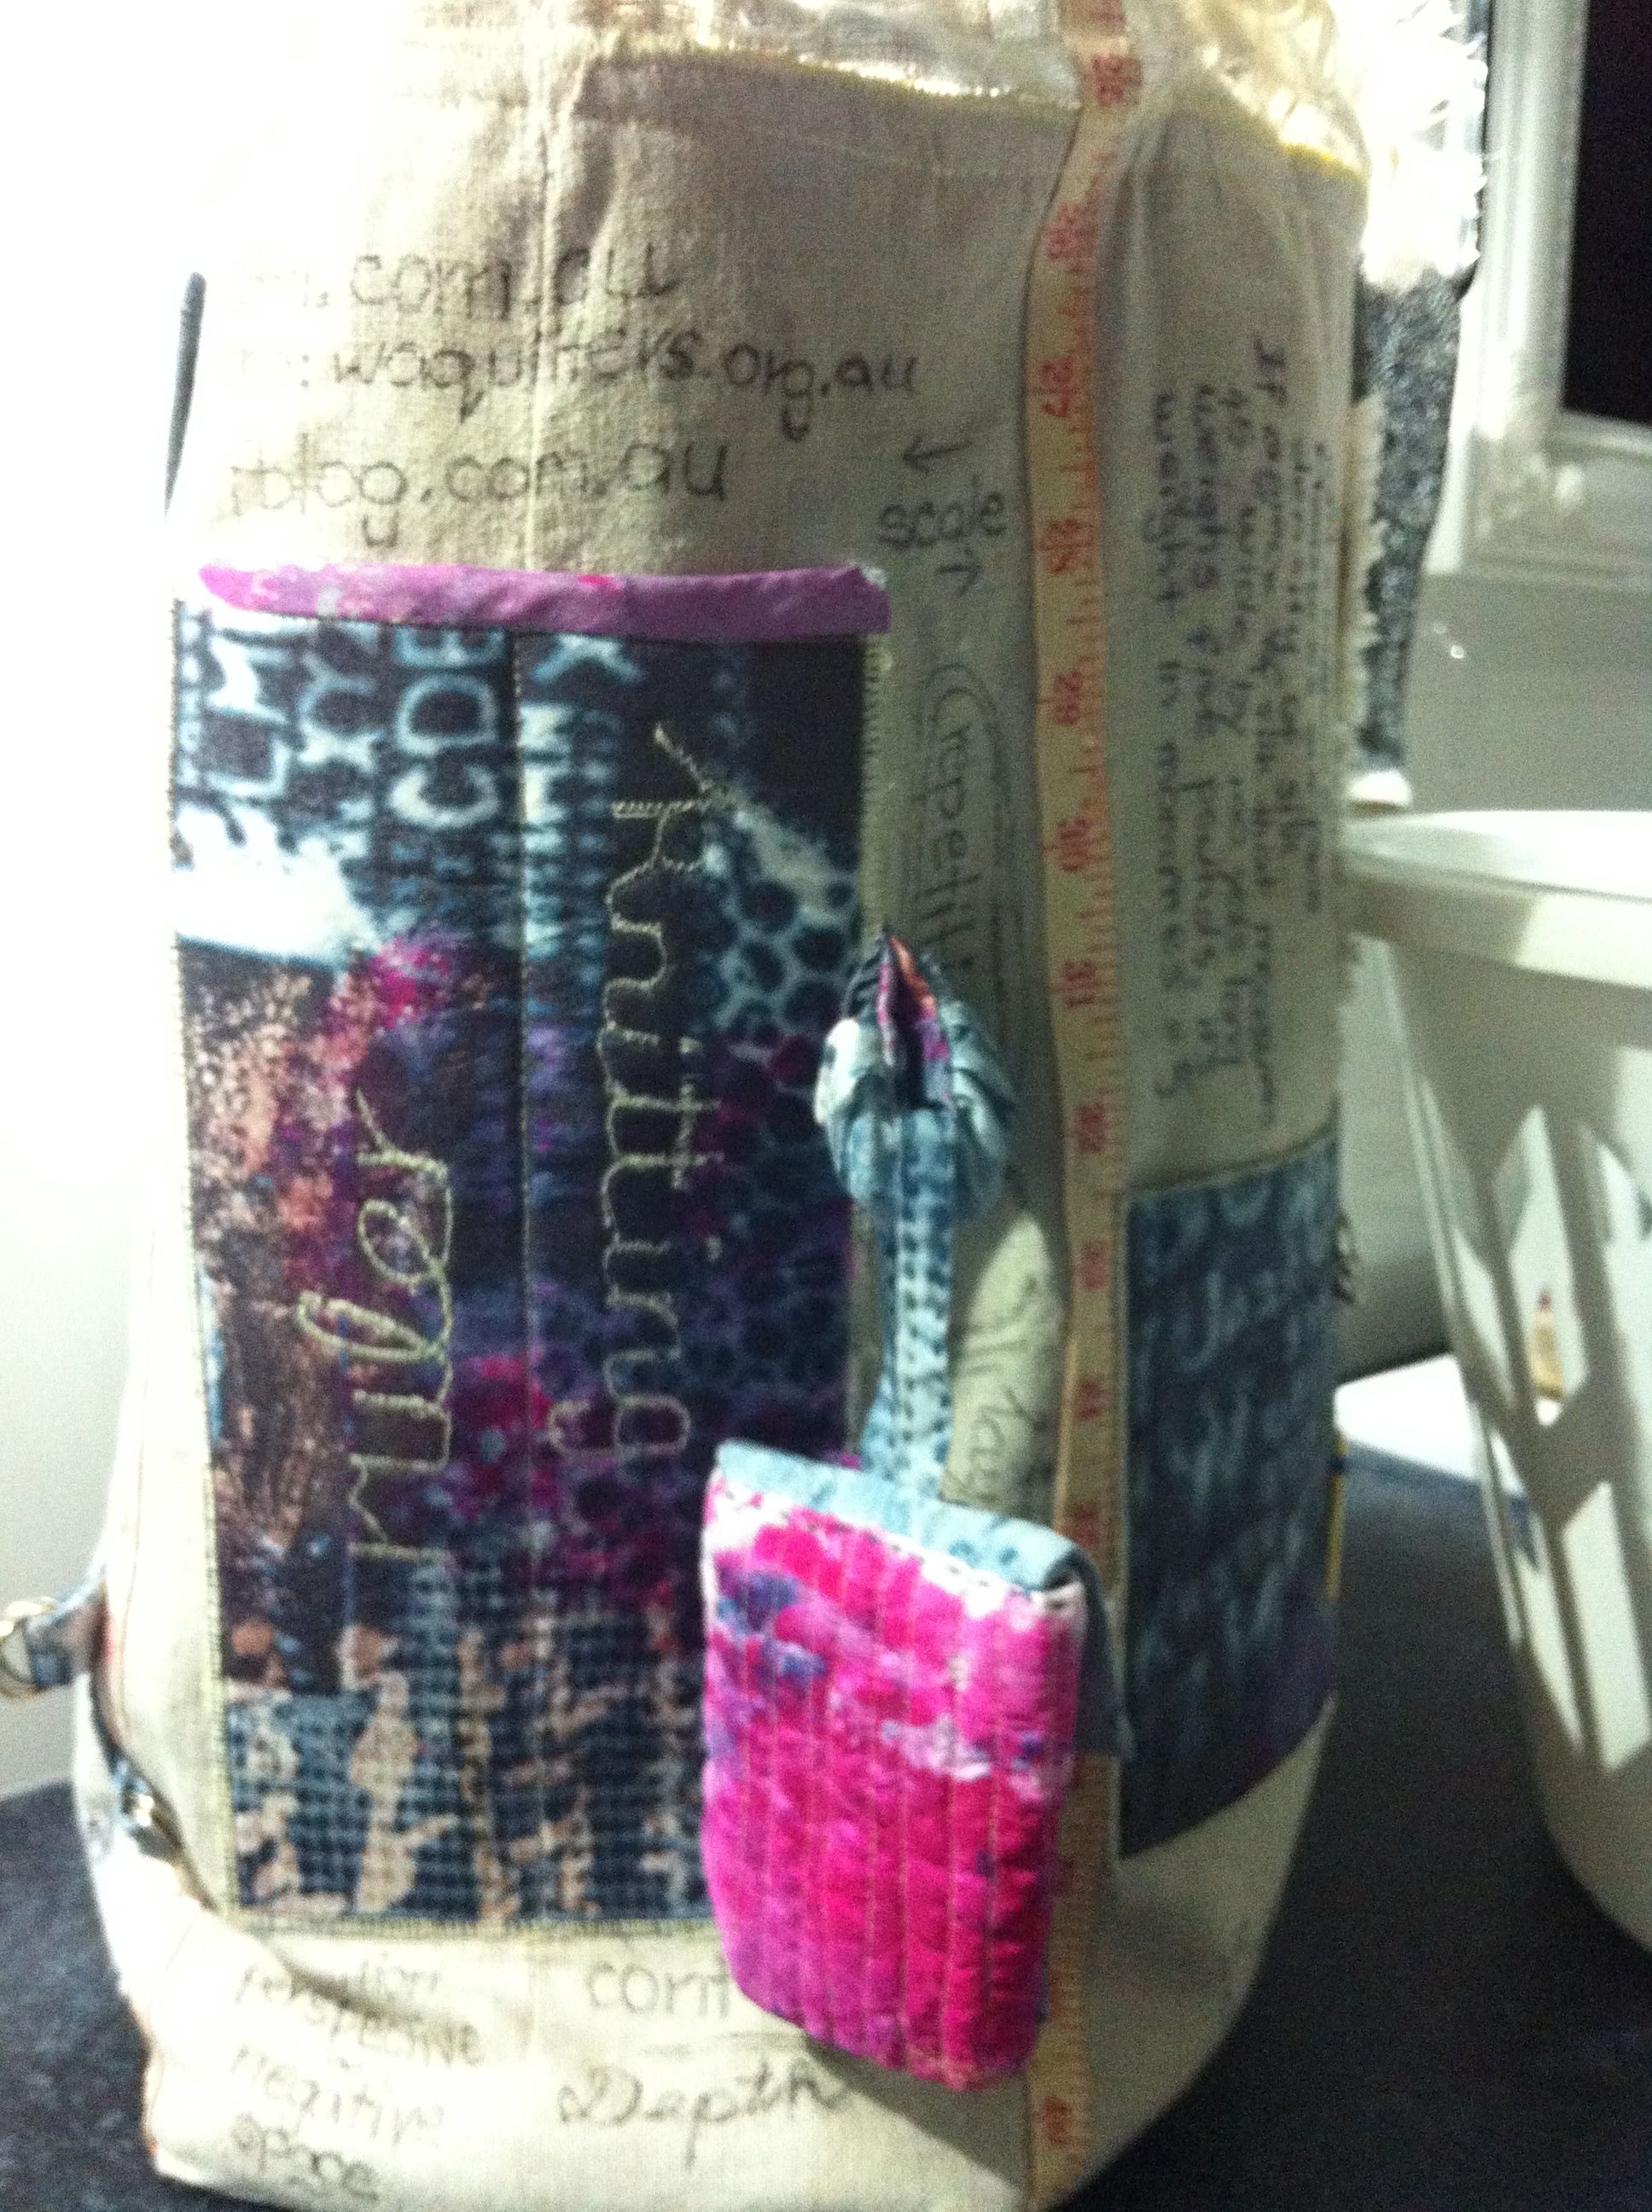
Side showing long vertical pockets for knitting needles and a ruler plus a small bag for thimbles and seam ripper.
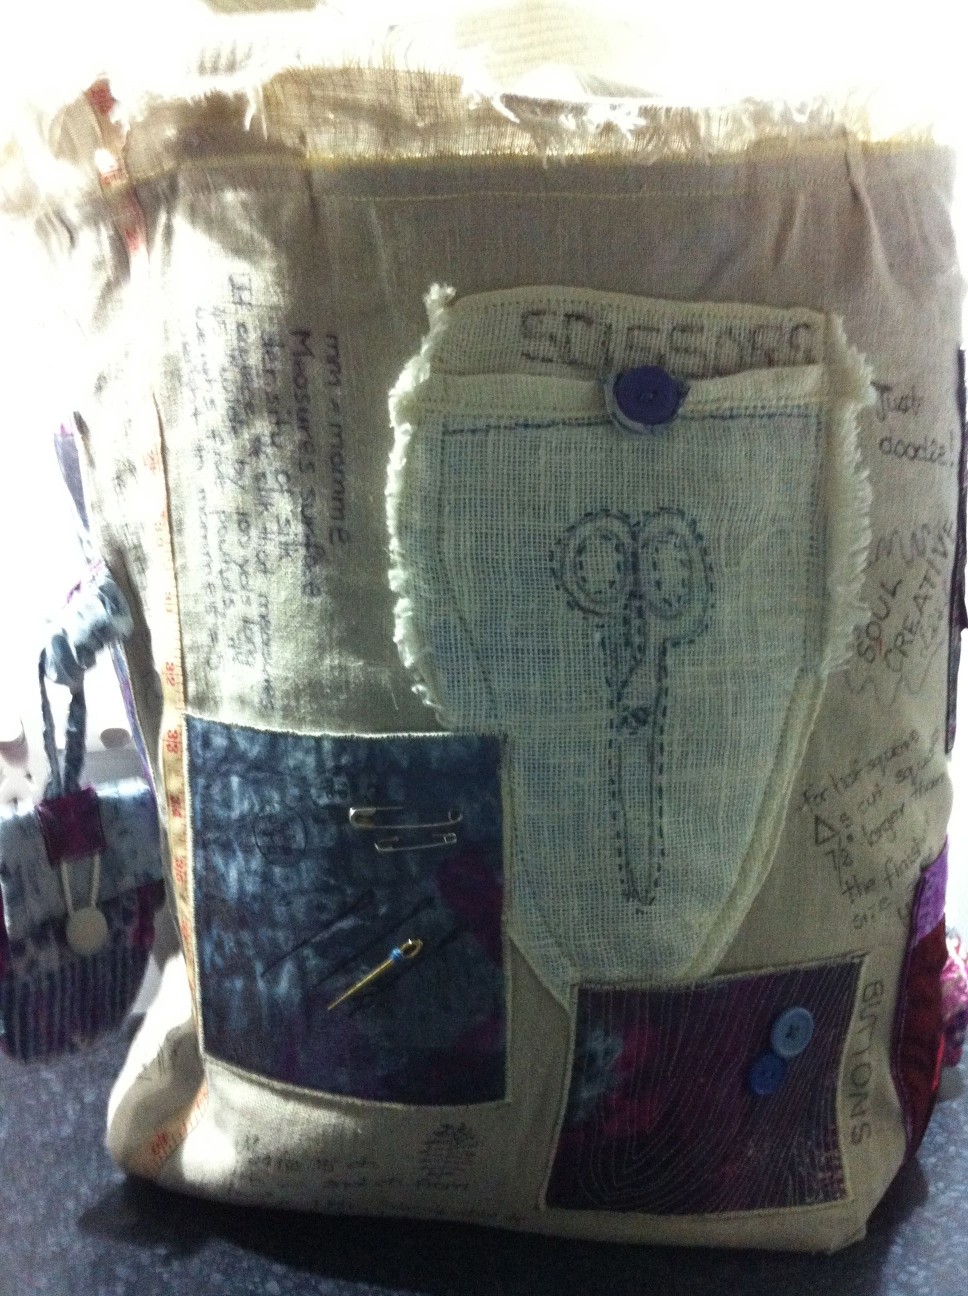
Non-specific pockets for packets of pins, buttons, bobbins etc plus a capacious one for the all important scissors!
