I went last night to the live auction of the Salvage/Selvedge quilts. http://stargazey.com/salvagecatalogue/live-auction.html
When I went to the opening of the Salvage/Selvedge exhibition on 16 May I was stunned by how gorgeous they were. They were all absolutely exhibition quality . Moreover, I’ve never seen the Moore’s Building Contemporary Art Gallery in Fremantle put to better use.
When you also know that the makers of these quilts had very restrictive design rules AND were given the boxes of fabric they had to work with (many containing non-traditional quilting fabrics like slippery satins) you really can see how talented these artists are.
There are many more beautiful quilts still available to bid on in the silent auction. Use the link above to see them.
That the quilts were all made for charity was just a bonus as far as I’m concerned although it was a delight to meet Di (Aunty Di) Roberts and her granddaughter, whose charity in support of the Ethiopian school concerned was to be the recipient of all the auction receipts.
I am proud to know a lot of the makers and of course, Jan Mullen, who co-ordinated and led the whole enterprise.
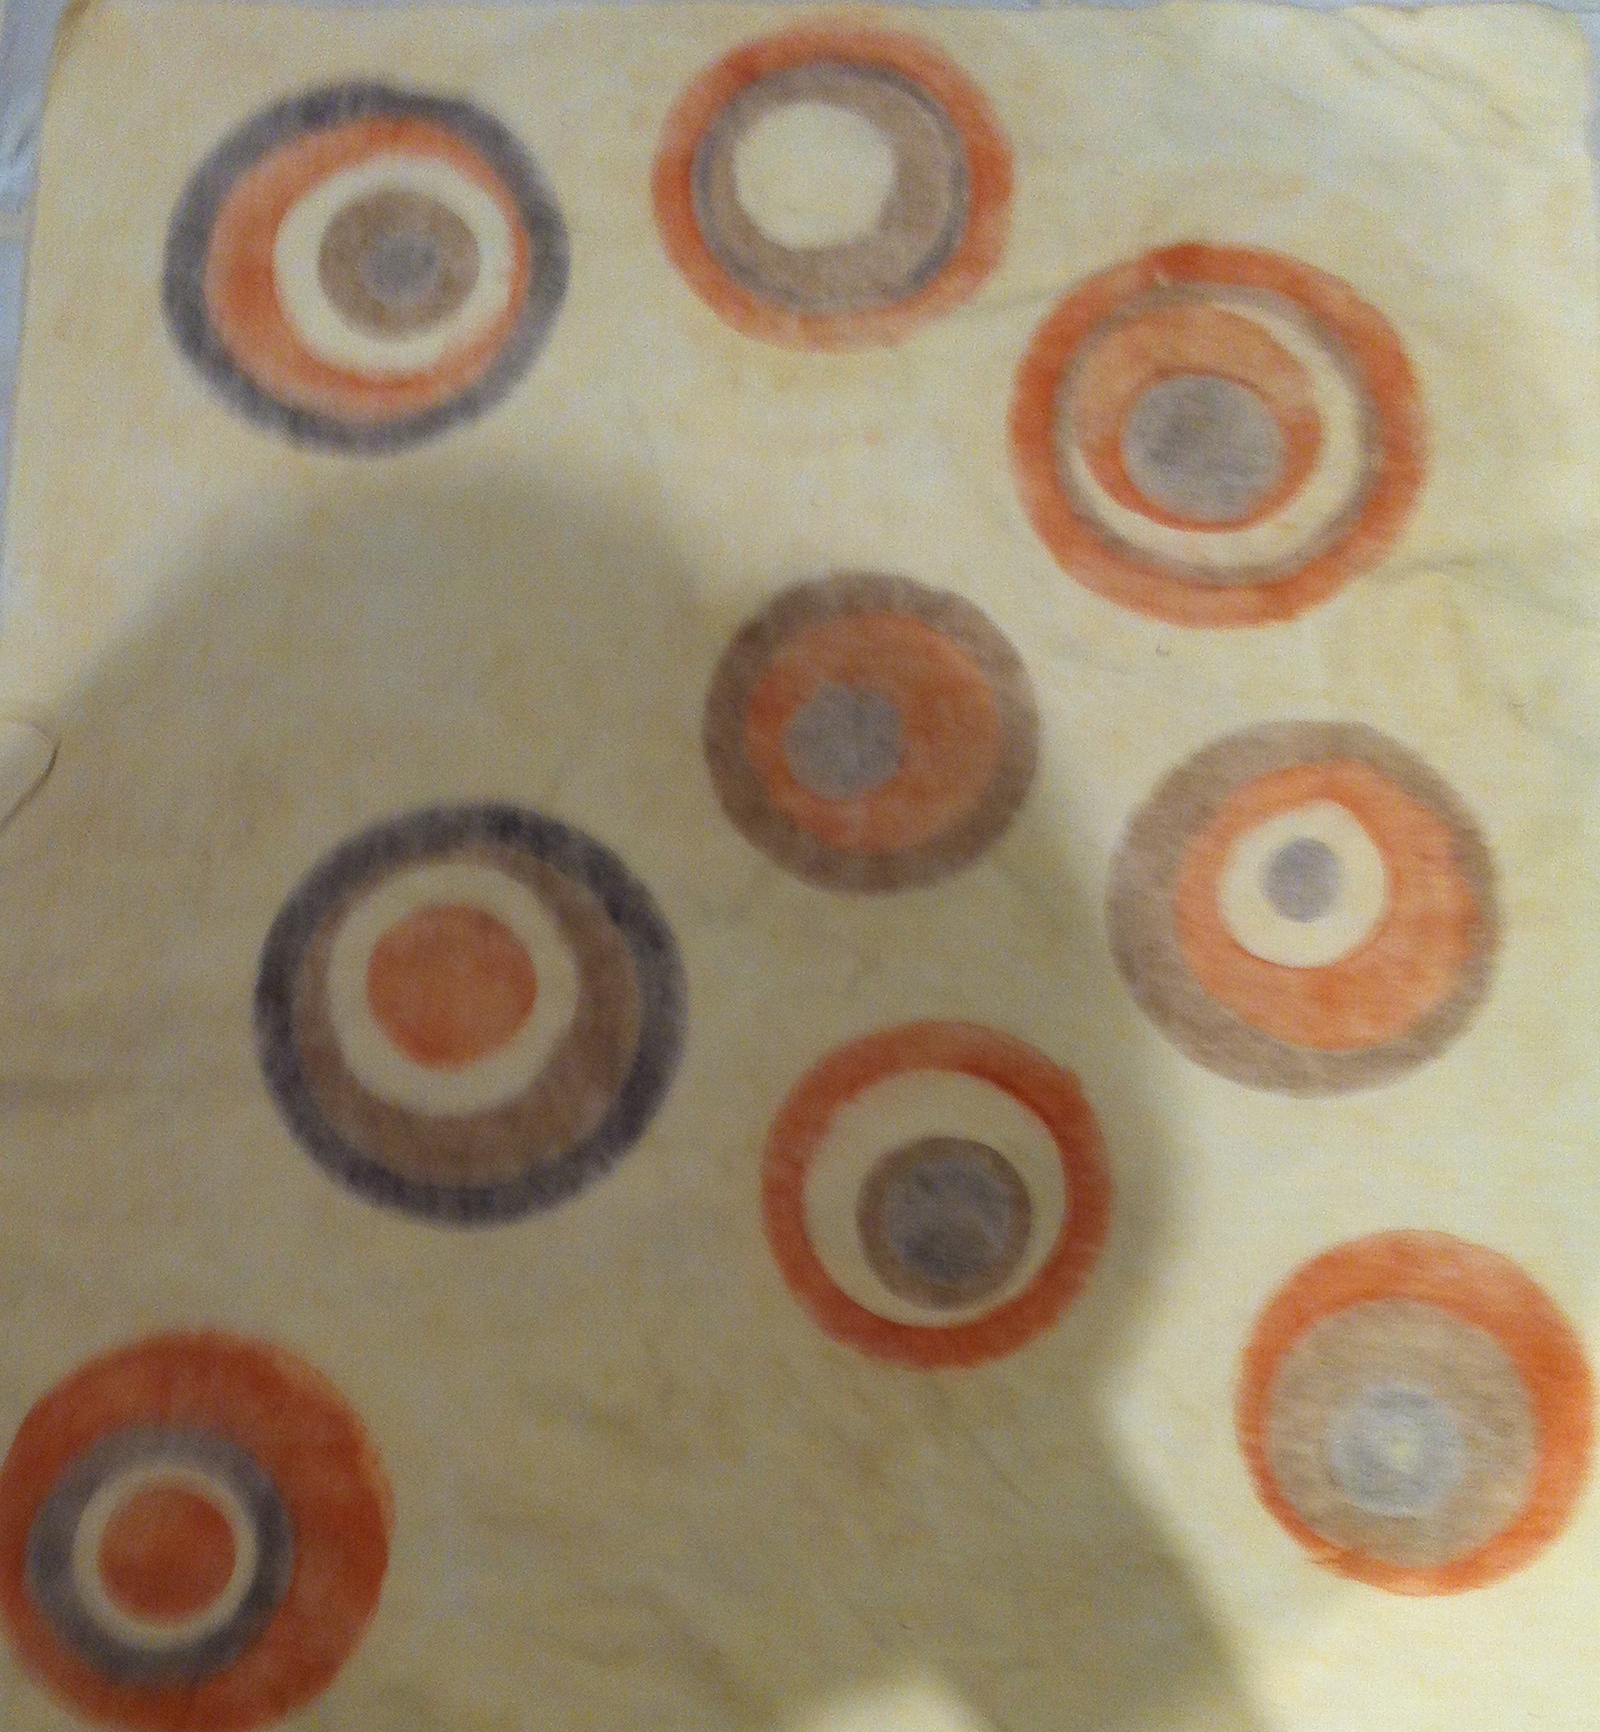
What’s all this leading to? Well, I went intending to try and secure Trish Davis’ quilt “Rubbing Shoulders” and I did! I also made the successful bid on a quilt I’d admired at the opening: “Klimpt’s Kiss” by Mignon Mitchell.
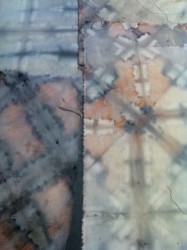
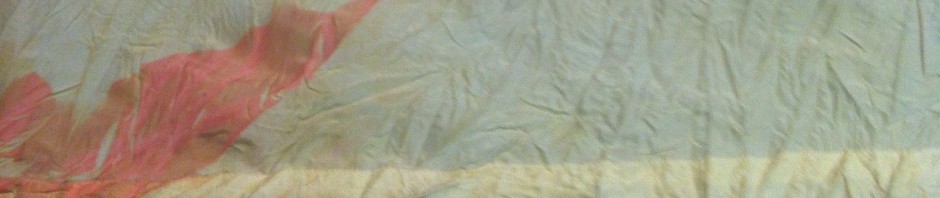
These aren’t the official pictures, just shots I took as I left the building a happy arts patron!

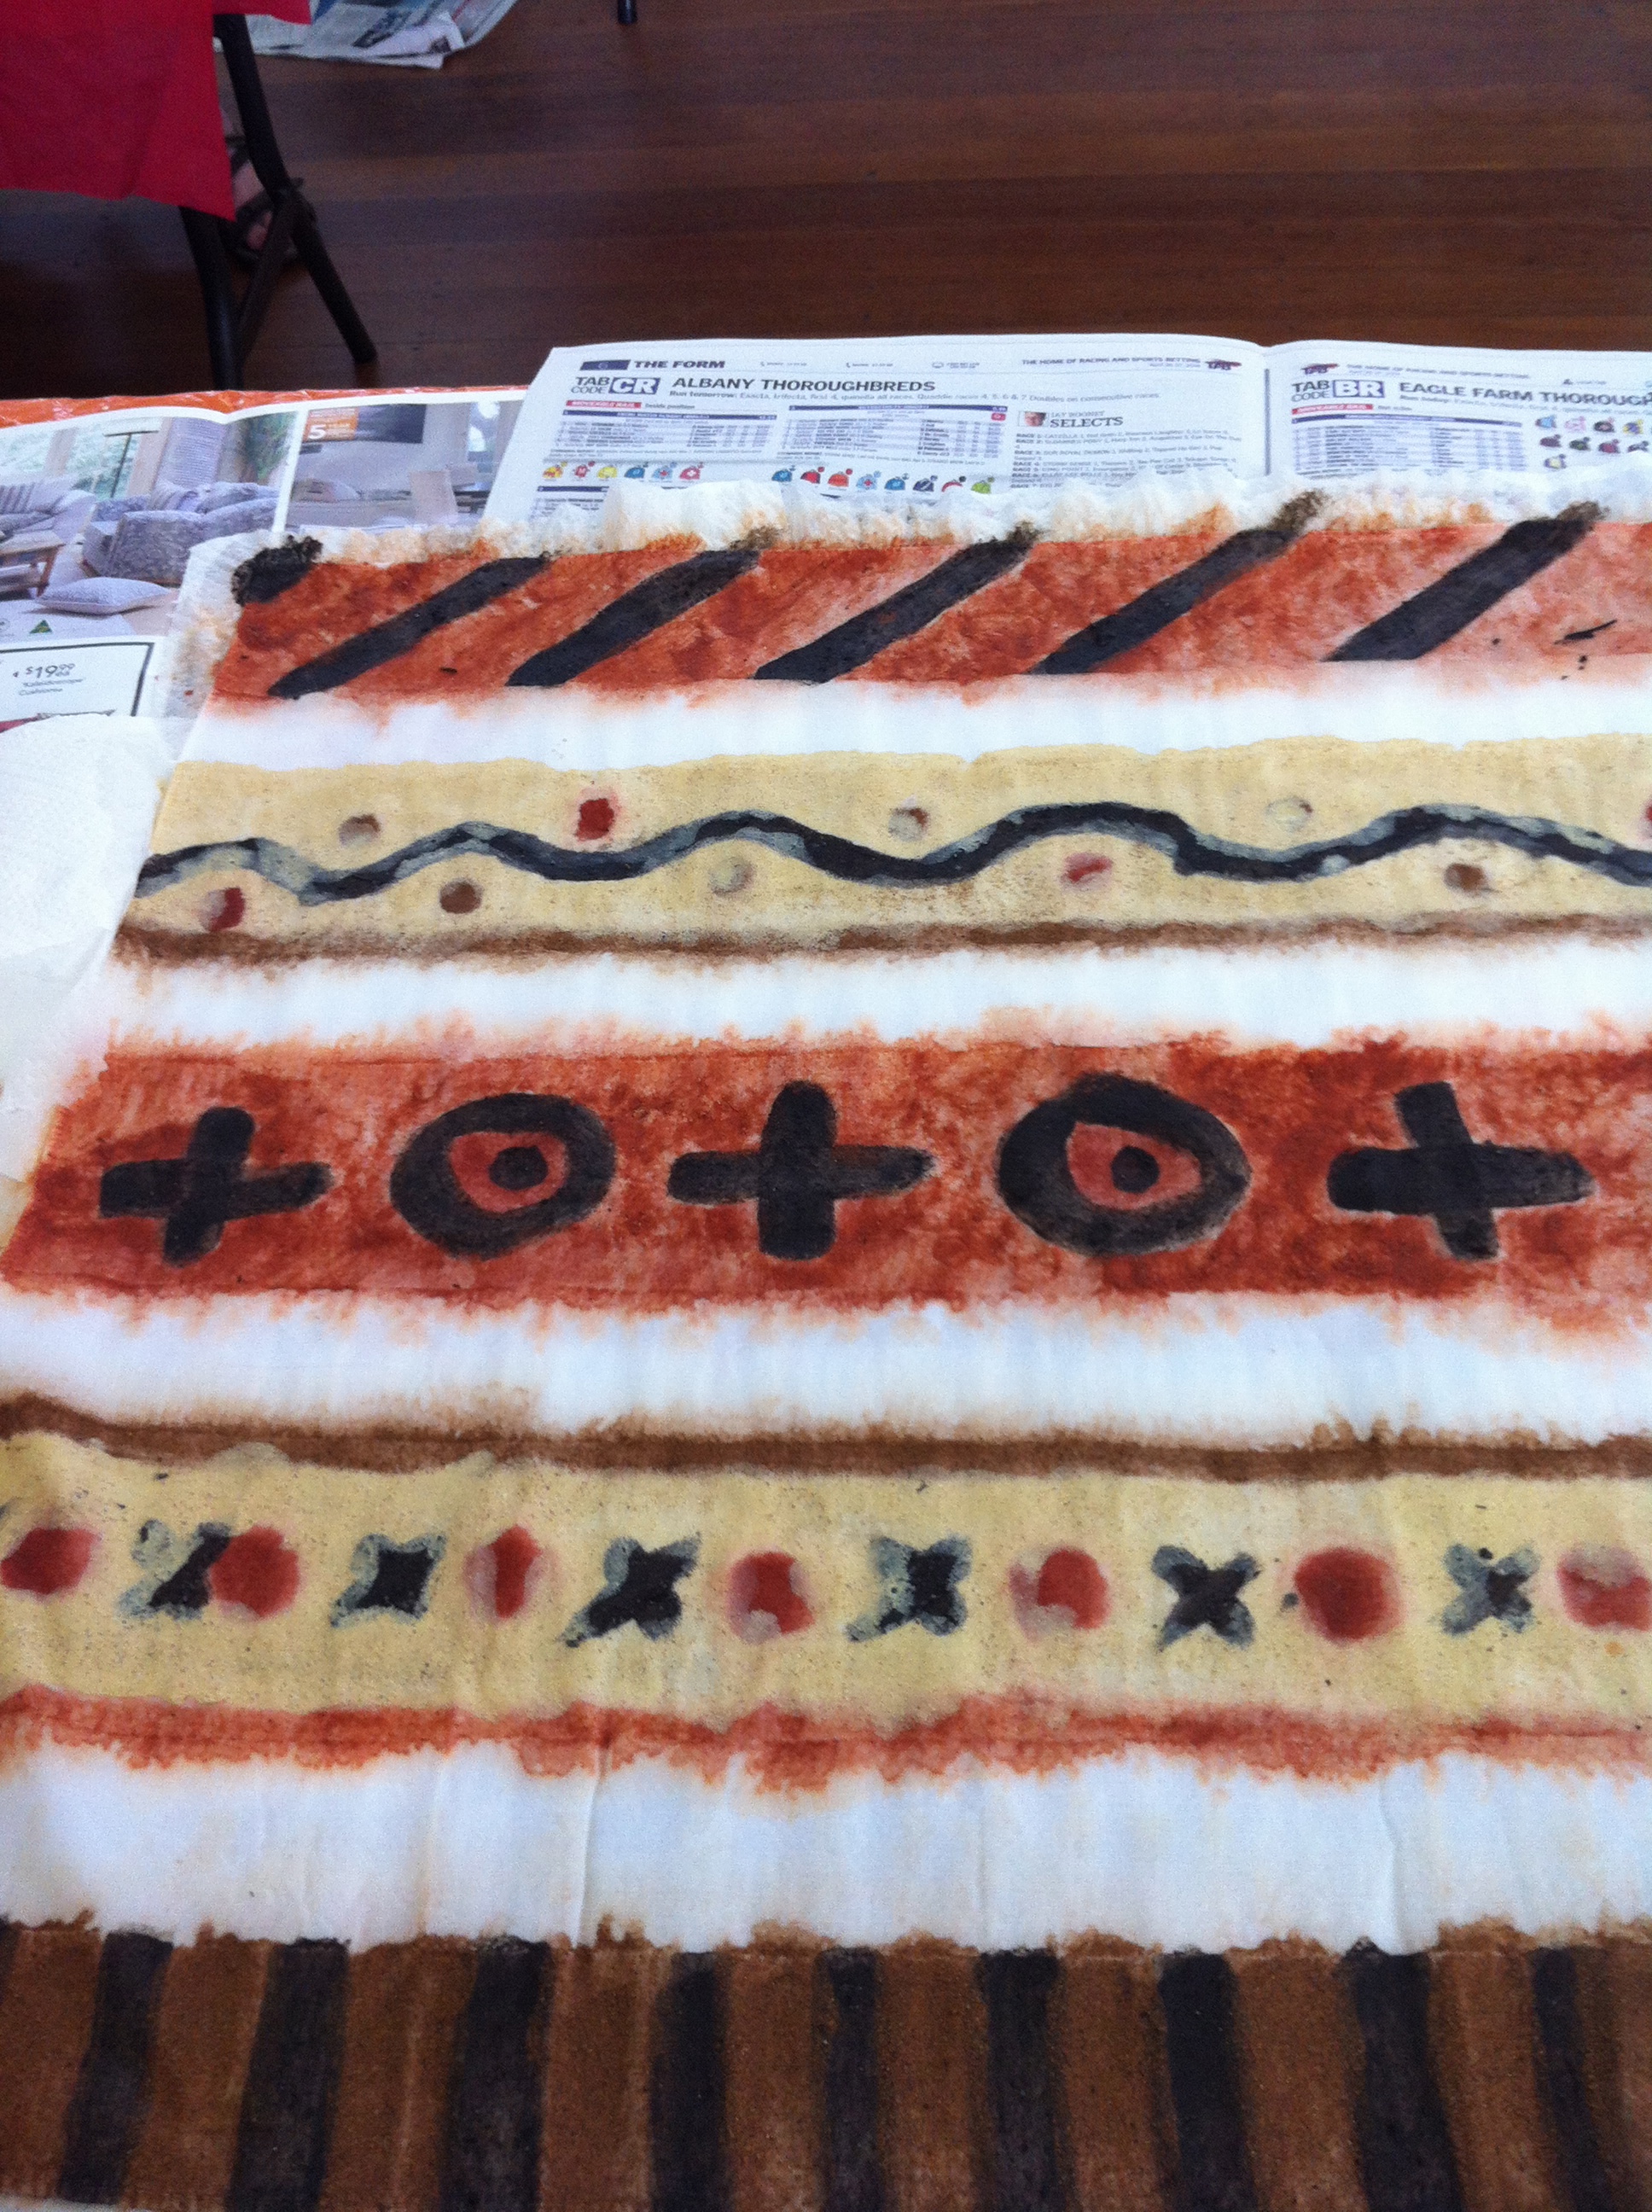
Rubbing Shoulders, Trish Davis, 2013

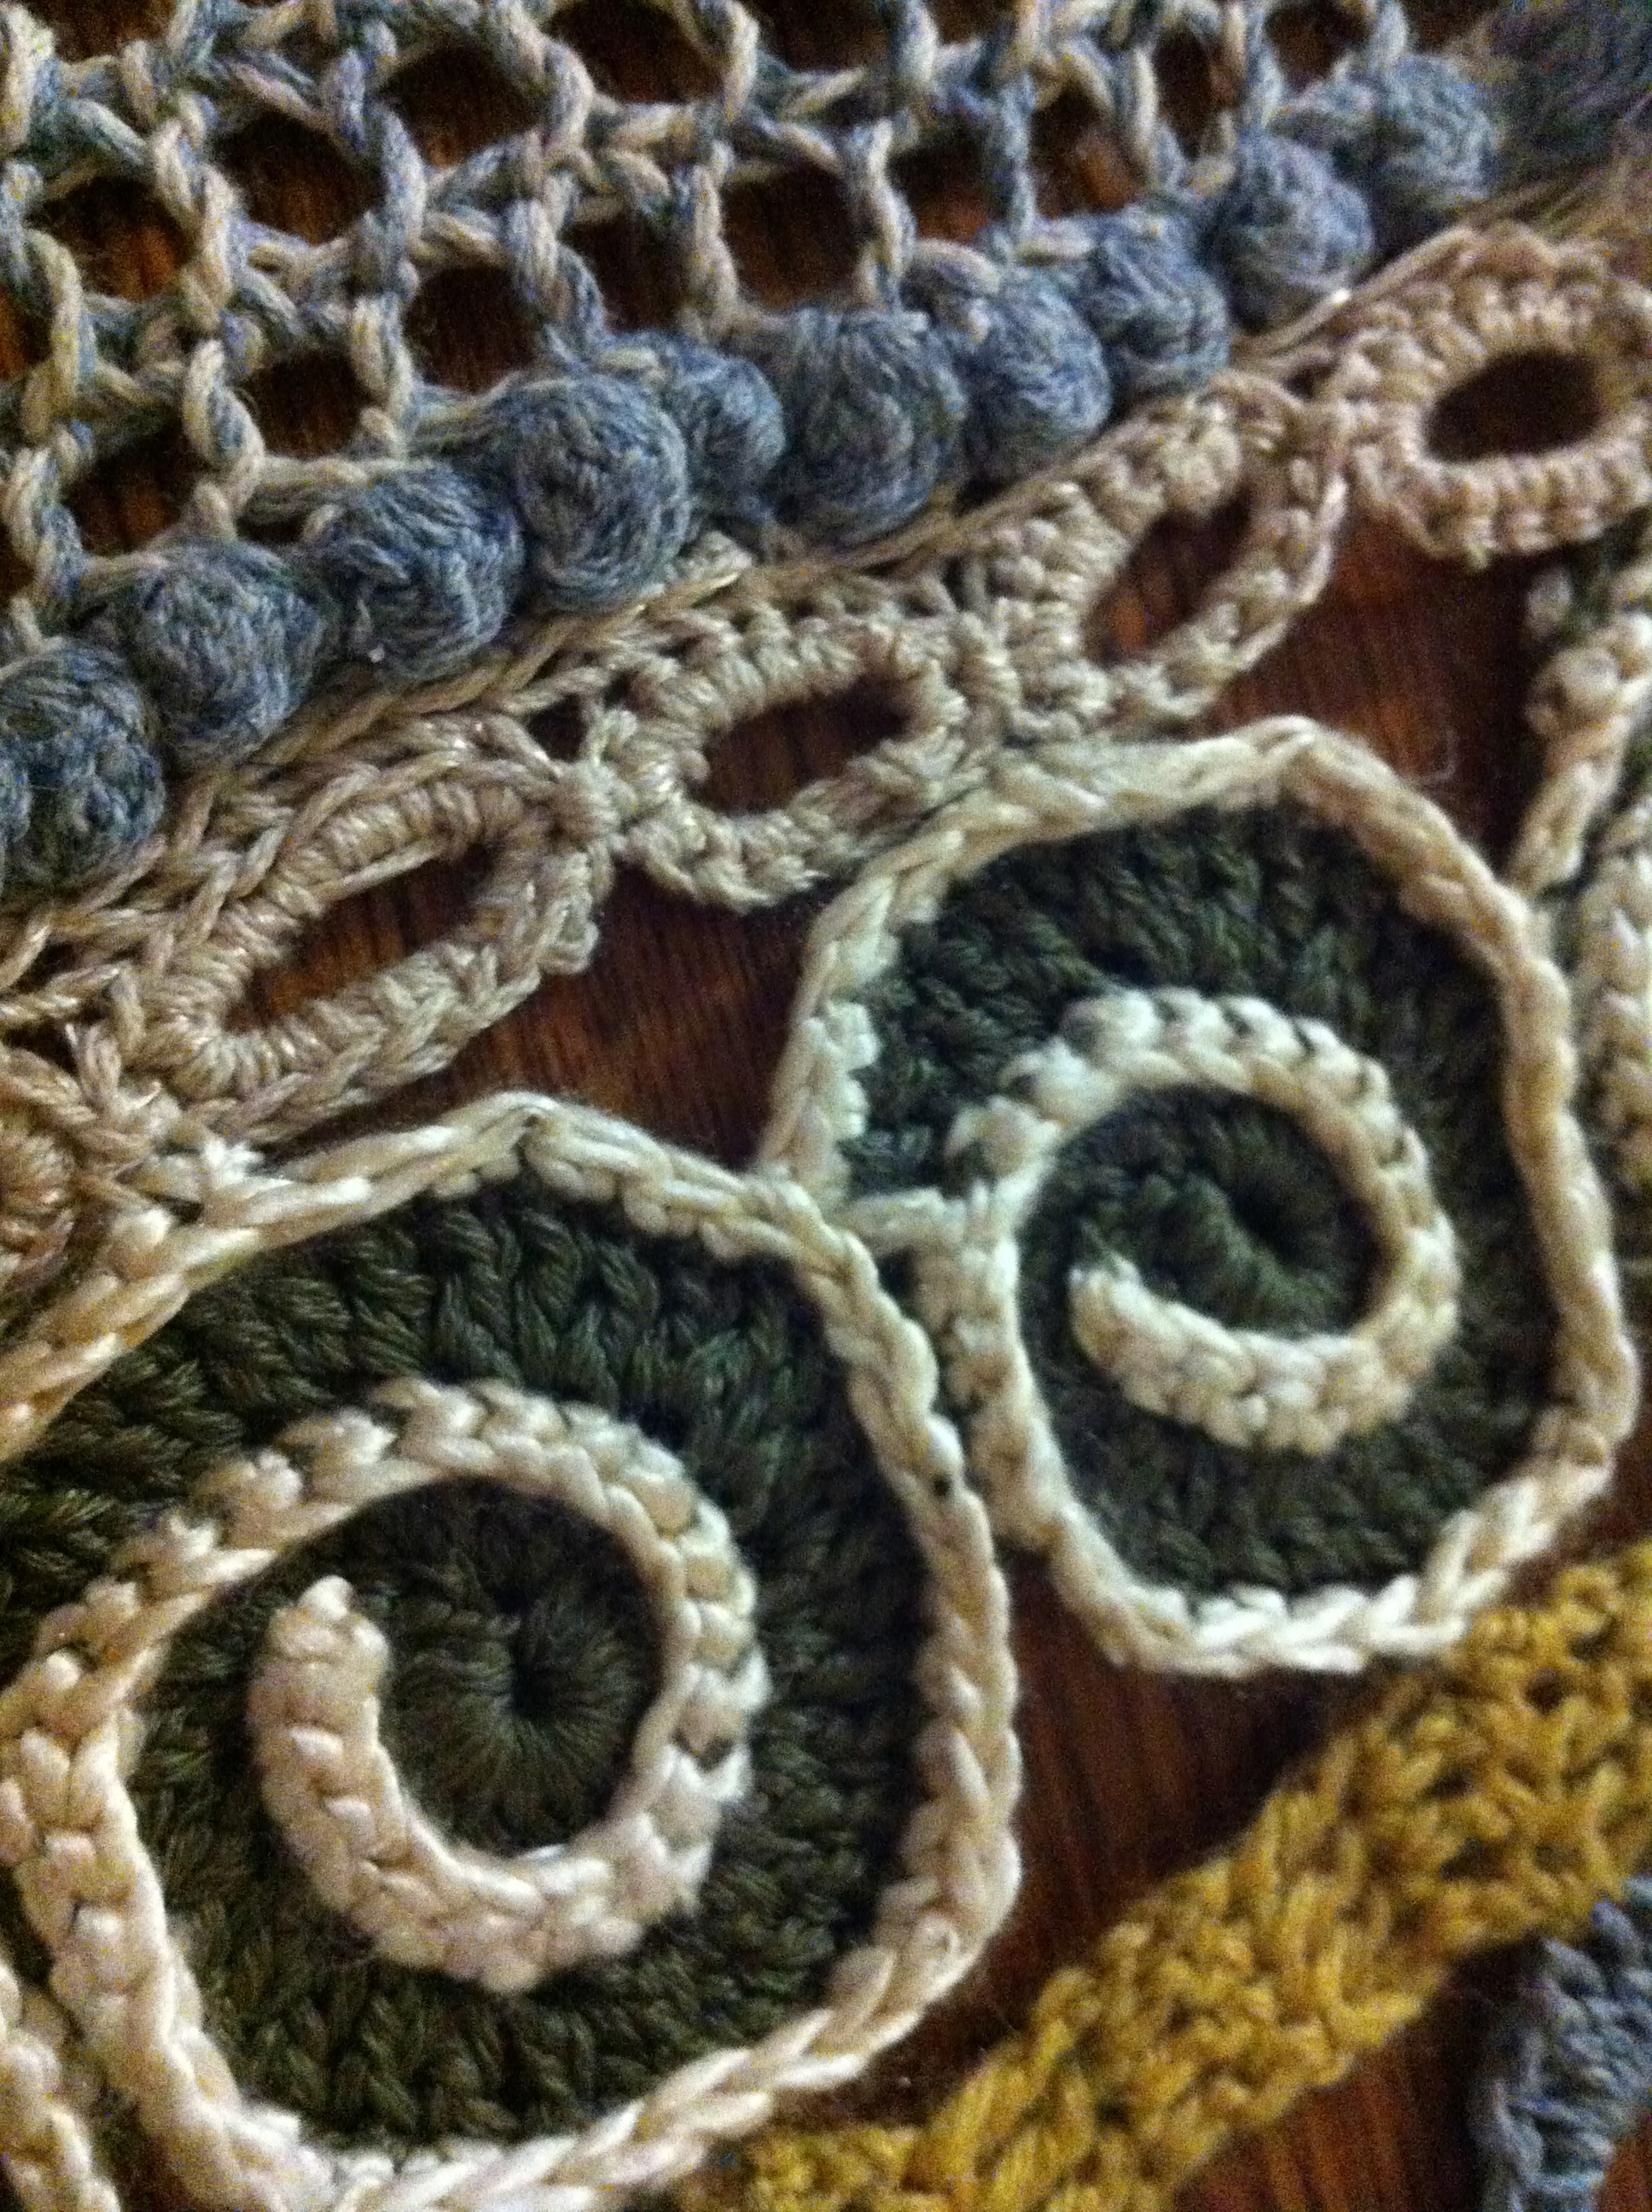
Klimpt’s Kiss, Mignon Mitchell, 2013